
Cisco Spaces in the IoT Sensor Framework: Setup Guide
Introduction
This guide provides a configuration and integration walkthrough for the IoT Sensor Framework, focusing on capturing and utilizing data from Cisco hardware. With updates in Appspace 8.11.0-ac.4.2, the Cisco Spaces driver now supports OAuth integration simulation and expanded regional support for Europe and Singapore. This driver is specifically tested with Meraki MT-15 environmental sensors to capture metrics such as temperature, air quality, and CO2.
Key Benefits
- Simplified Deployment: Connecting and configuring sensors without custom middleware to reduce operational overhead.
- Real-Time Automation: Powering automations that respond to real-world conditions through direct communication between Cisco hardware and Appspace.
- Unified Intelligence: Consolidating data from Meraki and Webex hardware to enhance visibility and operational efficiency across global environments.
What This Guide Covers
- How to install and configure regional Appspace IoT Drivers.
- How to create and activate a Multi-Tenant Cloud app in the Cisco Spaces Partner dashboard.
- How to register Cisco Spaces sensors to Appspace resources using MAC addresses.
- How to configure occupancy-based sensor rules to automate resource status.
- How to test and validate data flow and rule functionality.
Prerequisites
- Account Owner access to the Appspace Console.
- Access to the Cisco Spaces Dashboard and Cisco Spaces Partner portal.
- Meraki environmental sensors registered within the Cisco Spaces system.
- Existing Resources mapped in the Appspace Reservations module.
Configuration
The integration requires configuration in both the Appspace Console (IoT driver and device setup) and the Cisco Spaces Partner portal (app setup and activation).
Step One: Installing the Appspace IoT Driver
The IoT Drivers allow Appspace to identify, parse, and store incoming telemetry data.
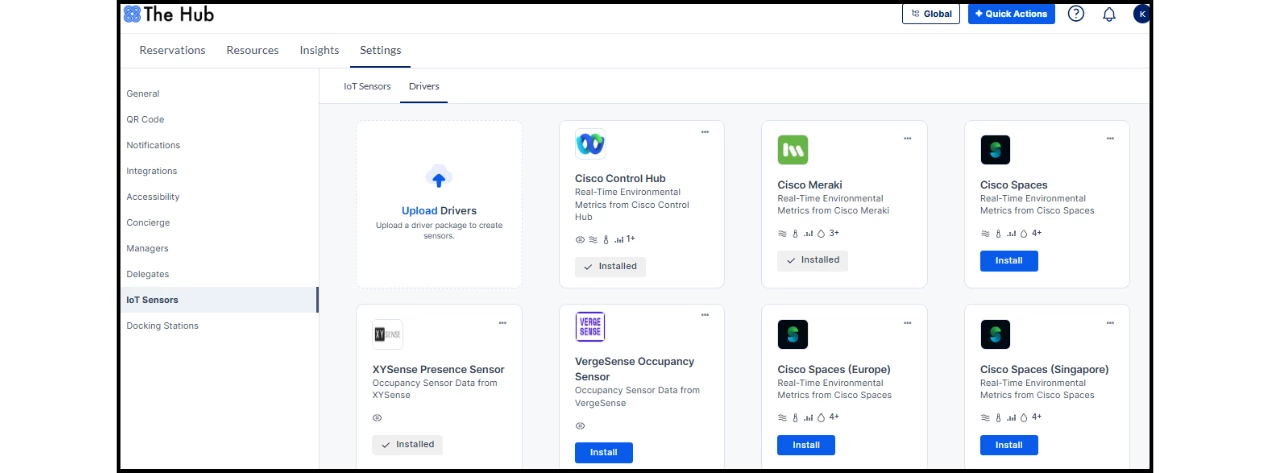
- Navigate to Reservations > Settings > IoT Sensors > Drivers.
- Locate the Cisco Spaces driver and click Install.
- Note the regional variations: Cisco Spaces, Cisco Spaces (Europe), or Cisco Spaces (Singapore).
- Click the ellipsis (...) on the driver and select Copy URL and Copy Key; these are required for the webhook authorization (specifically the x-appspace-iot-token).
Step Two: Configuring the Cisco Spaces Partner App
You must establish a connection on the Cisco side to notify Appspace of sensor alerts.
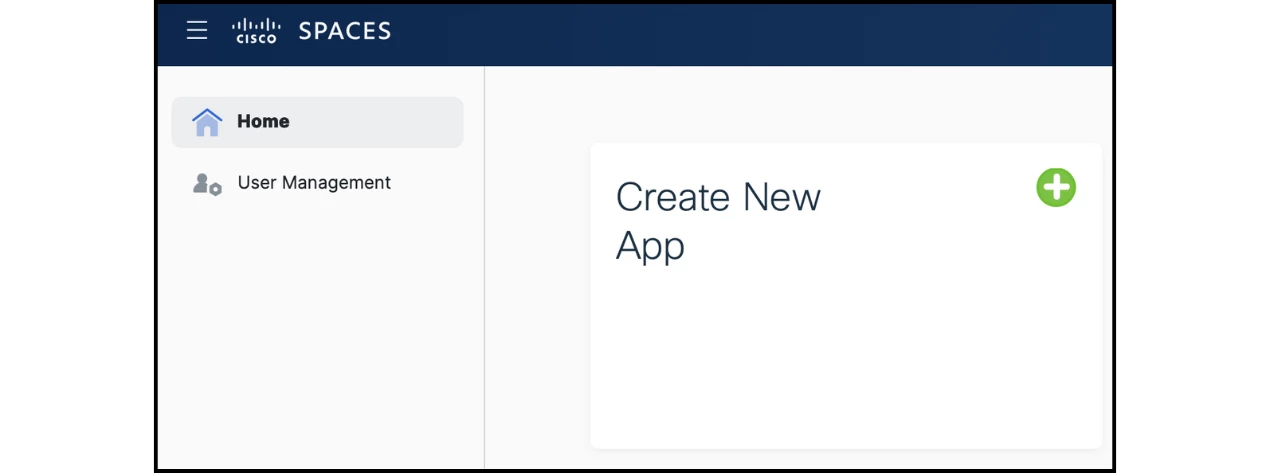
- Log in to the Cisco Spaces Partner system and select Create New App.
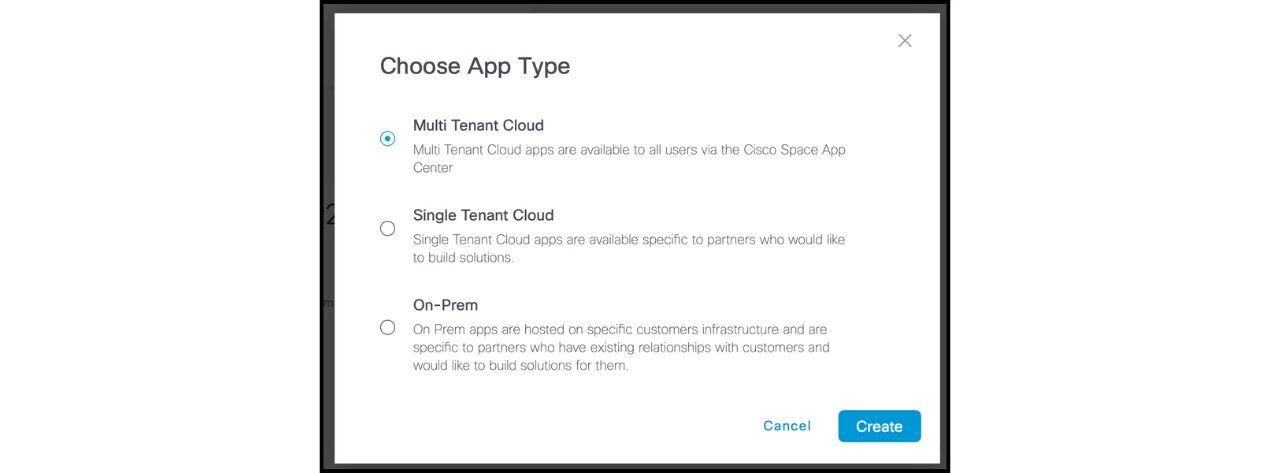
- Choose Multi Tenant Cloud and enter the required app details.
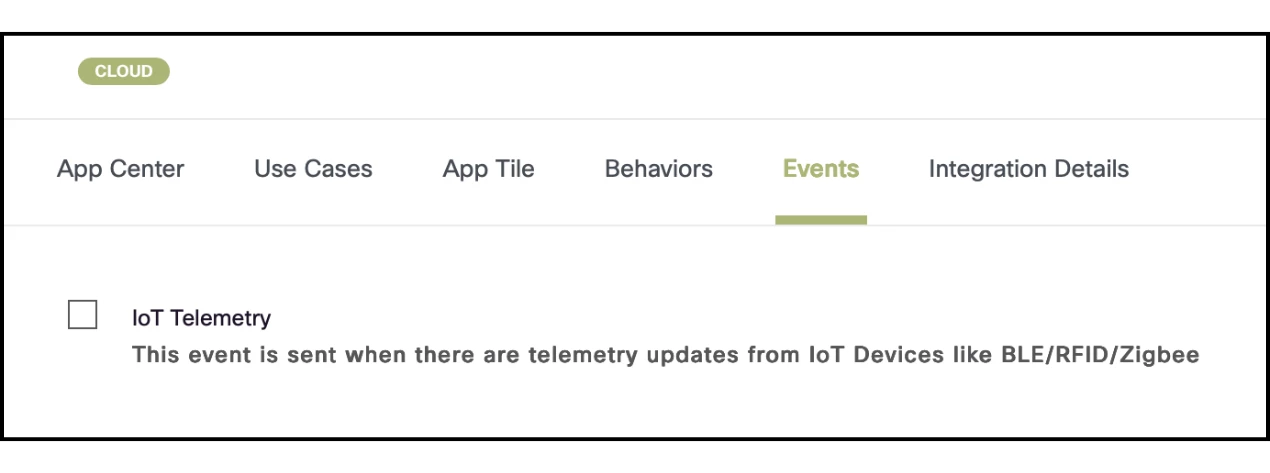
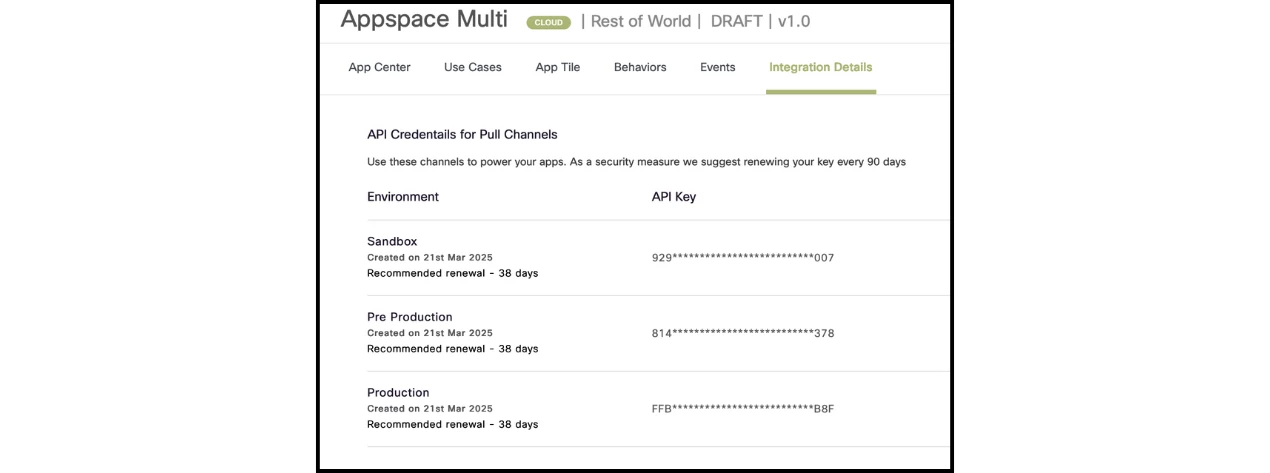
- On the Events tab, enable IoT Telemetry.
- Under Integration Details, save the APIKEY generated for the application.
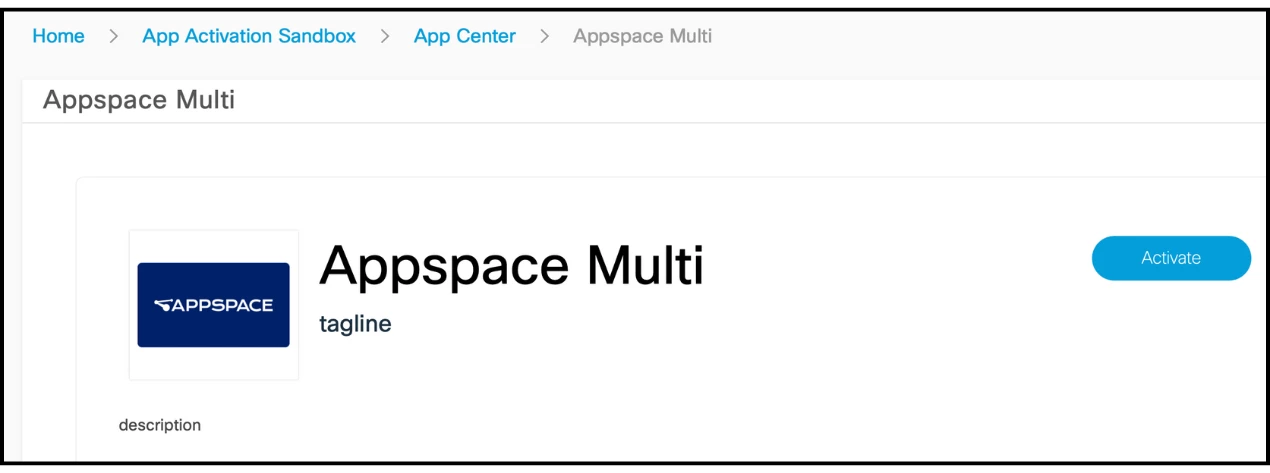
- Activate the app in the App Activation Sandbox, granting permissions for all locations and selecting relevant BLE devices.
Step Three: Registering the Sensor to a Resource
Once the driver and Cisco app are active, you must map the physical sensor to an Appspace resource.
- In Appspace, go to Reservations > Settings > IoT Sensors and click +Add.
- Select the Cisco Spaces driver (for environmental metrics).
- Identifier: Enter the sensor's MAC address (e.g., 6c:7f:0c:fb:ad:96). This must match the identifier in the Cisco data payload.
- Map the sensor to the corresponding Resource (e.g., a specific meeting room) and click Save.

Step Four: Configuring Occupancy-Based Sensor Rules
Even with data flowing into Appspace, resource statuses will not automatically update until specific occupancy rules are established.
- Navigate to Reservations > Settings.
- Configure the Occupancy-based Sensor Rules for your resources to ensure the space reacts to real-time presence. To learn how to configure these rules, follow this article.
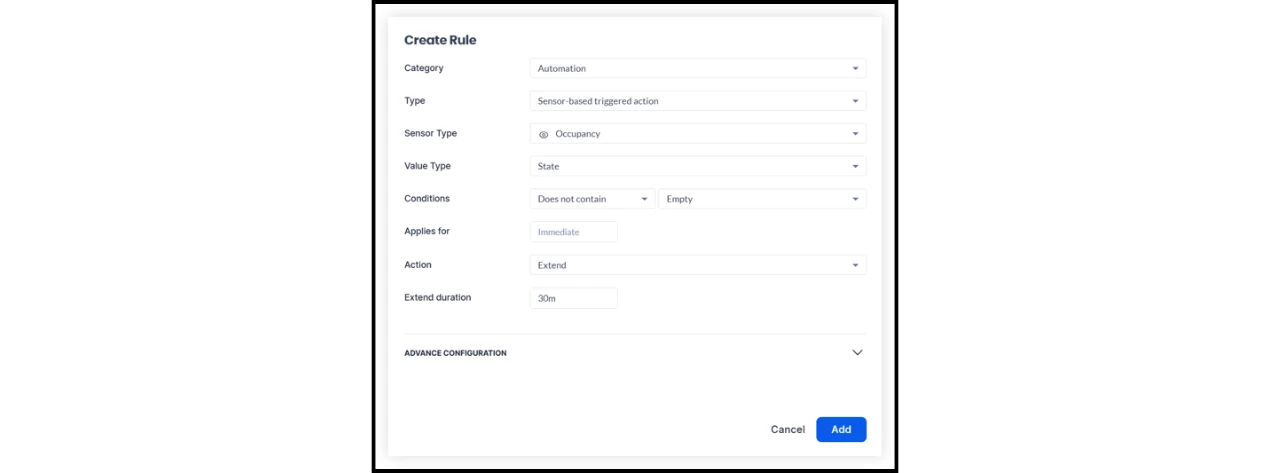
Note: Without these rules, physical occupancy will not trigger status changes (e.g., "Occupied"), though you can still see raw data updates in the Last Event column under IoT Sensors.
Testing and Validation
Verify that environmental metrics are reporting correctly and that occupancy rules are triggering as intended.
- Mock Data Testing: Use a tool like Postman to send a POST request to the Driver URL.
- Header: x-appspace-iot-token : <your-driver-key>.
- Payload: Include the deviceMac, deviceName, and a sample temperature value.
- Real Data Verification: In the IoT Sensors tab, check the Last Event column to confirm the sensor is receiving live SSE data.
- Metric Confirmation: Ensure the Features column accurately reports temperature, humidity, CO2, and air quality.
- Functional Rule Test: Trigger an occupancy change in the physical space (e.g., enter the room) and verify that the status updates to Occupied for the mapped resource in the Employee Experience.
- Rule Troubleshooting: If the Last Event column updates but the resource status remains unchanged, revisit Step Four to ensure occupancy rules are correctly configured for that specific resource.