

Note
This article is part of a series of articles to help administrators configure the reservation system. Please see the main article for links to all related articles.
View Created Reservations
The Reservations tab allows administrators with access to the Reservations dashboard to view all reservations made under this account.
Administrators are able to view reservations by selecting one of the following options from the sidebar:
- Location
- All Reservations
- Active Reservations
- Pending Reservations
- History
Administrators are able to filter reservations by Period (Date Range). By clicking the filter icon, the following options will appear:
- Period options
- Statuses - (New) You can also view Canceled and Deleted reservations. For more information, refer to Search and Filters section under the Browse and Navigate Space Reservation article.
- Edit and Cancel actions are not available for deleted reservations, and checkpoints can be viewed but cannot be modified.
- Reservations canceled by a user or through a calendar provider are kept indefinitely. Deleted reservations are kept for the duration configured in retention settings. To configure how long deleted reservation data is retained, refer to the Configure Reservation Settings article.
- Comments are visible in the reservation panel for all reservation statuses, including Canceled and Deleted. Users can add, edit, or delete their own comments.
- Organizers
For more information, refer to Browse and Navigate Space Reservation.
Administrators can also directly create a reservation here for themselves or on behalf of someone else. For instructions, refer to Reserve Workspace & Building Pass in Console – Administrators.
Note
Employees looking for guidance on making a reservation, refer to Reserve a Workspace, Desk, or Room – Employees.
Export Reservations
Reservations can be exported based on the filter selection, and by selecting multiple or all reservations in the list, and exported in an .xlsx file format containing the following columns:
- Meeting Name
- Resource Name
- Resource Type
- Resource SubType
- Organizer
- Organizer Type (user, external)
- Organizer Email
- Start Time
- End Time
- IsAllDay
- Recurrence (use the recurrence label)
- Location
- Floor
- Status
- Sensitivity
- Origin (Provider or Appspace)
- Attendees (comma delimitated email string)
- Attendees Count
- Check-in Status (not-required, user-checkin, auto-checkin, expired, pending)
- Amenities (comma delimitated string)
To export reservations that have been made, do the following:
- Log in to the Appspace console.
- Click Reservations from the ☰ Appspace menu, and click the Reservations tab.
- Select the reservations you wish to export or click the checkbox to select all reservations.

- Click the Export icon in the batch menu.
- The reservations listings displayed in Reservations will be exported to a .xlsx file and downloaded to your default download folder.
View Resource & Reservation Analytics
Overall Analytics
In the Reservations module, click the Insights tab. You will be able to view statistical data of all the reservations that have been made either via the portal or your mobile app. Prior to the deployment of your space reservation application, this tab will be empty.
You may view all insights for your reservable resources based on the Activity Period, which can be changed from the drop-down calendar. You can also filter your data by the location within your environment.
Administrators looking for information on the Insights tab, refer to Browse and Navigate Reservations Module in Appspace 8.0.
Individual Building, Floor, or Workspace Resource Analytics
You may also view detailed analytics for an individual building, floor, or workspace resource by clicking the Analytics tab when editing the resource from the Resources tab.
- Click a resource name in the Resources tab on the Reservations dashboard.
- In the Edit Resource window, click the Analytics tab.
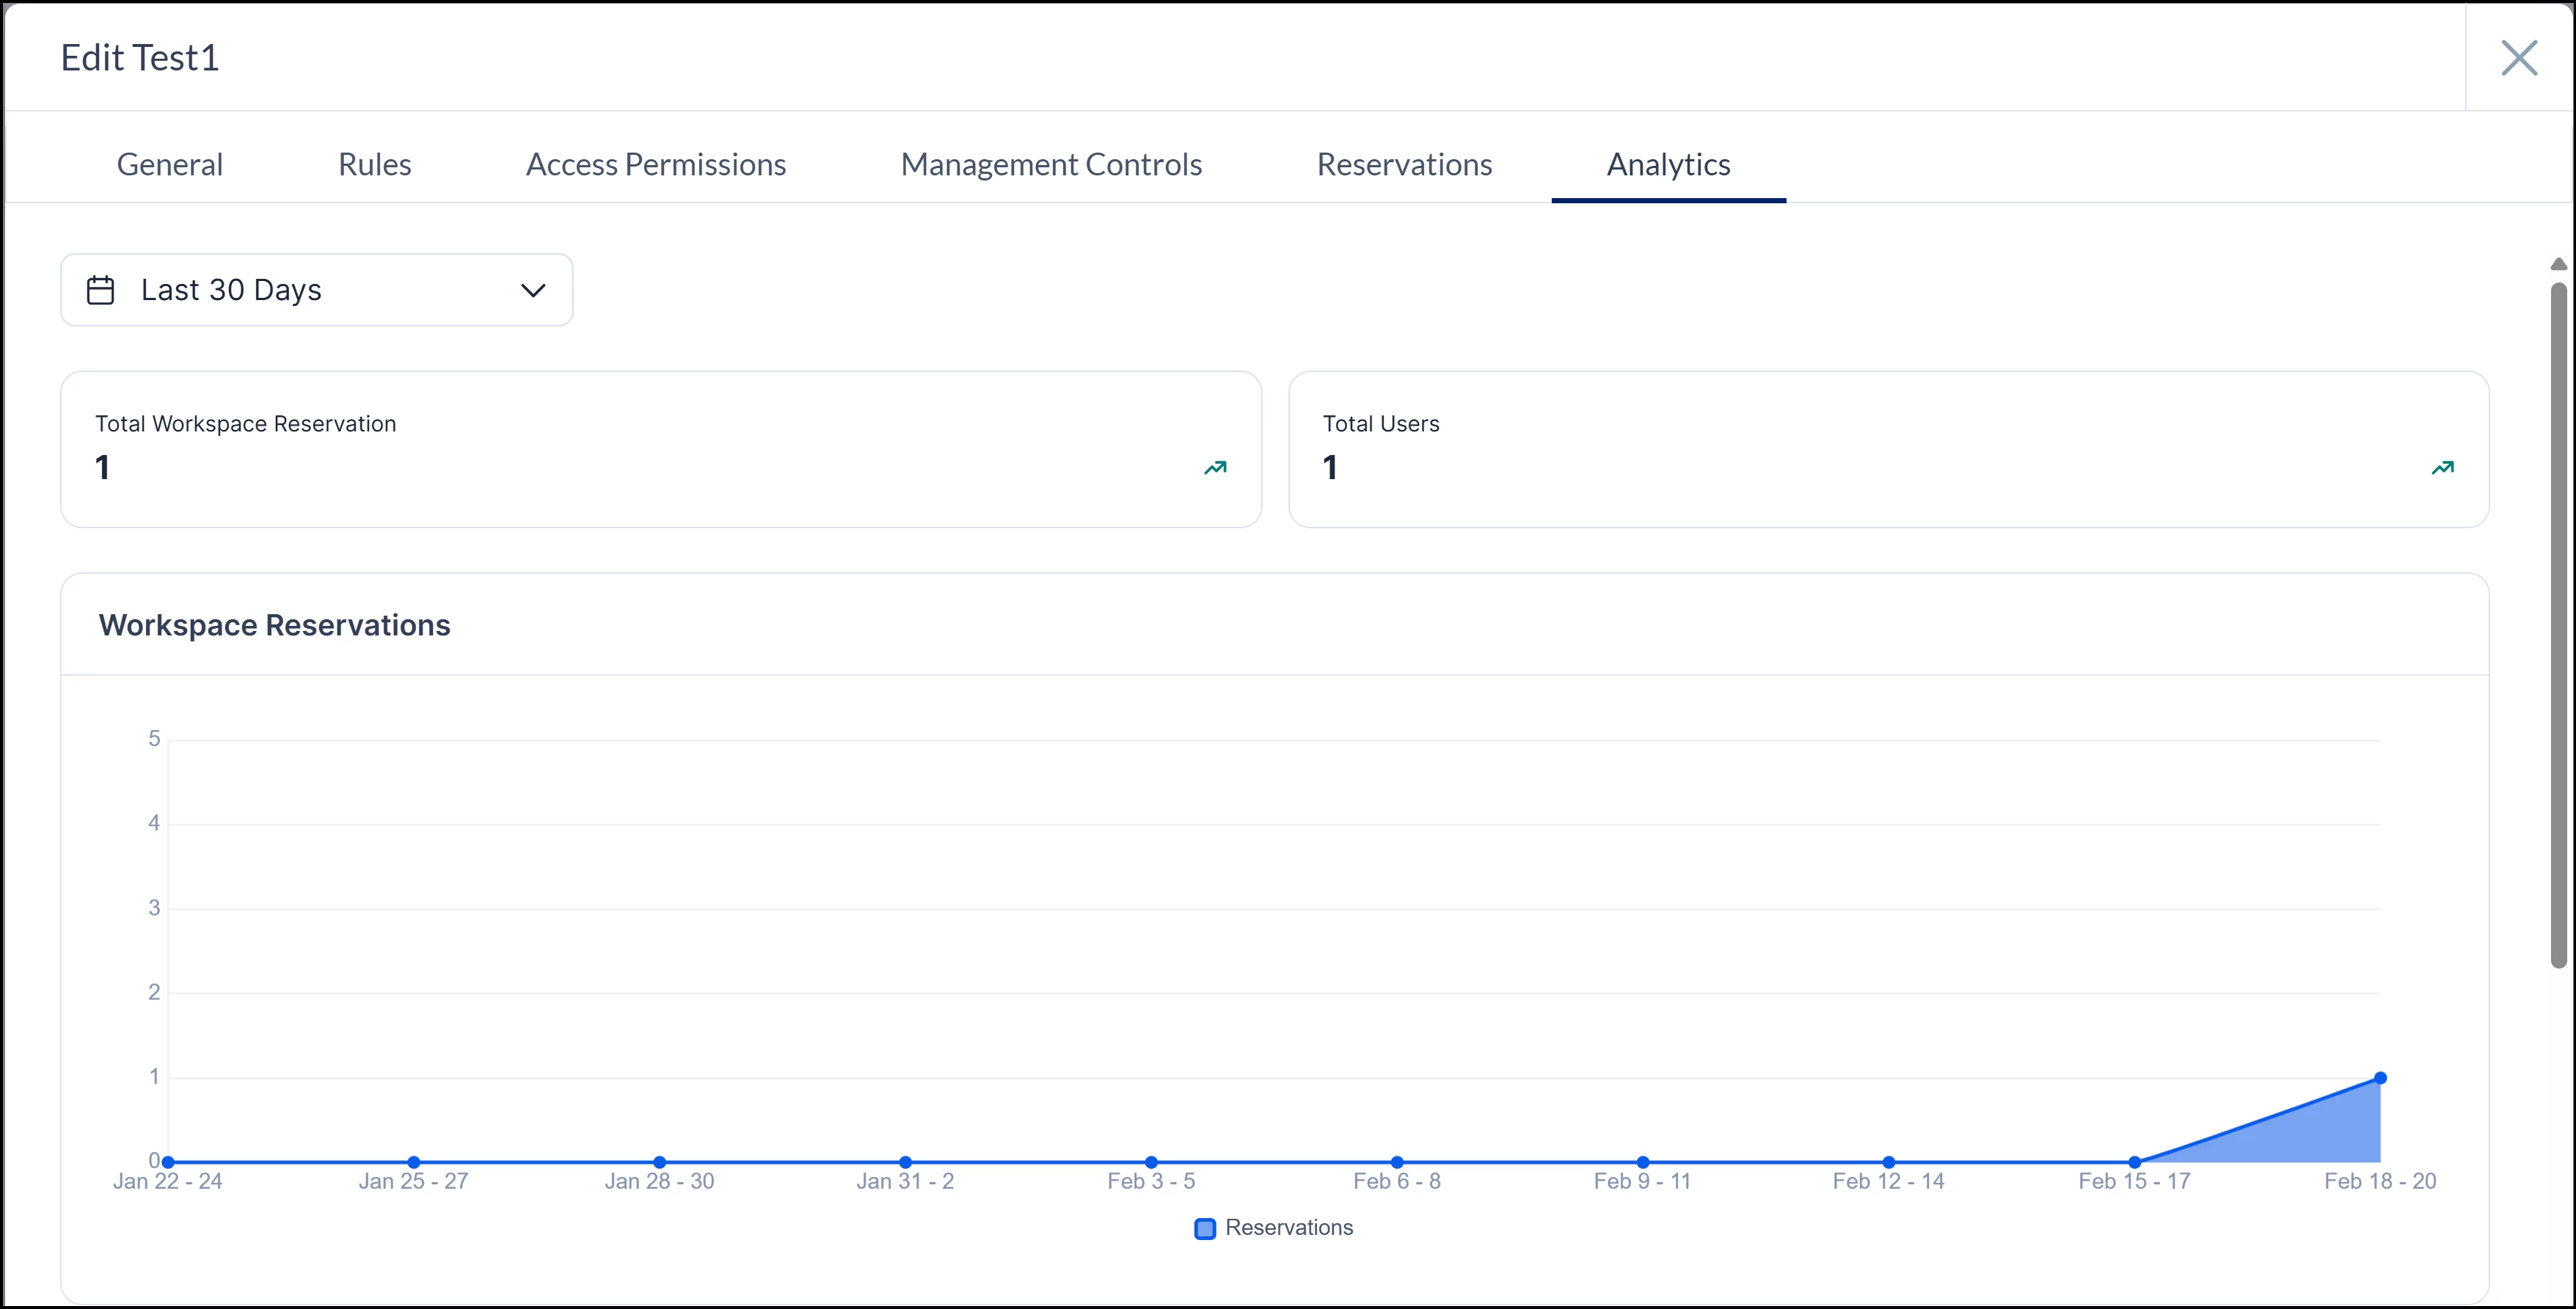
- You may view all analytics for the resources here based on the Activity Period, which can be changed from the drop-down calendar.
Depending on the resource type (building, floor, workspace) selected, different analytical widgets will be displayed. For more information, refer to Browse and Navigate Reservations Module in Appspace 8.x.