

Note
This article is part of a series of articles to help administrators configure the reservation system. Please see the main article for links to all related articles.
To configure resources for reservations, you may choose to connect to an Appspace supported calendar provider used by your organization, to import, configure, and enable booking for corporate meeting rooms and such.
To enable reservations for hot desks, huddle spaces, or any points of interest (POI), which don’t typically exist as a resource in the calendar provider configuration, you can create the resource directly in the reservations system using the Appspace calendar provider.
Calendar Provider
Important
Skip this section if you plan to create resources utilizing the Appspace calendar provider, and proceed to the Create Resource section below.
To use resources from an external calendar provider such as Office 365 or Google Calendar, a provider must first be added into the Reservation resources module by creating an authentication passport to enable a secure connection between Appspace and the calendar provider.
Important
Reservations that have more than one resource workspace (multi-resource reservations) can only support resources from one calendar provider. Multiple providers are not supported.
Authenticate Calendar Provider
Follow the instructions below to create an authentication passport for your desired calendar provider:
Note
Appspace Account Owner or Publisher permissions are required. If you do not have the required permissions, you may still create the passport by clicking the Set up a new passport link when configuring the calendar provider for Reservations.
- Log in to your Appspace console.
- Click the ☰ Appspace menu, and click Integrations.
- Click the Passports tab, and click the +ADD button.
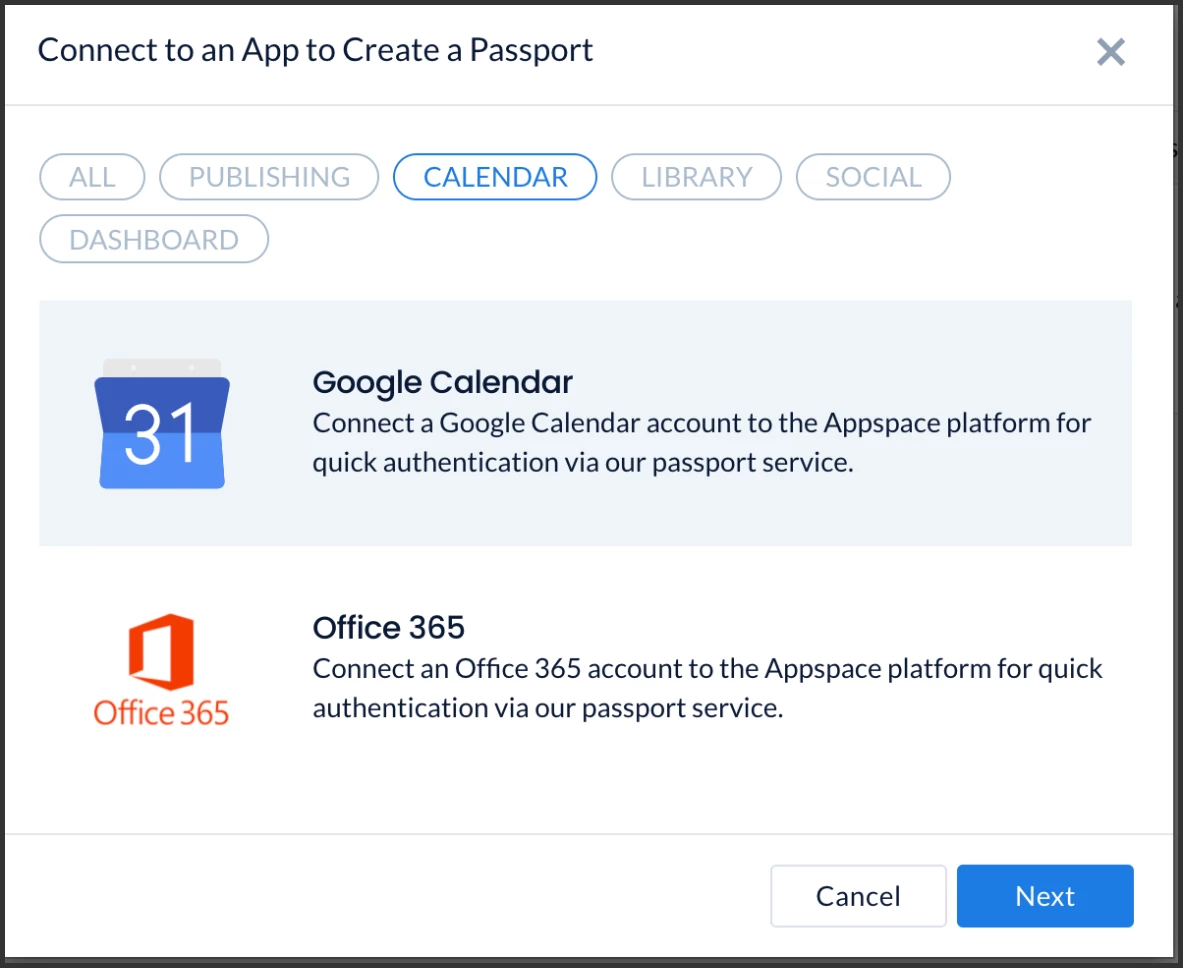
- Select one of the following calendar provider passports, and click Next:
- Google Calendar
- Office 365
- Proceed to select the required permissions for the calendar provider passport as described below:
- Google Calendar
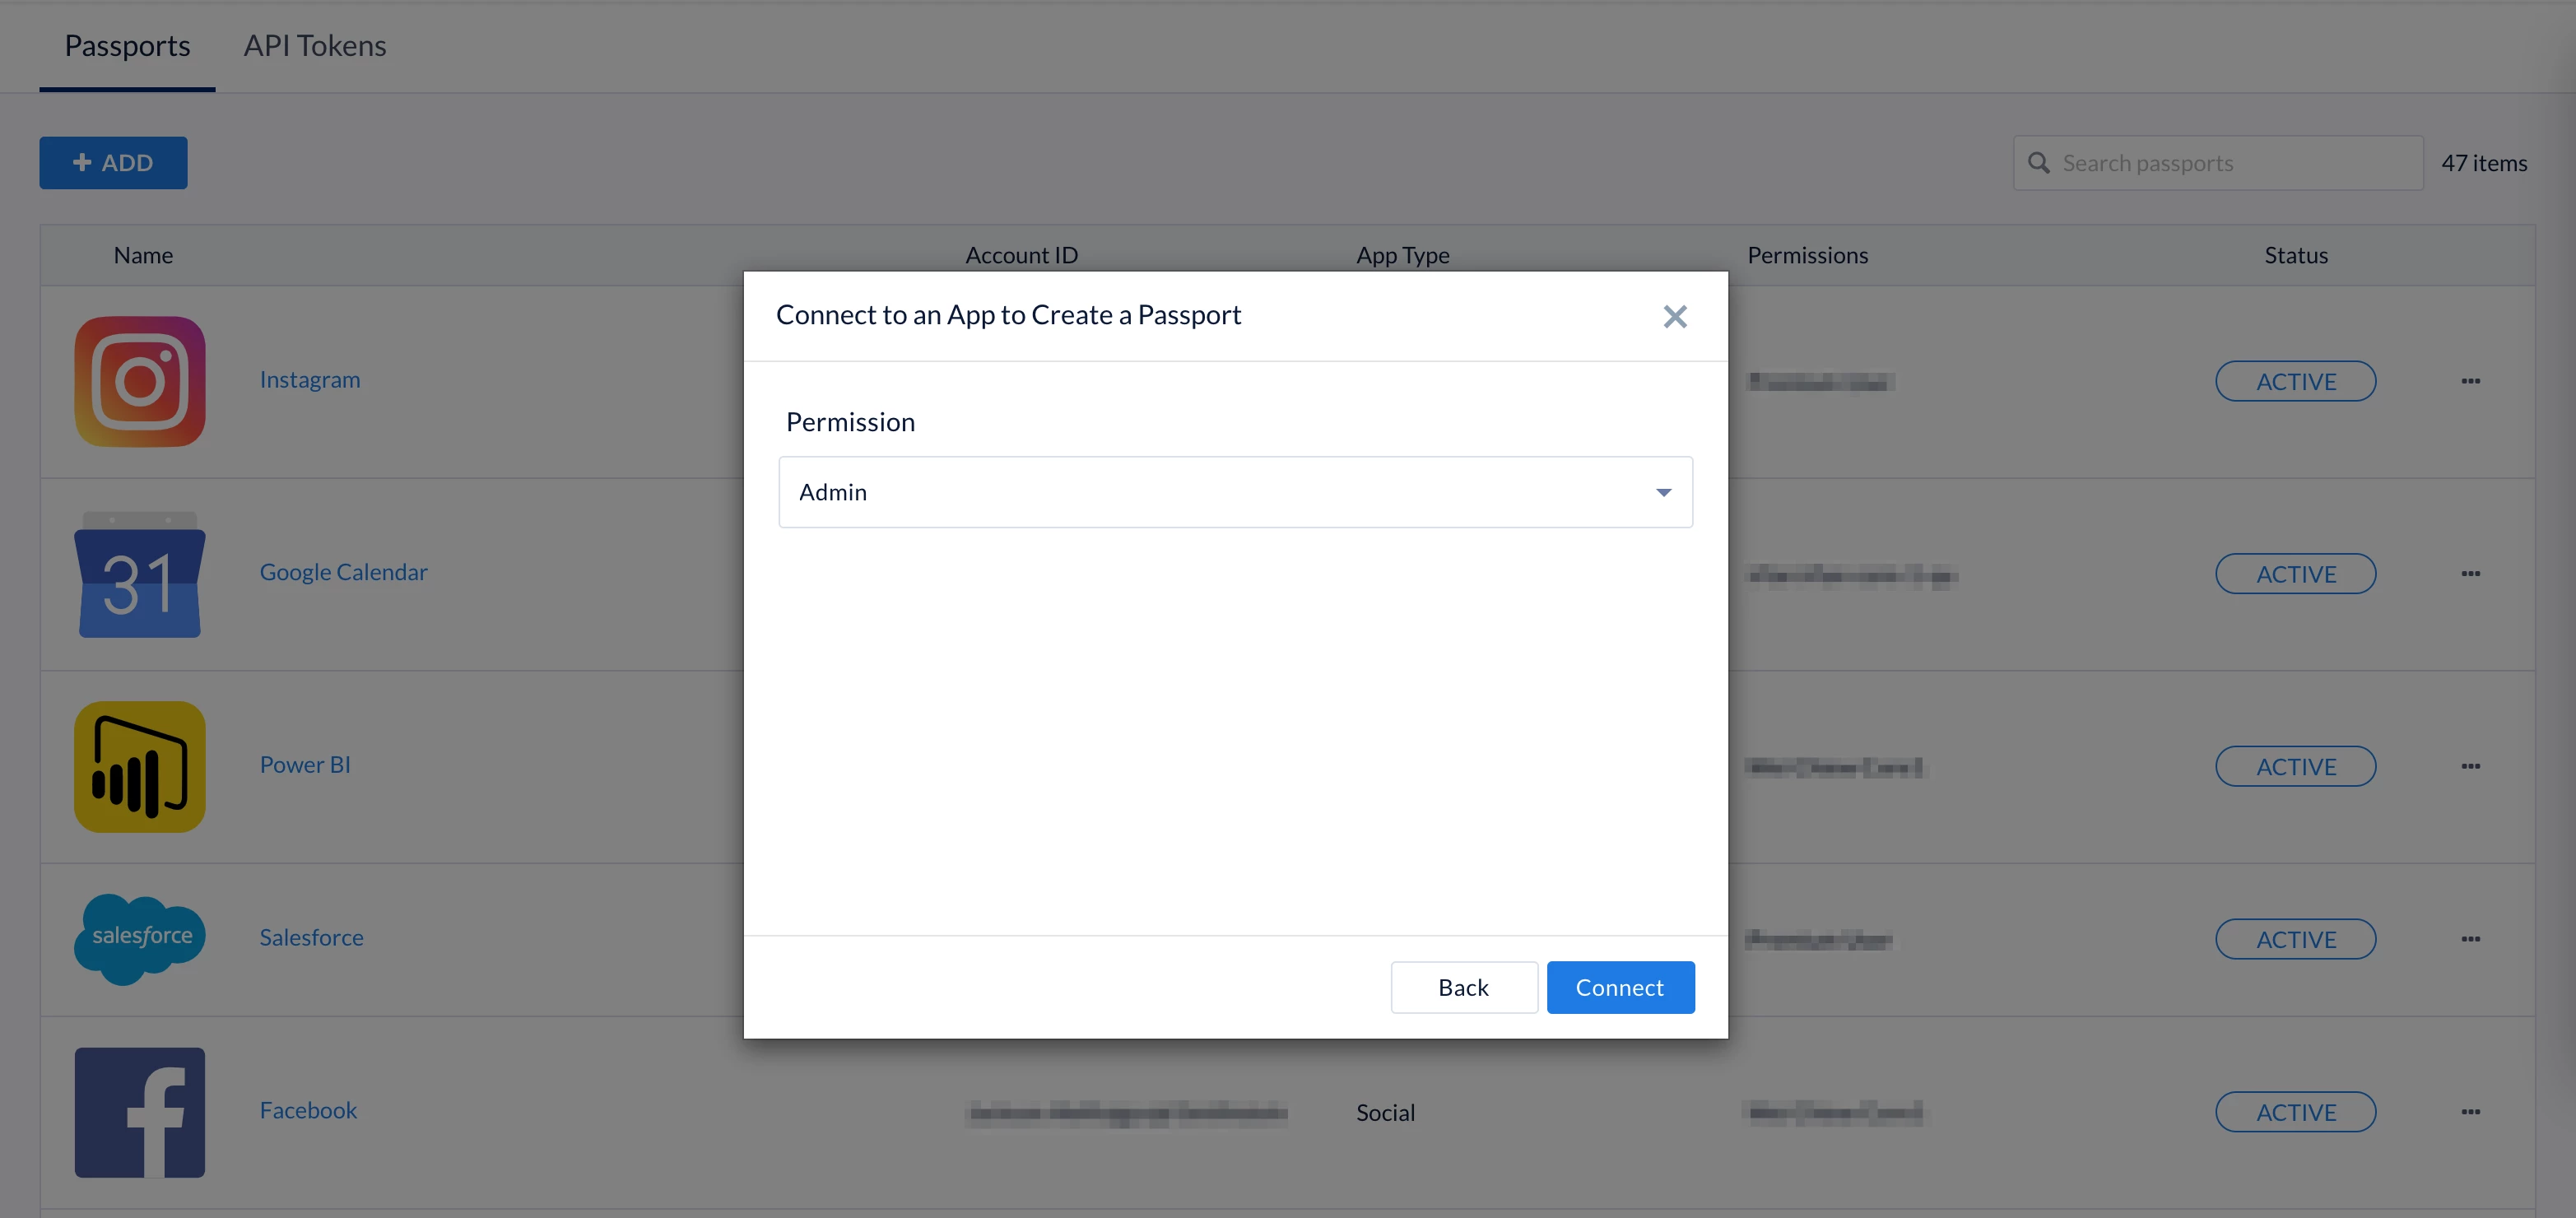
- Admin – Admin permission gives Appspace access to GSuite calendar resources based on the permissions of the service account you use to authorize the passport. This will require the service account to be added as a full delegate to each calendar resource needed to sync the information from and to Appspace and G Suite.
- Basic – Basic permission uses the user permission model and is very similar to the Admin Permission option, however, this option only includes access to users’ calendars based on delegated access to each user’s calendar.
- Office 365
Important
Prerequisites:
- Ensure to Disable the ‘-removeprivateproperty‘ settings in Office 365, in order for resource reservations to be made private.
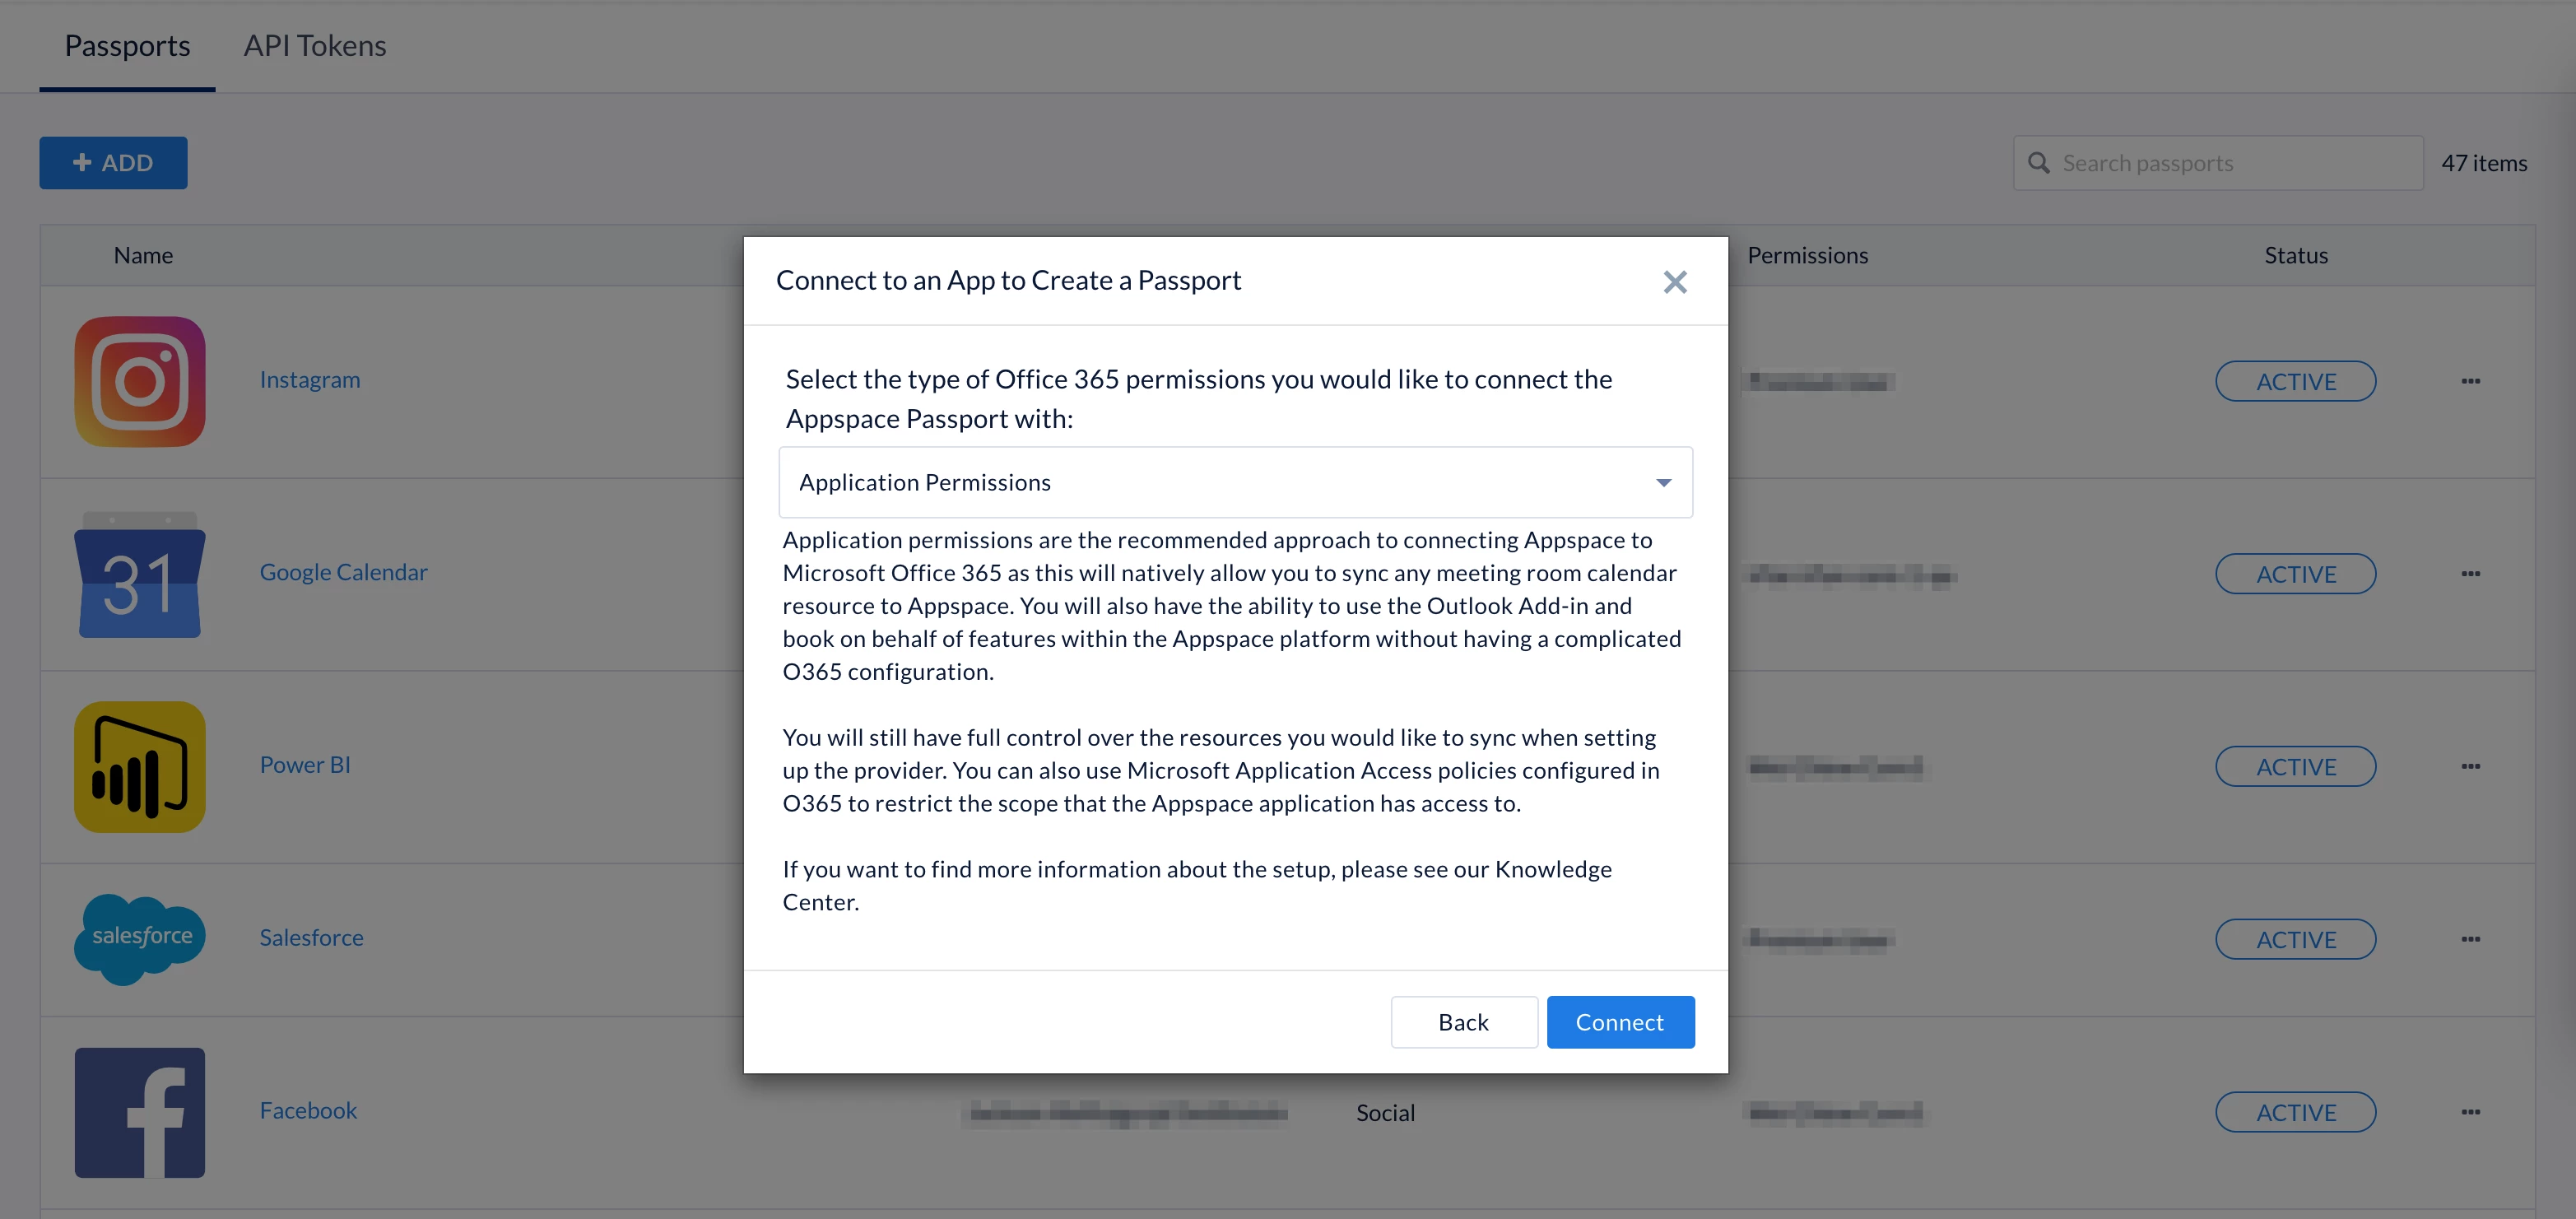
- Application Permissions – Application permissions are the recommended approach to connecting Appspace to Microsoft Office 365 as this will natively allow you to sync any meeting room calendar resource to Appspace. You will also have the ability to use the Outlook Add-in and book on behalf of features within the Appspace platform without having a complicated O365 configuration.You will still have full control over the resources you would like to sync when setting up the provider. You can also use Microsoft Application Access policies configured in O365 to restrict the scope that the Appspace application has access to.
Note
Application permissions enable apps to run without a signed-in user present, allowing it to run in the background. An administrator account however is needed to just authenticate this passport and the permissions.
- Delegated Permissions – Delegated permission gives Appspace access to Microsoft Office Calendar Resources based on the permissions of the service account you use to authorize the passport. This will require the service account to be added as a full delegate to each calendar resource needed to sync the information from and to Appspace and Office 365. This can include Meeting Room Calendars as well as possibly users’ calendars if utilizing the Outlook Add-in and book-on-behalf feature.
- User Permissions Only (Does not sync resources ) – User permissions uses the delegated permission model and is very similar to the Delegated Permission option. But this option only includes access to users’ calendars based on delegated access to each user’s calendar. Use this option if you want a dedicated passport for the Outlook Add-in and book-on-behalf.
- Google Calendar
- Click CONNECT.
- Proceed to authenticate the passport, and grant permissions to access the calendar provider account. You may be required to sign in with your calendar provider credentials if you are currently signed out.
- Follow the on-screen instructions to continue to configure the calendar provider passport.
- Once authenticated, in the Account Settings tab, you may perform the following actions:
- Change the name of the passport, by entering a different name in the Name field.
- View the Account ID of the passport.
- View the App Permissions granted to the passport.
- View and refresh the Status of the passport.
- Remove the passport, by clicking the Remove Account button.
- In the Permissions tab, you may grant the following users or user groups permissions to view or edit this passport configuration at any time:
- Enter and select the user(s) or user group(s) from the drop-down list, or click the Find users or user groups link, and select the desired user(s) or user group(s). Proceed to grant either Can Manage or Can View permissions by clicking the Select permissions drop-down menu.
- You may also view or remove the user(s) or user group(s) that have already been granted permissions, by clicking the delete icon.
- You may proceed to the Configure Calendar Provider Integration For Reservations section below.
Configure Calendar Provider Integration For Reservations
Important
These steps only need to be followed for the initial setup of each calendar provider.
Follow the instructions below to configure the authentication passport for your desired calendar provider:
- Log in to the Appspace console.
- Click Reservations from the ☰ Appspace menu, and click the Resources tab.
- Click the + CREATE button arrow, and select Add Provider.
- Click the CREATE PASSPORT button to create a new provider or select your provider from the Select Provider drop-down menu.

- Click Next.
- Proceed to Configure Locations, by selecting one of the following options for the building resources:
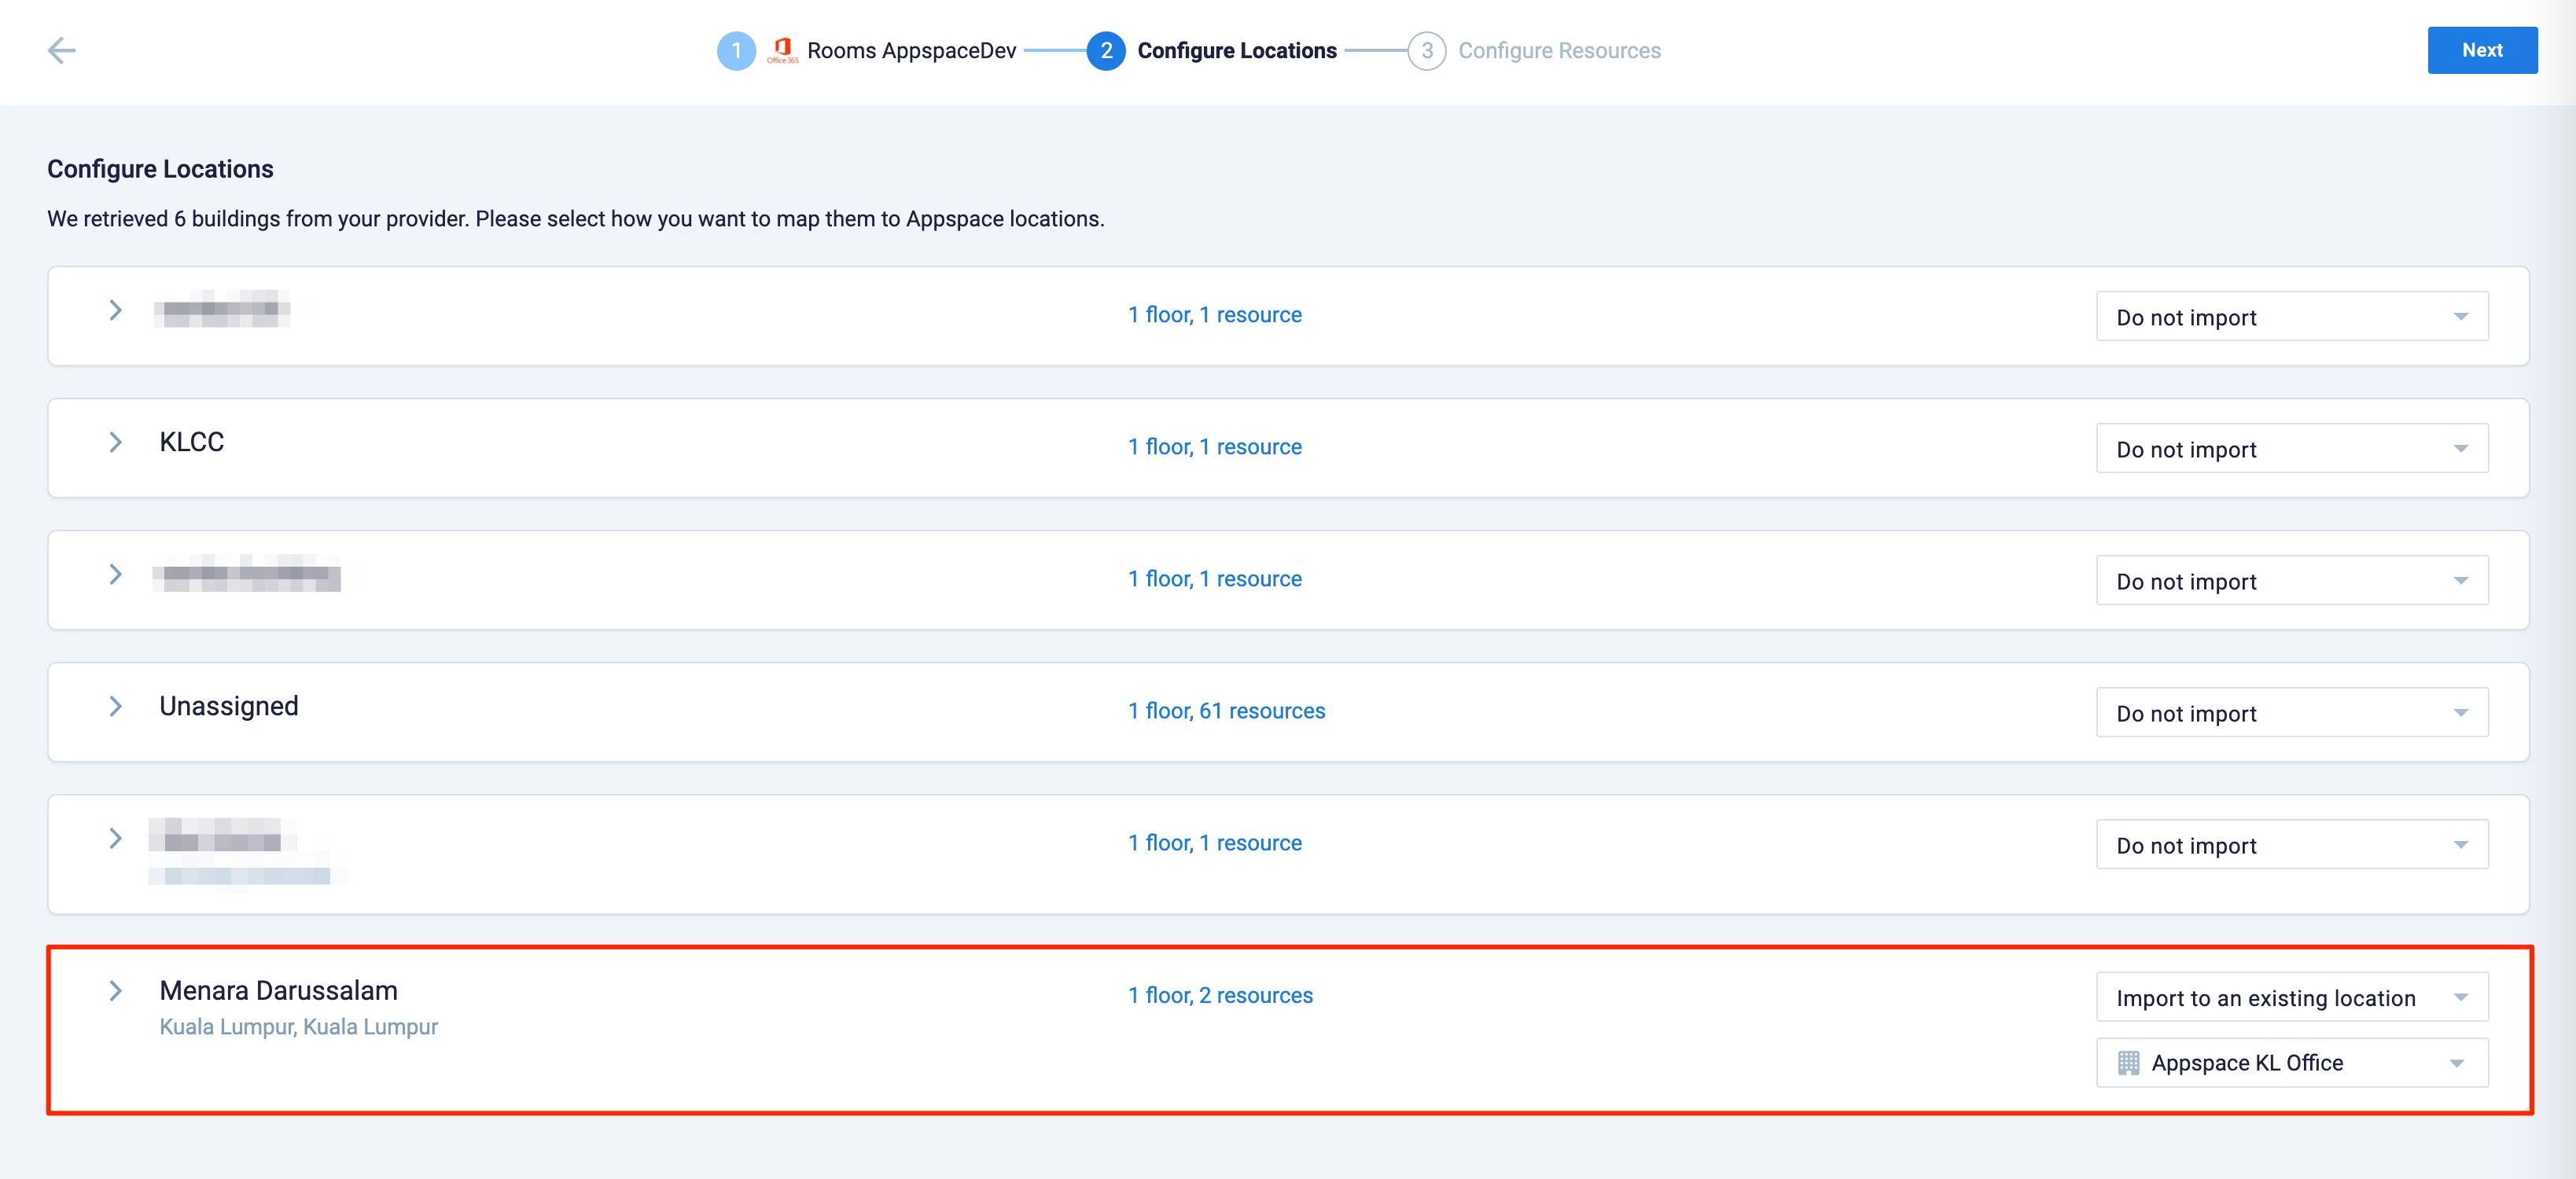
- Do not Import
- Import as a new building – If this option is selected, proceed to select the location the building will be created in.
- Import to an existing location – if this option is selected, proceed to select the building the resources will be imported to.
Note
Each building displays the number of floors and resources it has been configured with. When importing the resources, you have the option to import the resources from a particular floor, and to either have these resources newly created or added to an existing floor in your building in Locations.
- Once done, click Next.
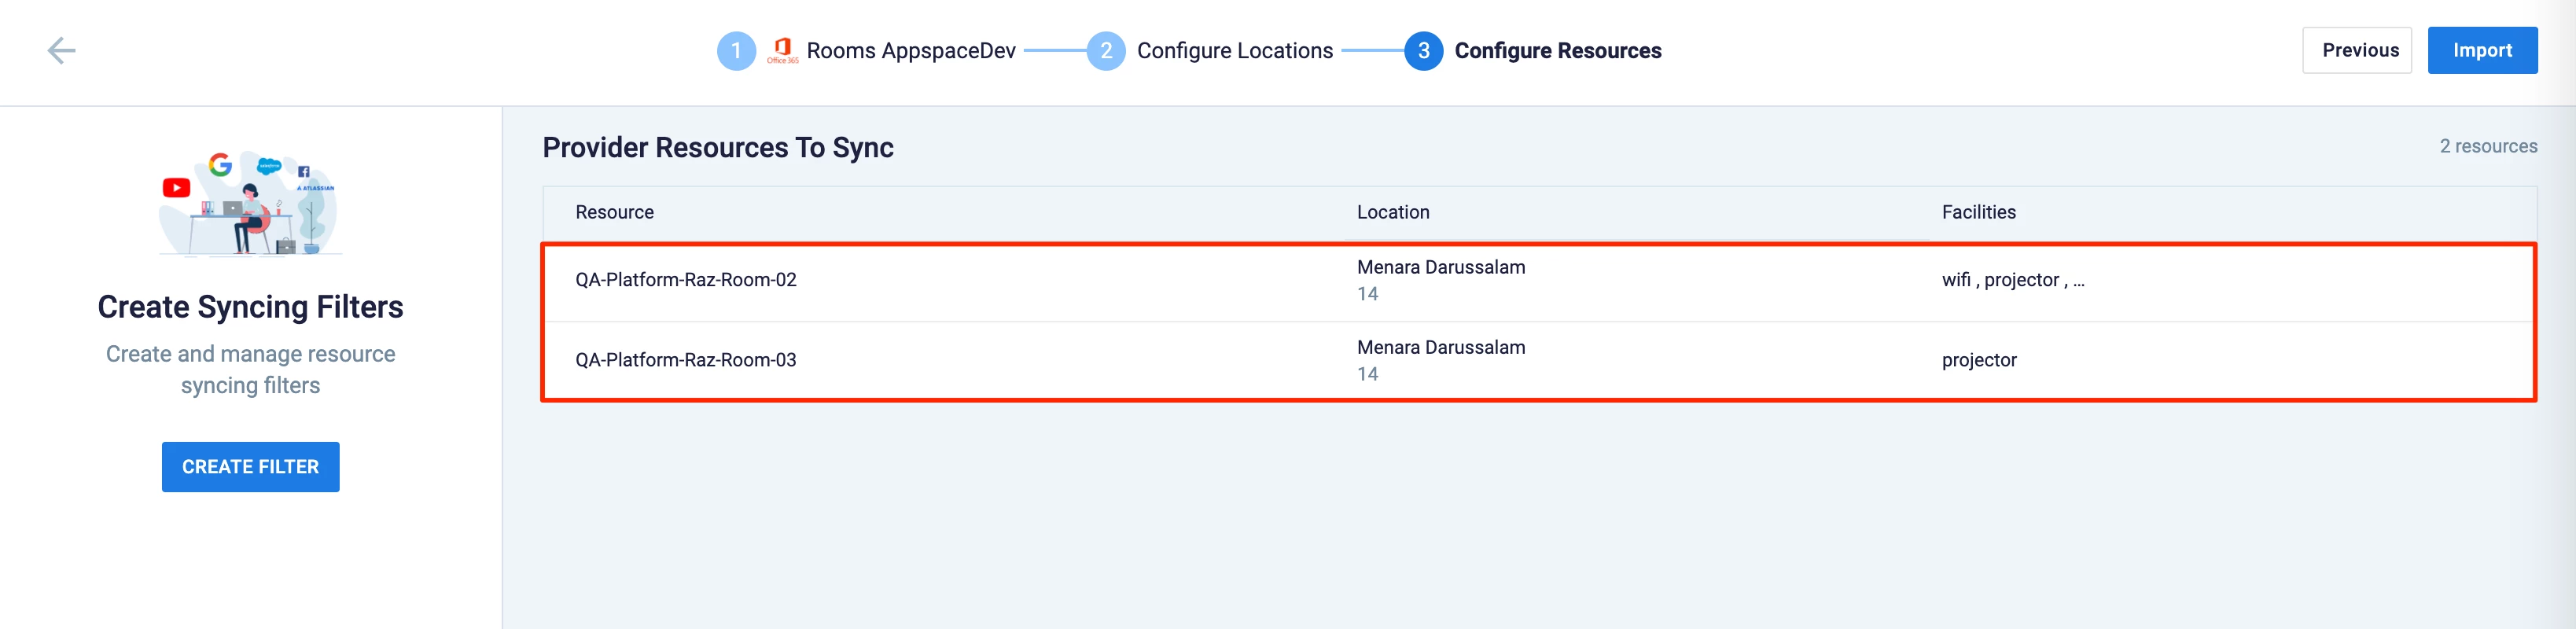
- The Configure Resources section displays all resources that will be added. Optionally you may use the filter to further narrow the resources to be imported.

- Once all resources have been confirmed, click the Import button. The imported resources will be displayed in the Resources tab.
- If you chose to create new resources, proceed to Step 4 in the Create Resource section below.
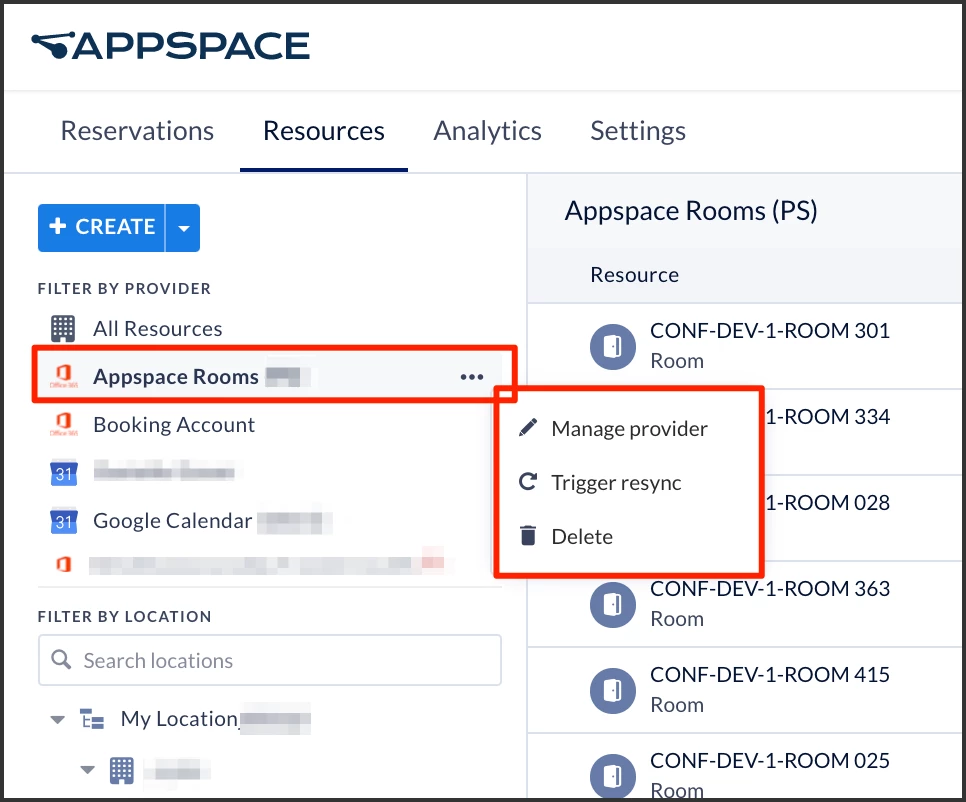
Update/Re-Sync Calendar Provider Data
Once you have imported resources from a supported calendar provider and created bookable resources that are then assigned to various buildings or floors, you can periodically import or sync new or existing resources with Appspace Reservations.
To do this, click the three-dot menu on the existing provider and select Manage Provider or Trigger Resync. This requires the Account Owner or Location Admin role.
- Manage provider – set or update import rules and configure how resources from your calendar service are imported to a location or building. This option will re-run the rules engine.
- Trigger resync – trigger an automatic resync of resources from your calendar provider. This option checks for changes in the calendar service, and only updates the changes (resources added or removed).
When you update or sync the calendar provider service, only new resources are updated, ensuring existing resource configuration and mappings remain intact, with the following rules:
- If there is an existing resource, the building and floor ID will not be updated.
- If the resource does not exist, the building and floor ID is set based on the sync rule.
If the calendar passport has been deleted or the resource do not match during sync, or experience a sync issue, the Reservations system will display an alert icon next to the affected calendar provider or resources:
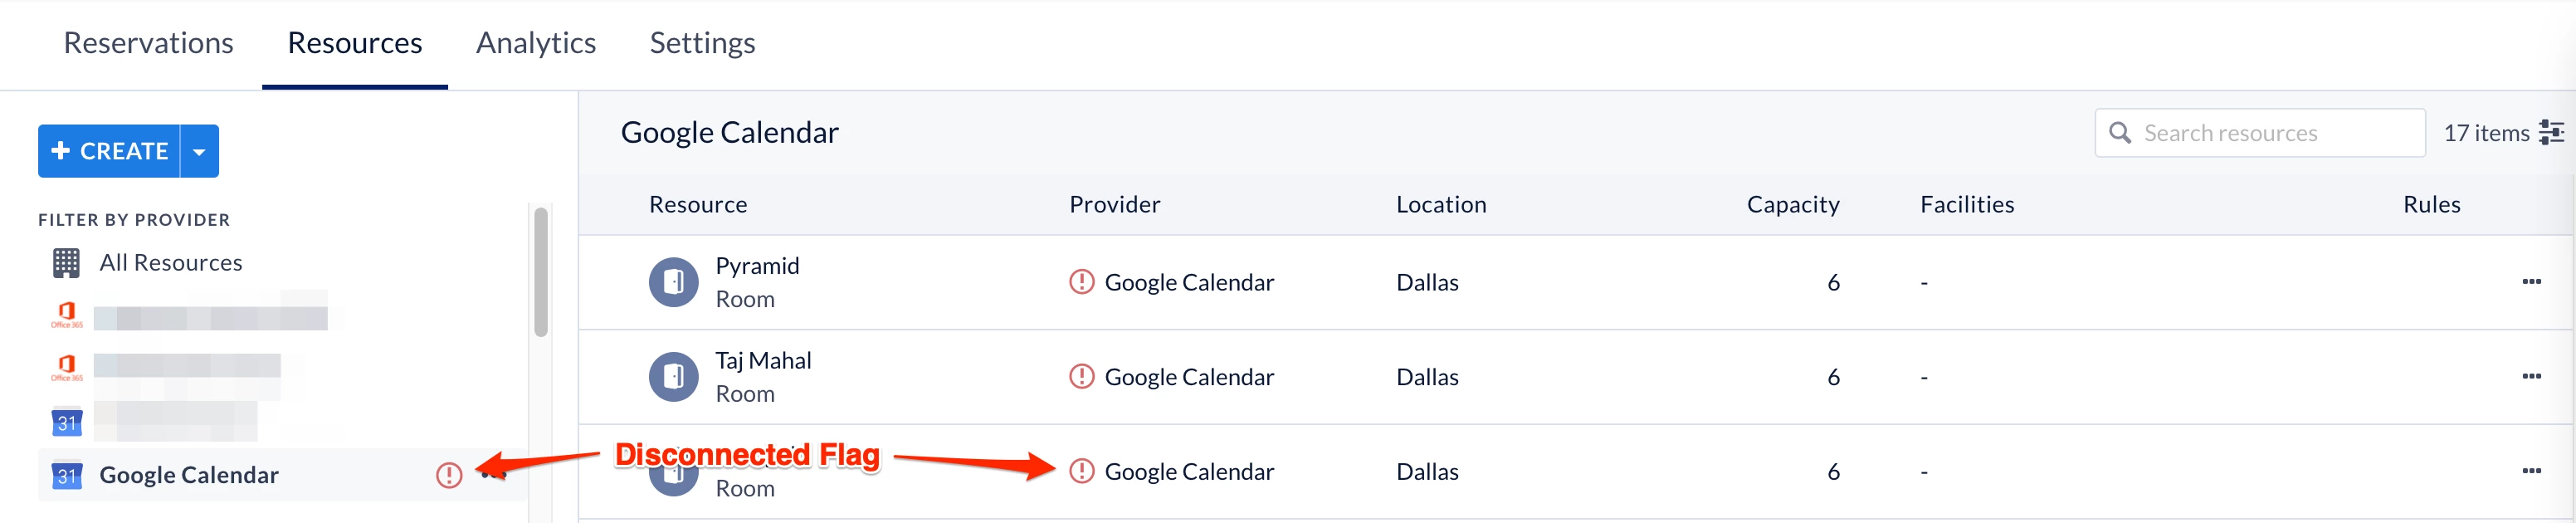
Important
Below are the expected behaviors in the event a calendar provider passport is removed:
- If the calendar provider passport gets unauthenticated from the Integrations >Passport module, all related resources will be intact but require re-authentication by the administrator.
- If the calendar provider passport is deleted from the Integrations > Passport module, all related resources will be disconnected, but not deleted.
- If the calendar provider passport is deleted directly from the Reservations module, all related resources will not be deleted.
Follow the instructions below to update or resync your desired calendar provider data:
- Log in to the Appspace console.
- Click Reservations from the ☰ Appspace menu, and click the Resources tab.
- Click the ellipsis of the desired calendar provider, and select one of the following options:
- Manage provider
- In the Configure Locations screen, select one of the following options for the resources you wish to update:

- Do not Import
- Import as a new building – If this option is selected, proceed to select the location the building will be created in.
- Import to an existing location – if this option is selected, proceed to select the building the resources will be imported to.
Note
Each building displays the number of floors and resources it has been configured with. When importing the resources, you have the option to import the resources from a particular floor, and to either have these resources newly created or added to an existing floor in your building in Locations.
- Once done, click Next.
- The Configure Resources section displays all resources that will be added. Optionally you may use the filter to further narrow the resources to be imported.
- Once all resources have been confirmed, click the Import button. The imported resources will be displayed in the Resources tab.
- In the Configure Locations screen, select one of the following options for the resources you wish to update:
- Trigger resync
- The Appspace console will initiate a resync with your desired calendar provider, which may take up to 15 mins to be completed.
- Manage provider