
This article provides admins with instructions to create and configure publishing passports to integrate with third-party platforms and services to display external content.
Prerequisites
Appspace Requirements
-
An Account Owner or Publisher role in the Appspace console.
-
The Account Owner must have Platform User licenses assigned.
Microsoft Viva Engage Publishing Passport
-
Requires a Microsoft 365 administrator or service account for authentication.
-
The account must be authorized to grant permissions allowing Appspace to post content to designated Viva Engage communities.
SharePoint Publishing Passport
-
Requires a Microsoft 365 administrator or service account for authentication.
-
The account must have administrative rights to grant Appspace the ability to create and update Site Pages within your SharePoint site collections.
Create a Microsoft Viva Engage Publishing Passport
Steps to Authorize the Microsoft Viva Engage Passport
-
Log in to your Appspace console.
-
From the left-hand navigation menu, go to Integrations.
-
Select the Passports tab.
-
Click the + ADD button.
-
In the list of available options, select Microsoft Viva Engage.
-
Click Connect.
-
You will be redirected to the Microsoft login page. Sign in using your M365/admin account.
-
Microsoft will prompt you to grant permissions for the Appspace application. Review the permissions and click Accept.
Note:
Accepting these permissions allows Appspace to post content to your Viva Engage communities on behalf of your users. -
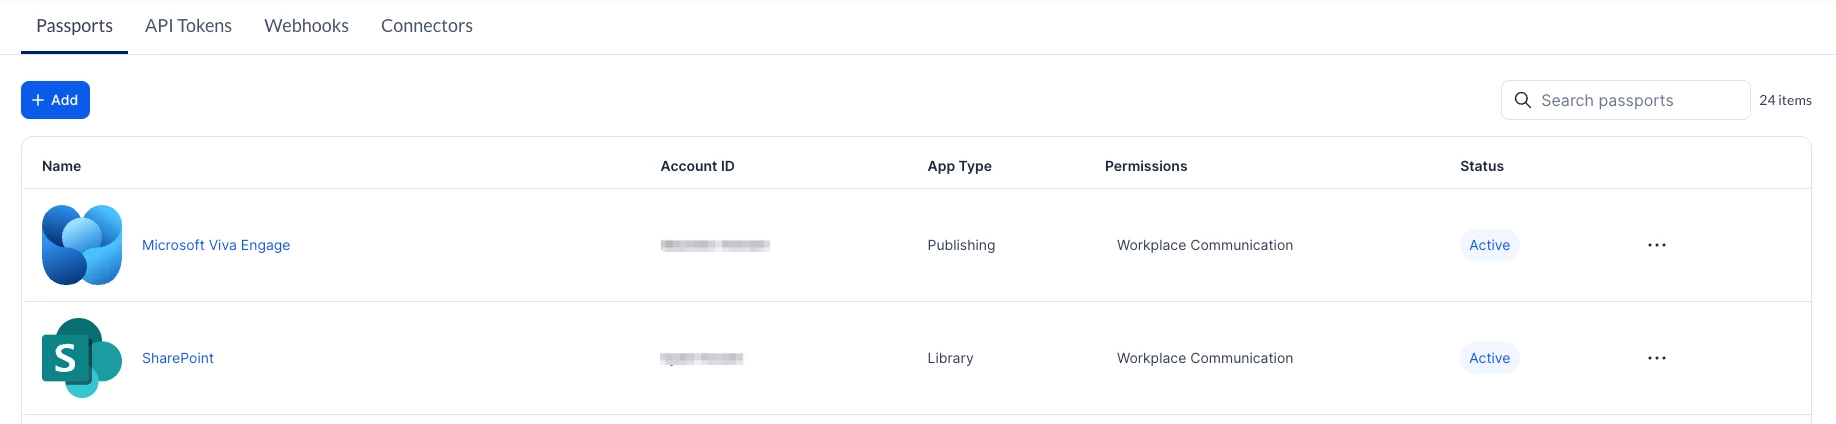
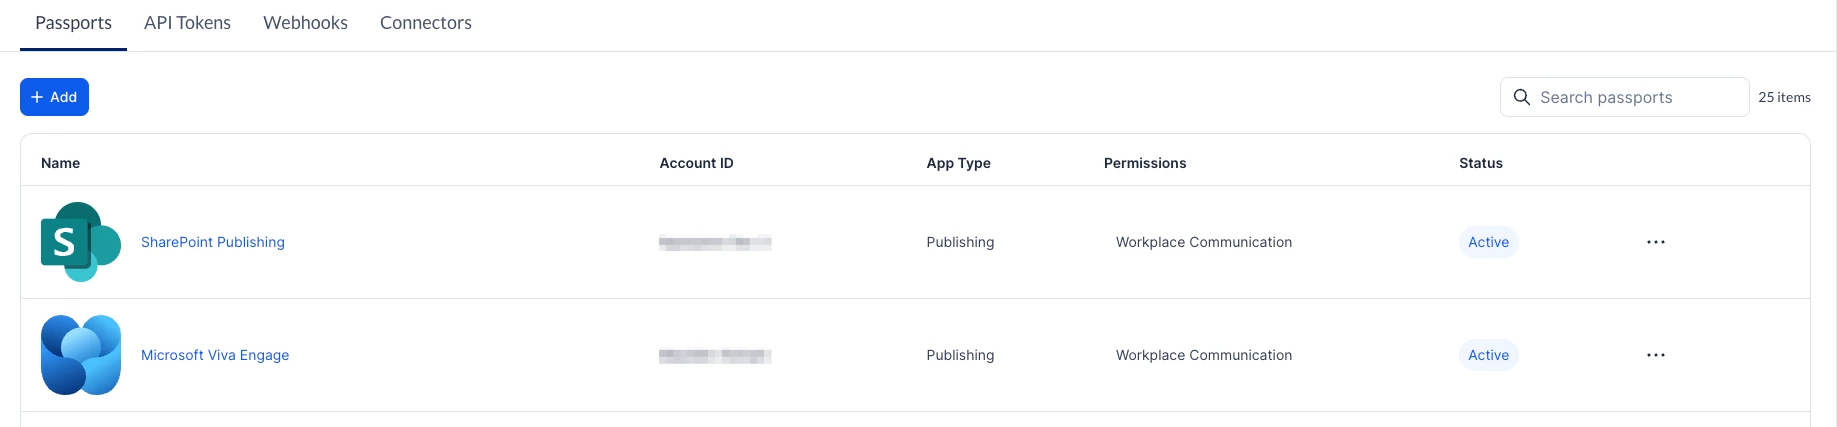
Once the authorization is successful, you will be redirected back to the Appspace console. The new passport will appear in your list with an "Active" status.
Configure Publishing Links
For more information on configuring your Appspace content to publish to the platform, refer to the following articles: Configure publishing from an Appspace Space to a Microsoft Viva Engage Community article.
Create a SharePoint Publishing Passport
Steps to Authorize the SharePoint Publishing Passport
-
Log in to your Appspace console.
-
From the left-hand navigation menu, go to Integrations.
-
Select the Passports tab.
-
Click the + ADD button.
-
In the list of available options, select Sharepoint Publishing.
-
Click Connect.
-
You will be redirected to the Microsoft login page. Sign in using your M365/admin account.
-
Microsoft will prompt you to grant permissions for the Appspace application. Review the permissions and click Accept.
Important:
The permissions granted here allow Appspace to create and update Site Pages on designated SharePoint sites. -
Once the authorization is successful, you will be redirected back to the Appspace console. The new passport will appear in your list with an "Active" status.
Configure Publishing Links
For more information on configuring your Appspace content to publish to the platform, refer to the following articles: Configure publishing from an Appspace Space to a SharePoint Community article.