

Note
See Configure Reservation Settings for a complete guide to your reservation system setup.
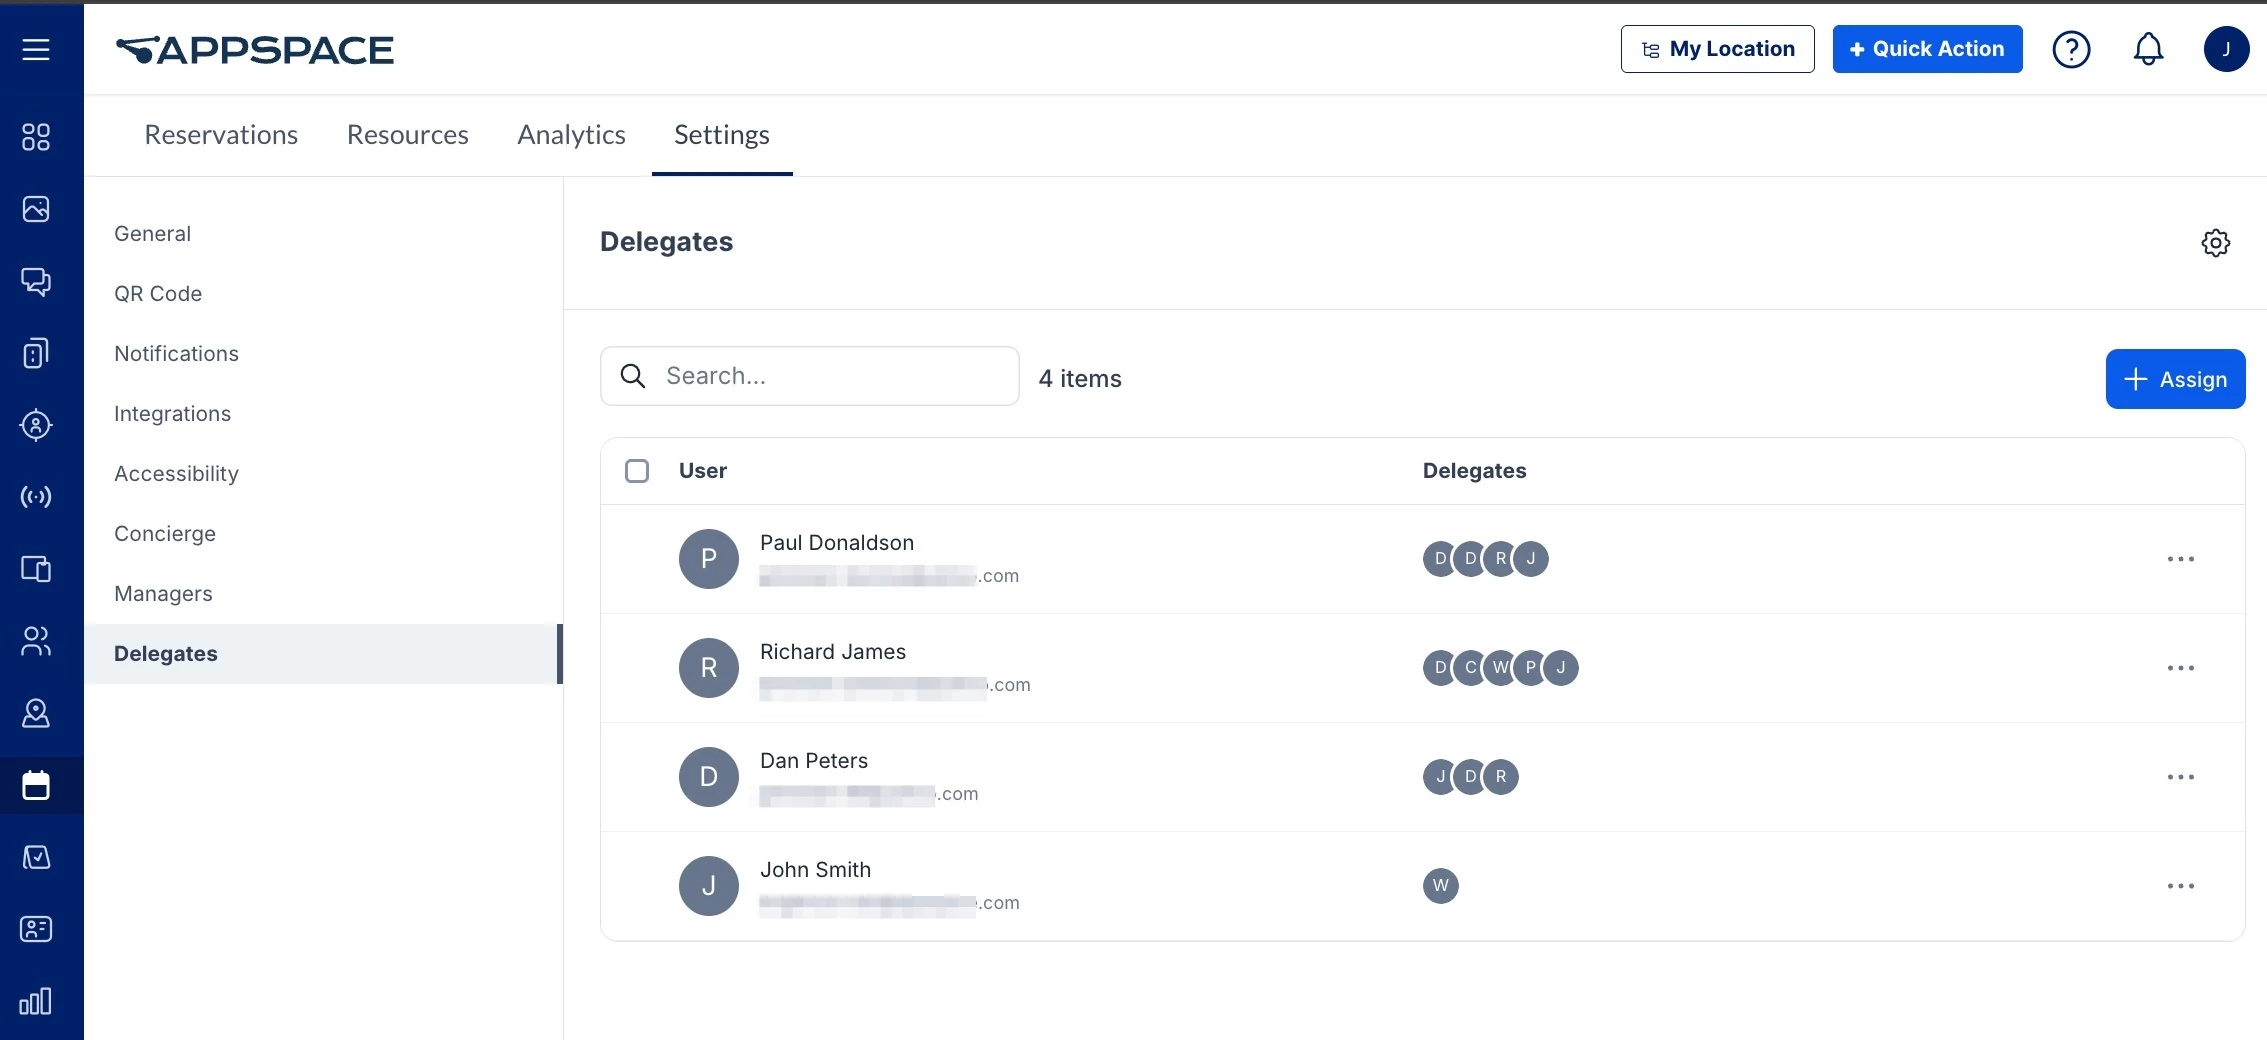
The Delegates settings listed below contain settings focused on delegation features within the Space Reservations module. Delegates are users who have been granted permissions to view, manage, and create reservations on behalf of other meeting hosts (delegators).
The Delegate settings can be accessed via the Settings > Delegates tab within the Reservations module.
Select Passport for Delegate Settings
This setting allows Admins to select a passport to a calendar service to import its Delegation information and settings. To select a passport, follow these steps:
Note
- A Delegations passport must be created first.
- Only one passport can be selected at a time.
- Log in to the Appspace console.
- Click Reservations from the ☰ Appspace menu, and click the Settings tab.
- Click Delegates from the left bar.
- Click the Settings icon.
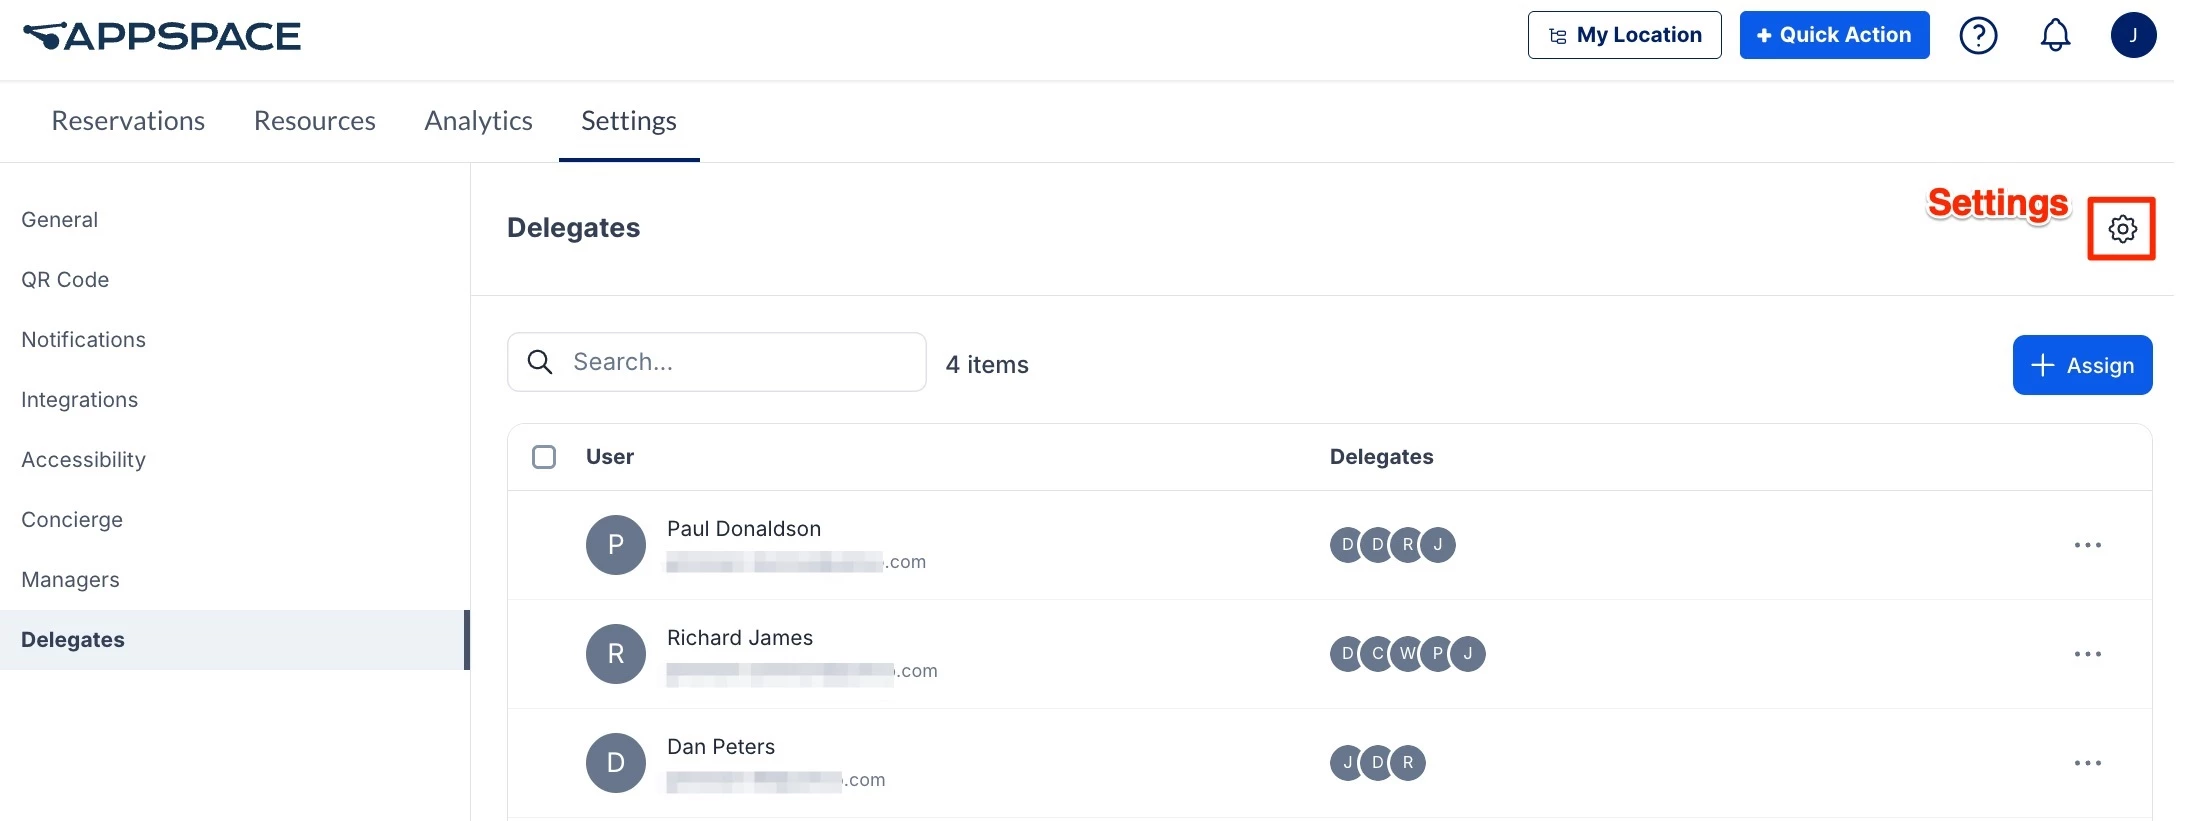
- Select a passport from the drop-down list and click Save.
- You can also remove a passport after one is added. Select None from the drop-down list in the first step above.
Assign and Configure Delegate Permissions
The Delegations setting page allows Location admins to assign users the delegation permissions to manage reservations through the My Delegations dashboard. To assign and configure delegates, follow these steps:
- Log in to the Appspace console.
- Click Reservations from the ☰ Appspace menu, and click the Settings tab.
- Click Delegates from the left bar.
- Click the + Assign button and enter the following:
- User – Click the field and type in the name or email of the user who will be the meeting organizer, or select from the drop-down list.
Note
Users who have already been added as meeting organizers will have a tick next to their name in the list and cannot be selected. You may look for their entry in the table and edit their delegates in the rows instead.
- Delegates – Enter the name or email of the user(s) who will serve as the delegate for the meeting organizer. You may enter several users at a time.
Note
- If a Delegations passport has been added in the section above, the Sync delegates from passport checkbox appears. Leave it checked to include and sync delegates from the calendar service.
- If a Delegations passport is removed, the synced delegates from the calendar service will also be removed from the delegates list. However, they will be added (resynced) back if the same passport is re-added.
- User – Click the field and type in the name or email of the user who will be the meeting organizer, or select from the drop-down list.
- Click Save (or Save & Sync if a passport has been selected).
Once configured, assigned Delegates will be able to view, manage, and create reservations on behalf of the meeting organizer through the My Delegations tab in Employee Experience > Reservations.
Note
The My Delegations tab will only appear to users who have been added as delegates.