



Configure widget properties in Multizone Signage Channels from the layout editor tabs. Widget settings live on the selected widget in the layout editor, not in a Widget Properties window. After you read this article, you can open the editor and use the shared tabs that apply to every Signage Channel widget.
For: Communicators and IT Administrators — Widget Editor Tabs
Note: Who this article is for: Communicators and IT Administrators. Channel Publishers see all five tabs. A Manage widget or Manage content grant on a single widget does not include the Actions or Permissions tabs.
Prerequisites
-
You must be a Publisher for the selected location, channel, or channel group, or have another role that allows you to manage the channel.
-
Create a Multizone Signage Channel and add at least one widget to a layout. See Create a Multizone Signage Channel.
-
Review the widgets you can add in Supported Signage Channel Widgets.
Note: Widget properties are configured in the layout editor. A widget opens there with these tabs: Edit, Content, Actions, Properties, and Permissions. The Content tab appears only for Media Zone, RSS Viewer, RSS Ticker, Event Calendar, Table Listing, Text Ticker, Media Container, and Remote Control.
Open the Layout Editor
Open the layout editor from the channel Edit tab, then select the widget you want to configure.
-
Select Channels from the Appspace menu.
-
Open the Multizone Signage Channel.
-
Select the Edit tab.
-
Select the layout that contains the widget.
-
Select Edit from the layout more options menu.
-
Select the widget you want to configure.
The layout editor opens with the widget selected. The header includes Save. The widget tabs are Edit, Content, Actions, Properties, and Permissions.
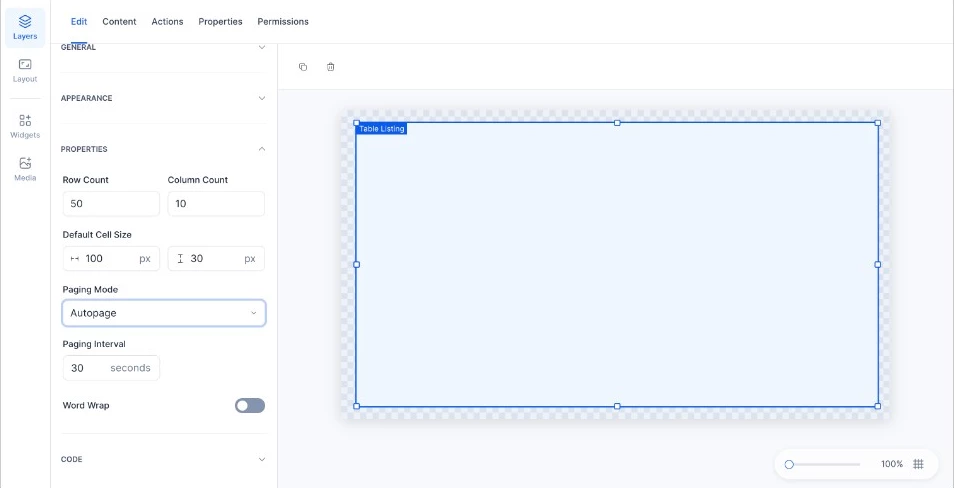
The layout editor with the five widget tabs. Edit is selected.
Tip: You can also open the layout editor from the layout preview. Click the + button on the widget and select Open editor. Clicking a widget that has a Content view opens that content view instead of the layout editor.
Important: The layout editor does not include an APPEARANCE tab or a DATA PROVIDER tab. Click Save on the layout editor header after you change settings. There is no Apply control on a Widget Properties window.
Widget Editor Tabs
Use the tab that matches the change you need to make. Widget-specific fields stay on that widget’s how-to. This article covers only the shared editor chrome.
| Tab | What you configure |
|---|---|
| Edit | Placement, appearance, widget-specific settings, and Custom CSS for the selected widget. |
| Content | Content or media, when the widget has a Content tab. |
| Actions | Widget actions for the selected widget. See Configure Signage Channel Widget Actions. |
| Properties | The widget property list as Key and Value rows. |
| Permissions | Publishers and Editors for that widget. Do not use the channel Settings permissions tab for widget access. |
Edit Tab
The Edit tab is the default tab in the layout editor. Every picker widget includes these shared accordions. Some widgets also include a widget-specific Properties accordion. Media Zone also includes playout and audio accordions. Use the dedicated widget how-to for those fields.
General
-
Name
-
Size — W and H in pixels
-
Position — X and Y in pixels
-
Opacity — percent
-
Animation In and Animation Out
Appearance
-
Background — color and opacity
-
Background Image
-
Border — color, thickness in px, and corner radius in px
-
Margins — horizontal and vertical spacing in px
Change labeled fields on Edit, then click Save on the layout editor header.
Apply Custom CSS
Every picker widget, including Remote Control, includes a Code accordion on the Edit tab. Custom CSS accepts CSS property declarations, not class names and not full CSS rules.
-
Select the Edit tab.
-
Expand Code.
-
Enter declarations in Custom CSS. The placeholder is Enter Custom CSS (e.g. background: red;).
-
Click Save on the layout editor header.
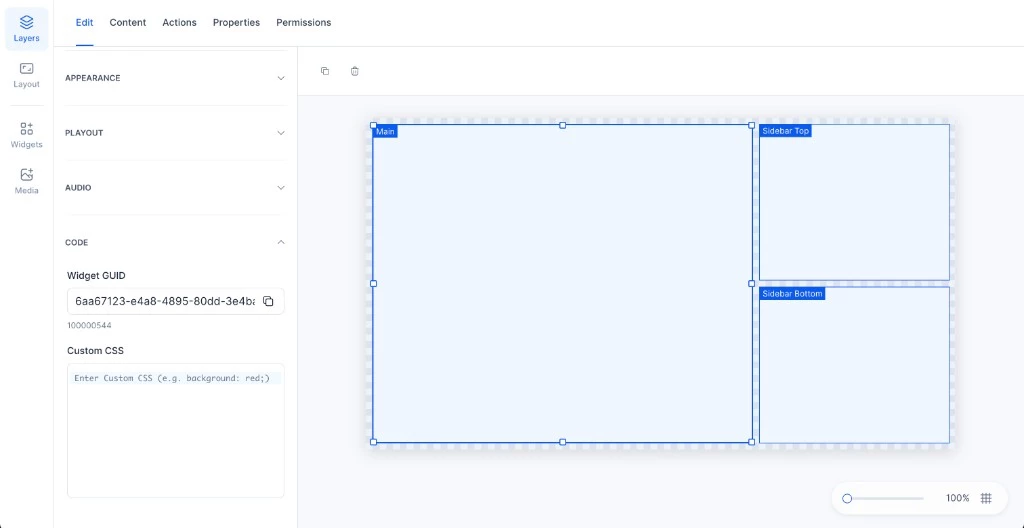
The Edit tab with the Code accordion expanded. Custom CSS is empty.
The Code accordion also shows a read-only Widget GUID with Copy.
Note: Do not wrap declarations in braces. If the syntax is invalid, the field shows Invalid syntax. Custom CSS overlays Appearance for the same CSS properties. Appearance values remain the base when Custom CSS does not set that property.
Content Tab
The Content tab appears only for Media Zone, RSS Viewer, RSS Ticker, Event Calendar, Table Listing, Text Ticker, Media Container, and Remote Control. Clock, Weather, and Plain Text do not have a Content tab.
Use the dedicated widget how-to to add or edit that widget’s content. Do not use this article to enter Table Listing cells, ticker items, or media.
Actions Tab
Configure widget actions on the Actions tab. Follow Configure Signage Channel Widget Actions. Click Save on the layout editor header after you save the action panel.
Properties Tab
The Properties tab lists widget settings as a table of Key and Value rows. Change labeled fields on the Edit tab unless you need to add, disable, enable, or delete a key.
-
Select the Properties tab.
-
Click Add to insert a row, or search to filter existing keys.
-
Enter or edit the Key and Value.
-
Open the row menu to Disable, Enable, or Delete the property.
-
Click Save on the layout editor header.
If the widget has no properties yet, the tab shows No properties and an Add button. Blank key and value pairs are not saved. Duplicate keys are not accepted.
Permissions Tab
Configure widget access on the widget Permissions tab. Widget permissions are configured from each individual widget, not from channel Settings.
-
Publishers (required) — Publishers have access to edit, configure settings and delete this widget.
-
Editors — Editors have the ability to add, delete and manage content in this widget. Editors appears only when the widget has a content datasource. Weather does not include Editors.
Type to add publishers or type to add editors. Inherited channel publishers appear in a banner above these fields. A subject can hold only one level: adding someone as a Publisher removes them as an Editor, and the reverse.
A Manage widget grant on a single widget shows Edit, Content, and Properties only. A Manage content grant shows Content only.