


Appspace helps organizations maximize the utilization of their existing Zoom Rooms systems. Integrating Appspace with Zoom Rooms transforms these displays into dynamic digital signage screens whenever the room is not actively hosting a meeting. This capability ensures that valuable screen real estate is never wasted, automatically displaying critical company announcements and workplace communications when idle, and instantly reverting to the native conference interface when a meeting begins. This powerful combination establishes a dual-purpose device, effectively merging communication and collaboration in the modern workplace.
This article provides instructions for administrators on configuring and managing the Zoom Rooms Integration with Appspace.
Prerequisites
- Appspace Permissions
- Location Admin and Account Owner can view the Device > Settings > Integration page.
- Only the Account Owner can add, authorize, or manage the integration.
- The user who completes the authorization must be an Account Owner.
- Zoom Configuration
- Access to Zoom Admin settings and Room Management settings is required.
- A room with Zoom Rooms as the room type must be created beforehand in Room Management.
Add Zoom Rooms Integration from Appspace Admin View
Follow the instructions below to add Zoom Rooms integration from the Appspace admin view.
Note
Before beginning this process, ensure the user logged into the Appspace Admin View has the Account Owner role. This is mandatory for successful authorization with the Zoom Marketplace.
- Log in to the Admin View.
- Click Devices from the ☰ Appspace menu.
- Click on Settings.
- In the Global tab, click Integrations.
- Click the Add button. A New Device Integration popup modal appears.
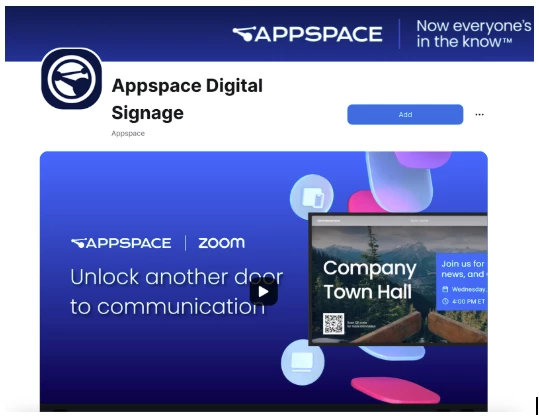
- Click on Zoom Rooms. A new tab will open, displaying the Appspace Digital Signage page in the Zoom Marketplace with a blue Add button.
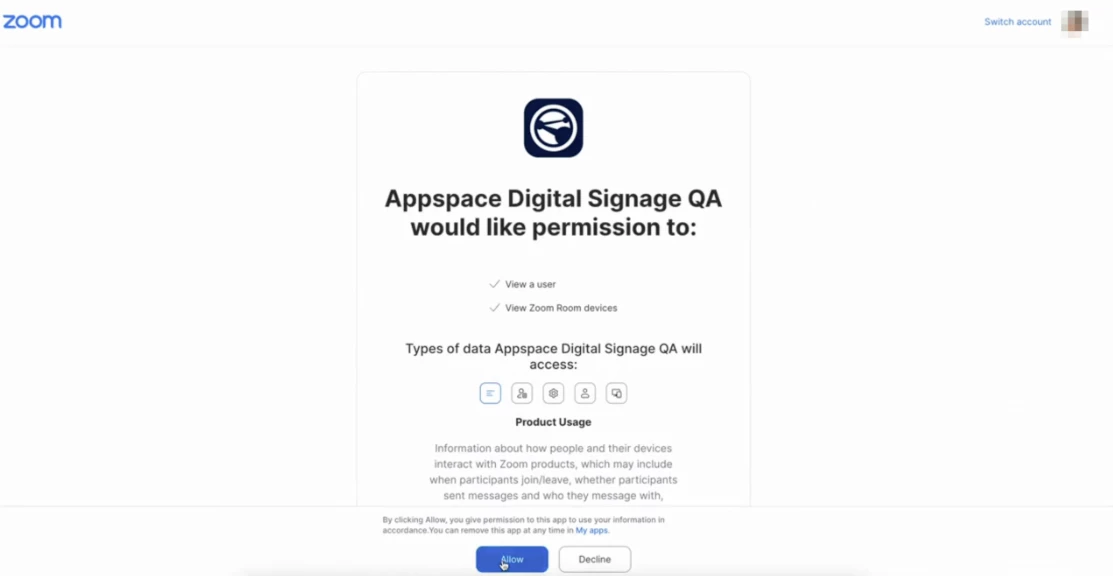
- Click the blue Add button to be redirected to a permission page.
- Click on Allow. Authorization will begin and redirect to the Appspace Cloud login page.
- On the login page, the user may do the following:
- Enter the Account Owner’s username and password, then click the Login button. Once authorization is successful, a message will confirm that the Appspace Setup is Complete.
- Close the authorization tab.
- In the Devices > Integrations tab, Zoom Rooms now will be listed on the integrations dashboard.
Manage Device Integration
Follow the instructions below to manage device integration.
- Log in to the Admin View.
- From the ☰ Appspace menu, click Devices.
- Click on Settings.
- Click Settings, and in the Global tab, click Integrations.
- On the Integration dashboard user may see Zoom Rooms application listed on the dashboard.
- Click the ellipsis (…) and select Edit.
- In the Edit Device Integration window, user can configure the following:
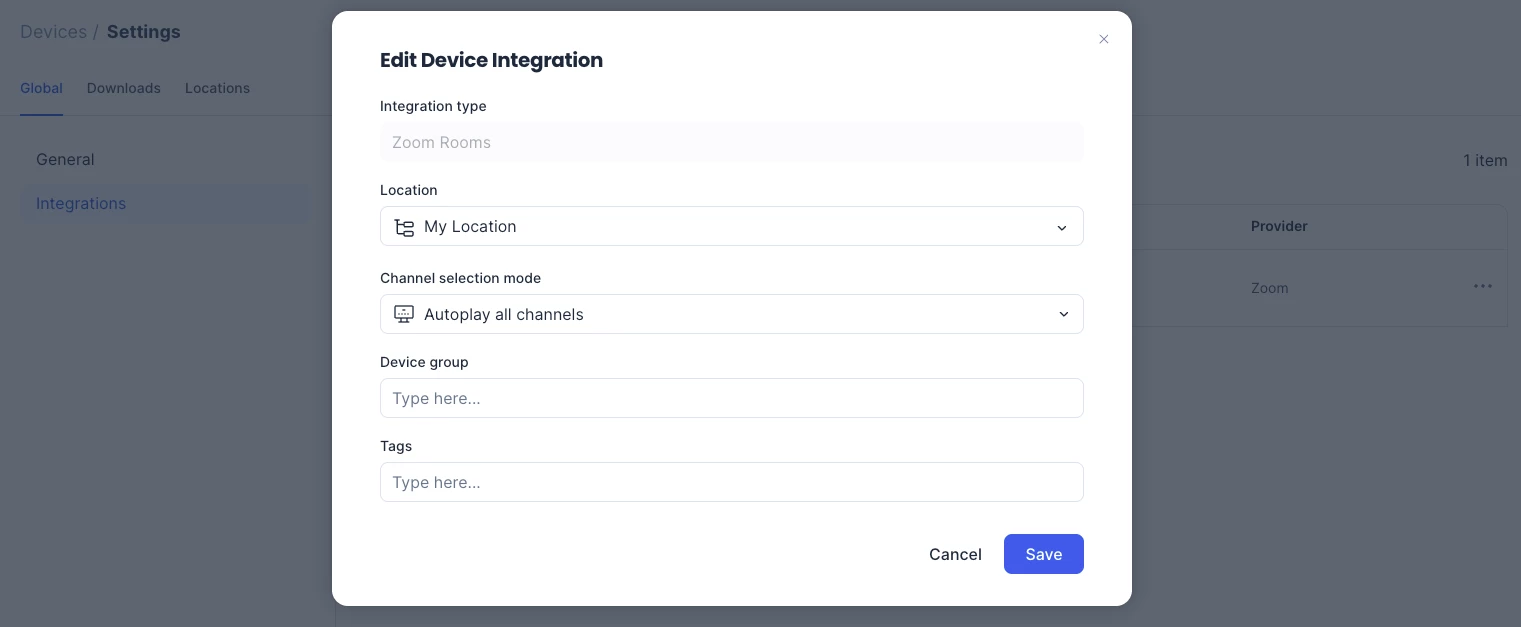
- Location – Assign a location to the device.
- Channel selection – Select the content channel.
- Device group – Add the device to a group.
- Tags – Apply tags for easier management.
- Once done, click Save.
Add Zoom Rooms Integration from Private Cloud
Note
For private cloud environments, use https://<domain>.cloud.appspace.com/#!/login. Replace <domain> with the organization’s domain name to ensure the correct login page is accessed.
Follow the steps below to add Zoom Rooms integration from the private cloud.
- Open a browser and navigate to https://cloud.appspace.com/#!/login to sign in.
- After logging in to the Admin View, navigate to the Devices page.
- Select Settings.
- In the Global tab, select Integrations.
- Click Add. The New Device Integration popup modal appears.
- Select Zoom Rooms. A new tab opens, displaying the Appspace Digital Signage overview with a blue Add button.
- Click Add. The page redirects to a permission screen.
- Select Allow. Authorization begins, and the page redirects to the Appspace Login screen.
- Enter the Account Owner’s username and password, then click Login. Authorization completes successfully.
- Close the authorization tab once authorization is complete.
- Return to the Devices > Integrations tab. Refresh the page or navigate away and return to the Integrations tab.
- Confirm that Zoom Rooms appears in the Integrations dashboard, indicating successful integration.
Add Appspace Digital Signage Integration from a Zoom Room
Follow the steps below to add Appspace Digital Signage integration from a Zoom Room.
- Open a browser and navigate to https://www.zoom.com/ to sign in.
- In the Zoom profile or settings, go to Advanced under the Admin section. The page redirects to the Zoom App Marketplace.
- Search for Appspace Digital Signage and select the application.
- A new tab opens, displaying the Appspace Digital Signage overview with a blue Add button.
- Select Add. The page redirects to the Zoom Authorization screen.
- Select Allow. Authorization begins, and the page redirects to the Appspace Login screen.
- Enter the Account Owner’s username and password, then select Login. Authorization completes successfully.
- Close the authorization tab once authorization is complete.
- Open the Devices > Integrations dashboard.
- Confirm that Zoom Rooms appears in the dashboard, indicating successful integration.