


Appspace introduces a centralized file manager in the admin console, providing administrators with complete visibility and control over all files shared across the platform. Rather than files being scattered across individual spaces, channels, and topics with no unified way to audit or manage them, the file manager aggregates all content assets into a single, searchable interface. Administrators can search, filter, preview, and take bulk actions on files, enabling faster compliance audits, better storage management, and reduced risk across the organization.
Prerequisites
- Account Owner or Administrator role.
- An Appspace Platform user license.
Accessing Document Libraries
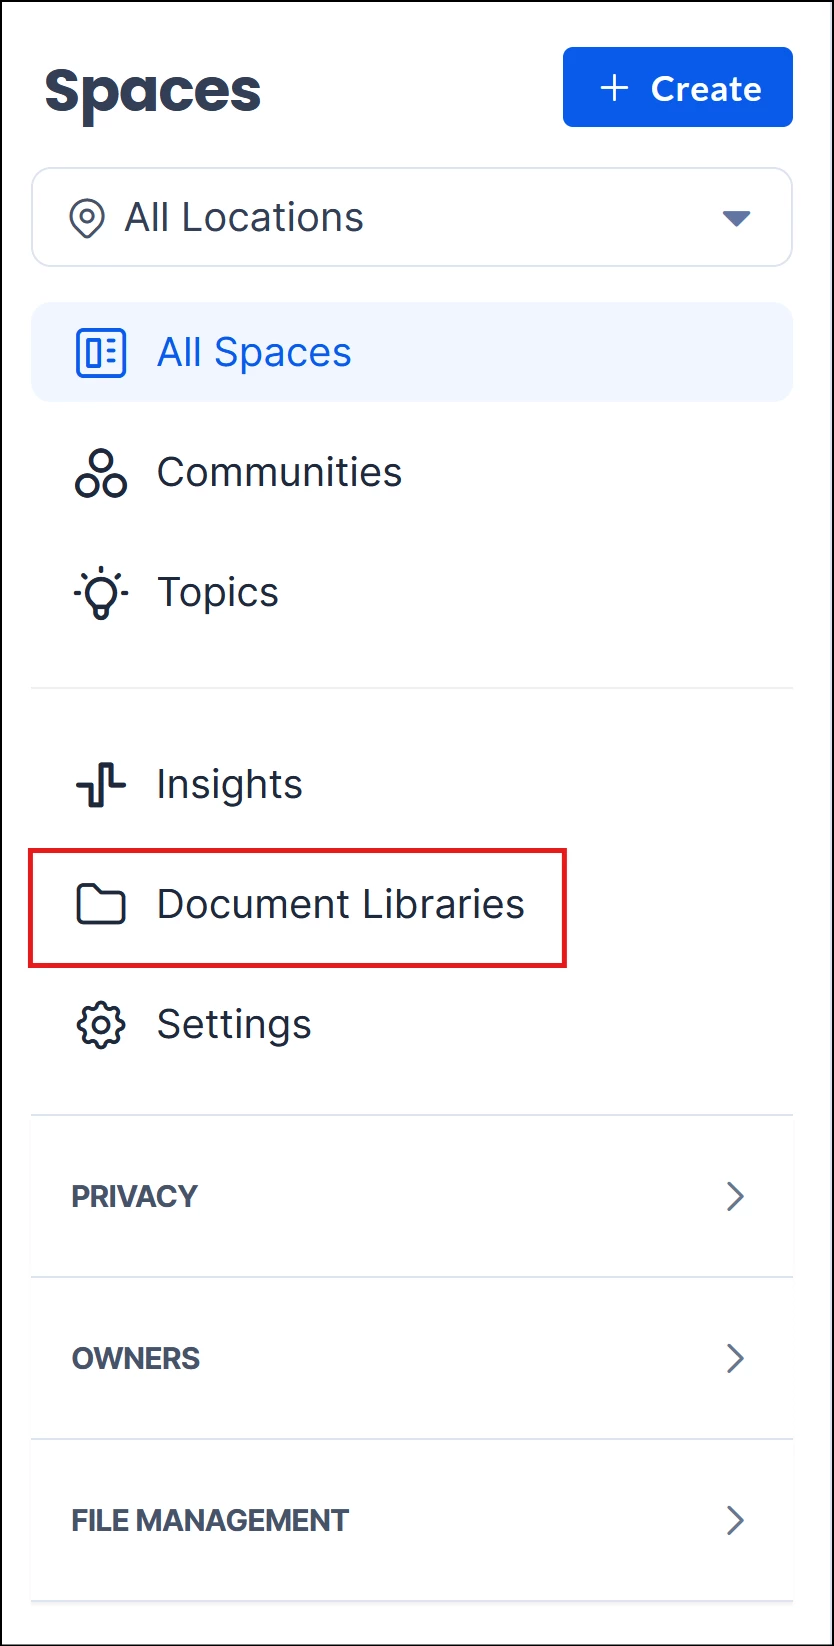
A new Document Libraries section is now available in the Spaces section of the Appspace admin console, displaying all files from Spaces, Channels, and Topics in a unified grid or list view.
- Log in to the Appspace Console.
- On the navigation menu, go to Spaces and select Document Libraries. All files across the platform are displayed in the unified file library.
Searching and Filtering Files
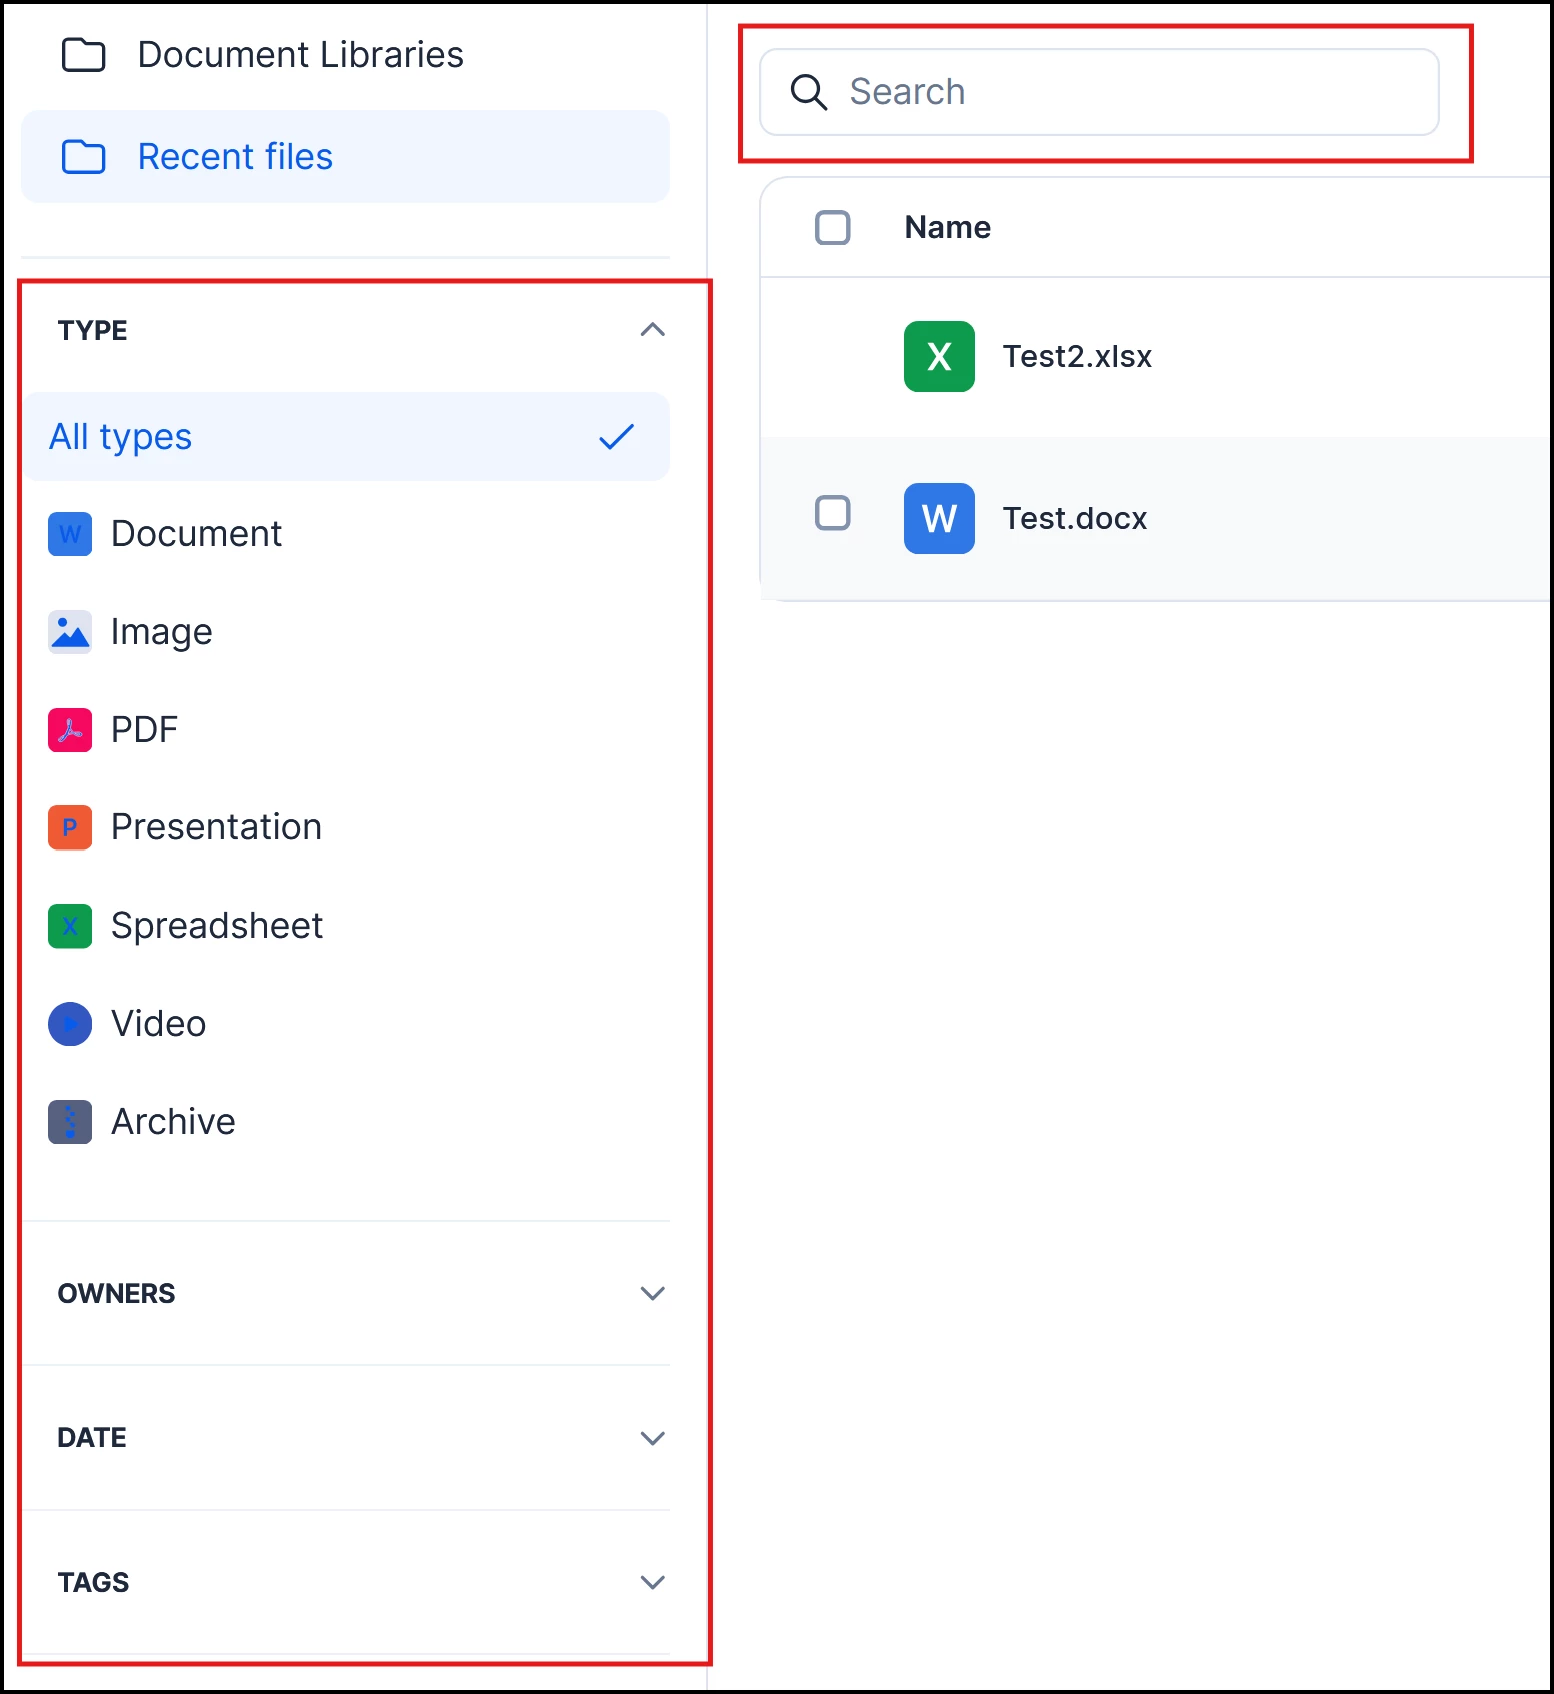
The File Manager supports advanced search and filtering to help administrators quickly locate specific files across the platform. Multiple filters can be applied simultaneously for more precise results.
- Search – Enter a keyword in the search bar to search by filename.
- Type – Filter files by their format (e.g., PDF, DOCX, MP4, PNG).
- Owners – Filter by the user who uploaded the file.
- Date – Filter by a specific date range.
- Tags – Filter by file size to identify large or unexpectedly small files.
Note
Multiple filters can be applied at the same time. Use combined filters to narrow results quickly — for example, filtering by File Type and Owners simultaneously to audit all PDFs within a specific Space.
Viewing File Metadata
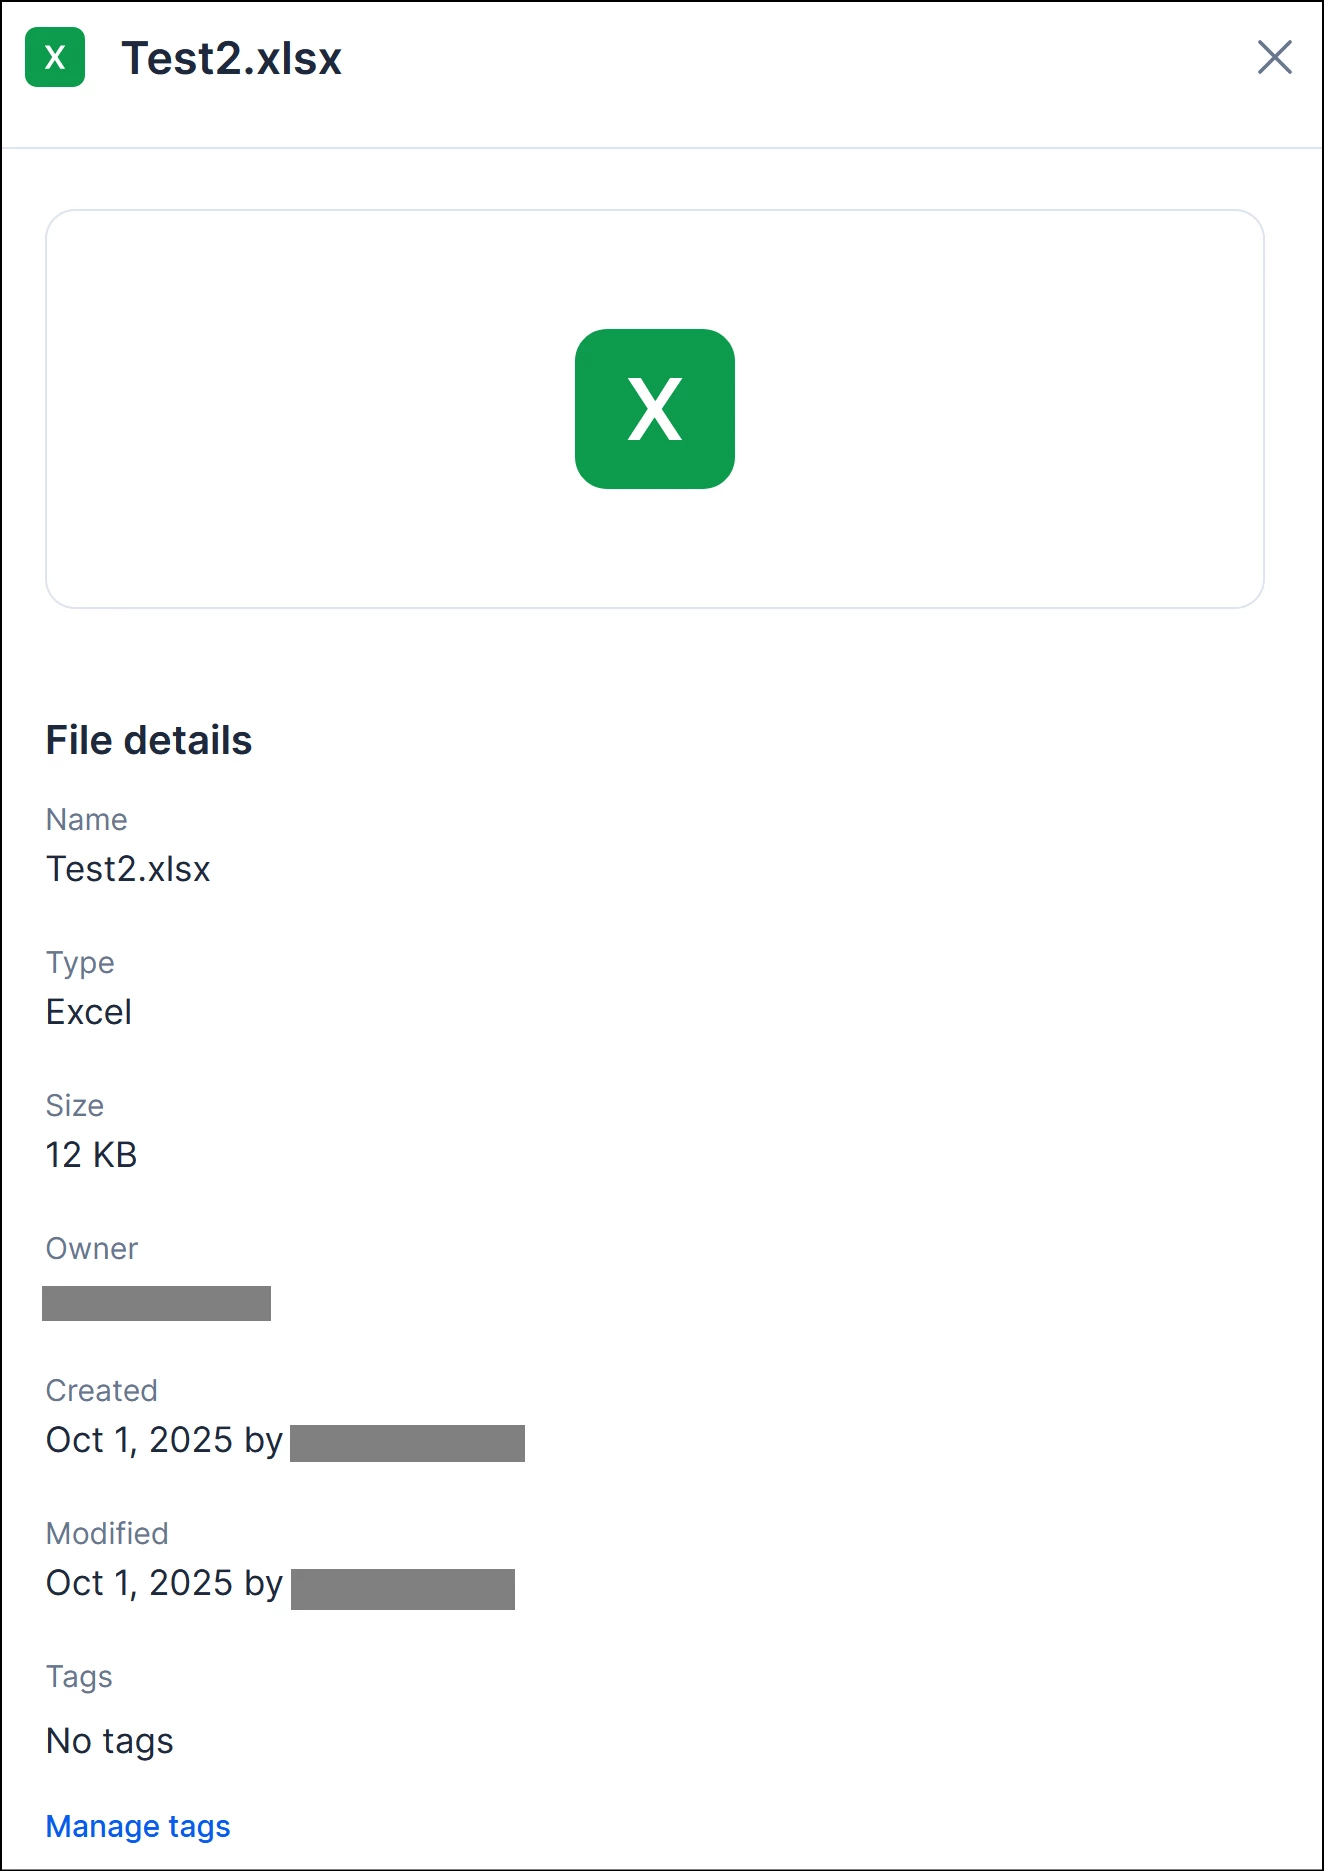
Each file in the the Document Libraries displays rich metadata to give administrators full context at a glance, without needing to download or open the file. To open the metadata details window, click the ellipsis option button at the far right section of the file, and select Details.
- Name – The name of the file as uploaded.
- Type – The format of the file (e.g., PDF, DOCX, MP4).
- Size – The storage size of the file.
- Owner – The name of the user who uploaded the file.
- Created – The date and time the file was uploaded.
- Modified – The date and time the file was edited.
- Tags– The tags specified for the file.
Performing Bulk Actions
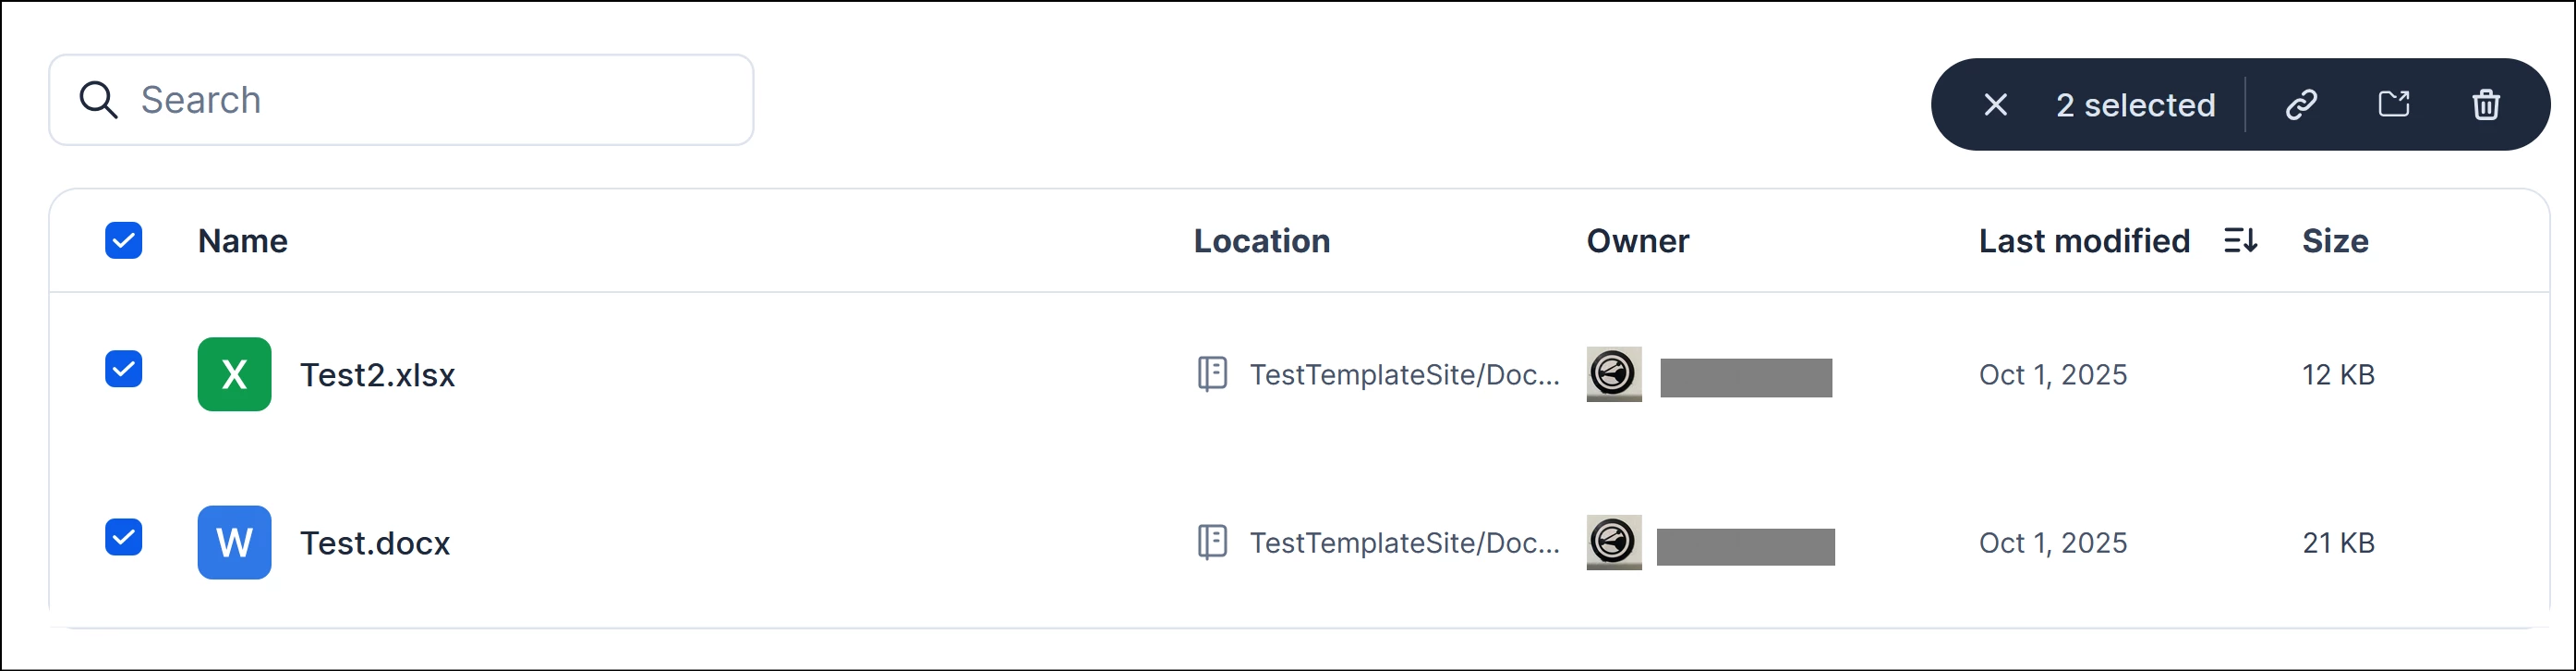
Administrators can select multiple files at once and apply bulk actions to manage content at scale efficiently.
- In the Document Libraries, check the checkbox next to each file you wish to select. To select all visible files, check the Select All checkbox at the top of the list.
- With files selected, click the Actions menu and choose one of the following:
- Copy link – Copy the links to the selected files.
- Move to – Relocate the selected files to a different Space, Channel, or Topic.
- Delete – Permanently remove the selected files from the platform.
- Confirm the action when prompted.
Note
Deleted files cannot be recovered. Ensure you have reviewed the selected files carefully before confirming a bulk delete action.