


This article provides admins with instructions to create and configure a Google Drive passport to integrate with Google Drive and display external content in Appspace.
Prerequisites
The following instructions are configured using a Google or Google Workspace account.
- Account Owner permissions that have been assigned Platform User licenses.
- Account Owner role in Appspace.
- Account Owner, Publisher, or Author role to create or edit a card in the Library.
- Account Owner or Publisher role to configure account authentication in Integrations > Passport.
- A Google account or Google Workspace account to be used for service account authentication, with the appropriate access permissions to the files or folders in Google Drive intended for display in Appspace.
- Ensure the device is compatible. Refer to the Supported Appspace Cards article.
Create Google Drive Passport
Follow the instructions below to authenticate the Google account with the Google Drive passport:
- Log in to the Appspace console.
- Click the ☰ Appspace menu, and select Integrations.
- In the Passports tab, click the + CREATE PASSPORT button.
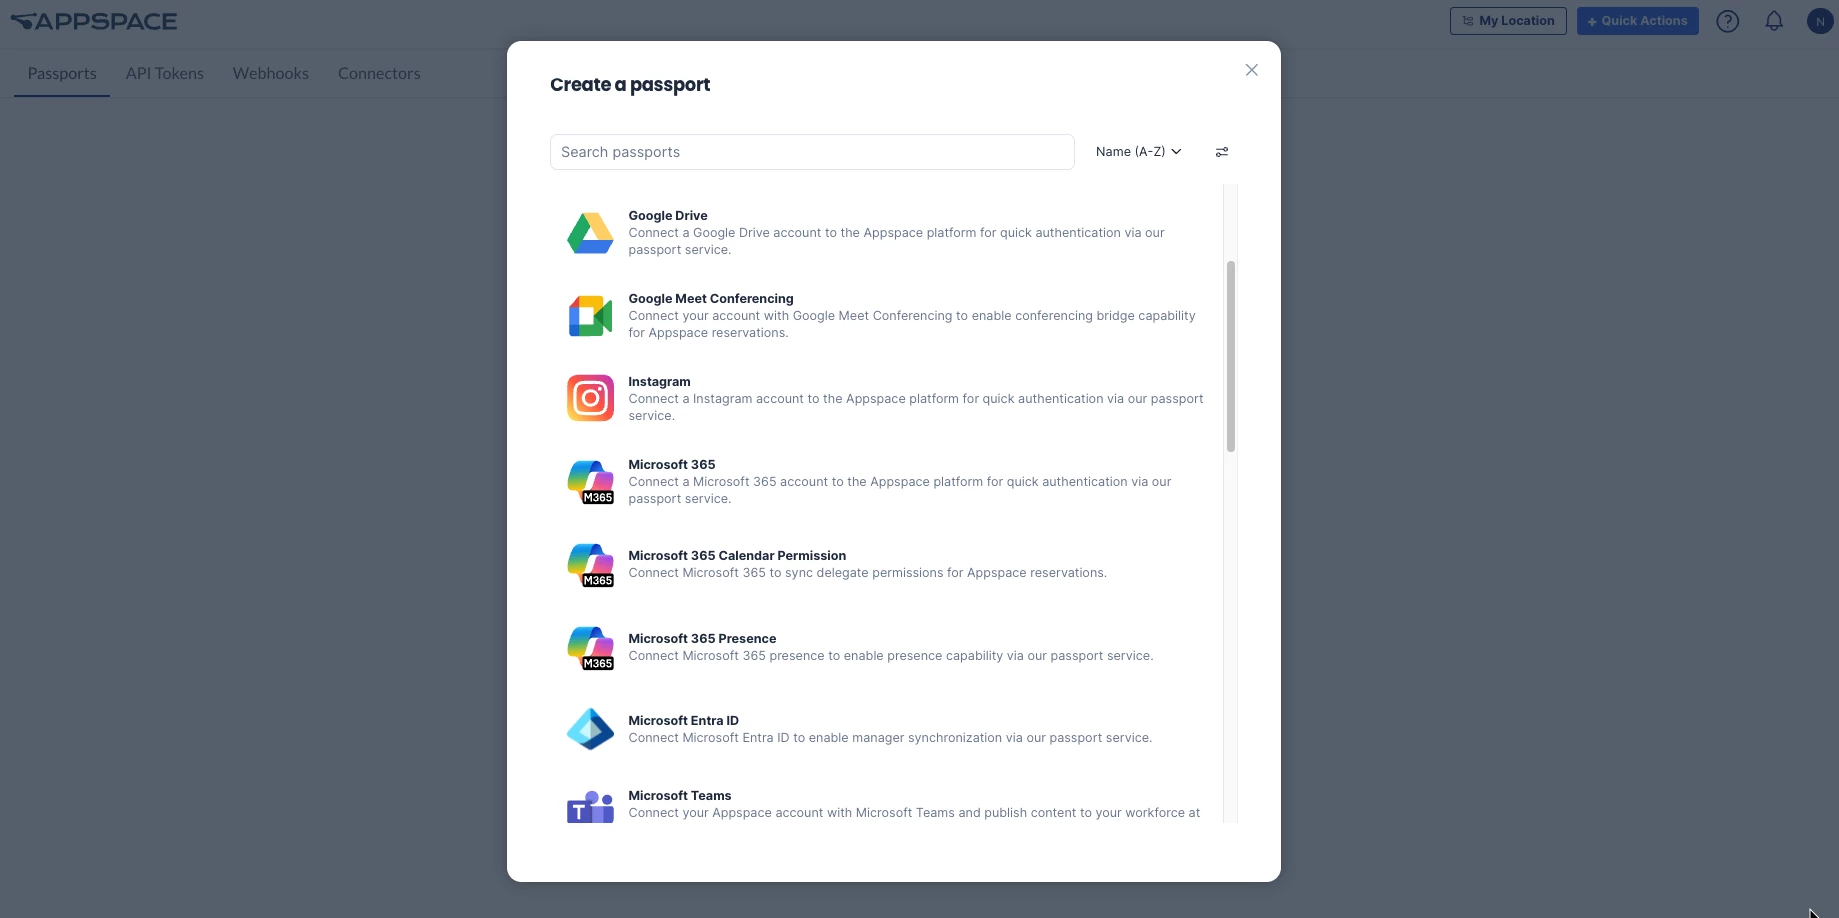
- In the Create a passport panel, user may search for a passport, filter by category, or select Google Drive from the list of available library passports.
- In the Create a Google Drive Passport panel, select the desired permissions by clicking the drop-down. User may select the following:
- Slides
- Sheets
- Slides & Sheets
- Search
- Once selected, click Connect.
- Follow the on-screen instructions to sign in with the Google account and grant Appspace the necessary permissions to access Google Drive content.
- Once authenticated, in the Account Settings tab, the following actions are available:
- Name – Name of the passport, which can be changed when using multiple passports.
- Account ID – Displays the Google account ID used to authenticate the passport.
- Platform Usages – Displays the Appspace features currently using this passport.
- App Permissions – Displays the granted Read and Write app permissions.
- Refresh Status – Displays the status of the passport.
- Remove Account – Removes the account from the passport.
- In the Permissions tab, permissions can be granted to users or user groups to view and edit the passport:
- Click the +Add button. In the Browse Users and User Groups panel, user may do the following:
- Search the user(s) or user group(s) in the Search bar.
- Select the user(s) or user group(s) from the list.
- Once done, click the Add drop-down menu to grant either Can Manage or Can View permissions.
- Click the +Add button. In the Browse Users and User Groups panel, user may do the following: