

Configuring Okta SCIM with Appspace
This article walks through how to configure SCIM (System for Cross-domain Identity Management) provisioning between Okta and Appspace. Once set up, users assigned to the Appspace app in Okta will be automatically provisioned, updated, and deactivated in Appspace without manual intervention.
Before You Begin
- Appspace Account Owner role — required to configure SCIM settings in the Appspace Admin Console
- Okta Administrator access — required to enable and configure provisioning on the Okta application
Part 1: Enable SCIM Provisioning
Step 1: Enable SCIM on the Okta Application
- Log in to the Okta Admin Portal and open the application you want to enable SCIM provisioning for.
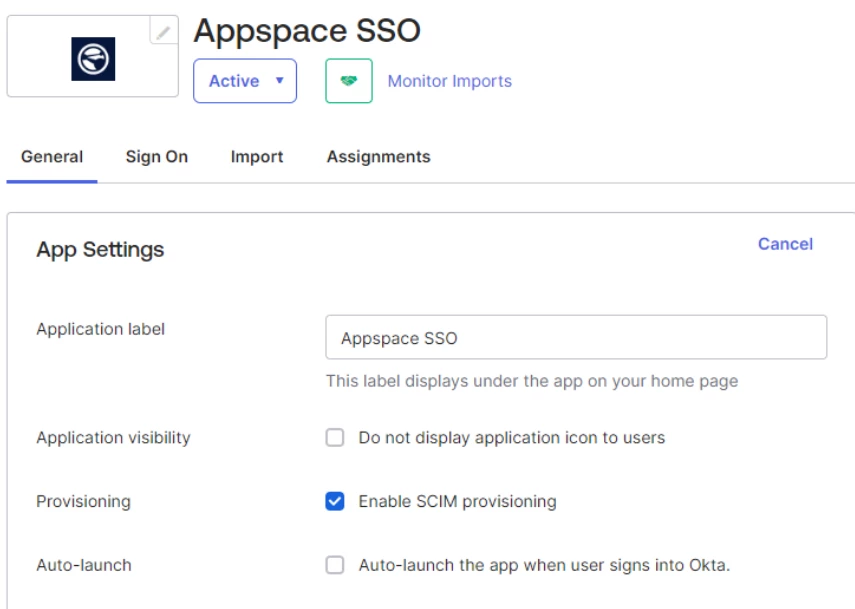
- Select the General tab.
- Under App Settings, select Edit.
- Check Enable SCIM provisioning, then select Save.
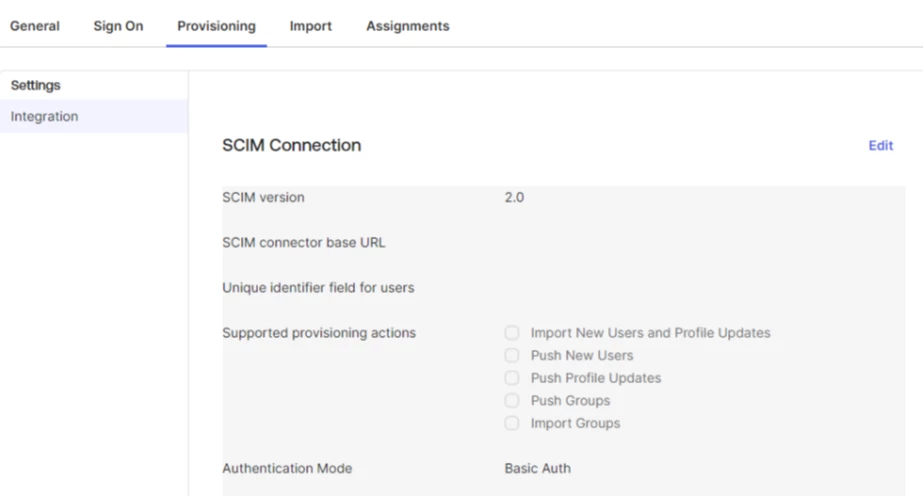
Step 2: Open the Provisioning Tab
- Select the Provisioning tab that now appears on the application.
- Select Edit.
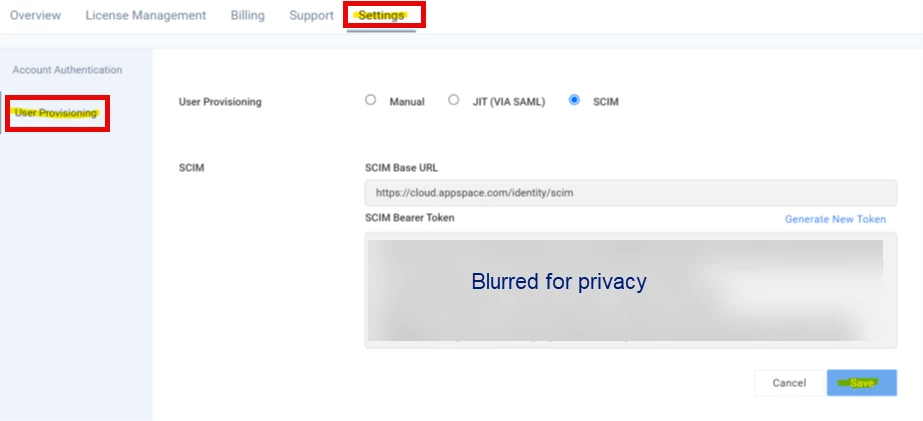
Step 3: Generate SCIM Credentials in Appspace
- In a separate tab, navigate to the Appspace Admin Console.
- Select Users > Settings > User Provisioning.
- Select SCIM, then select Save to generate your SCIM Base URL and Bearer Token.
- Keep this tab open — you will need both values in the next step.
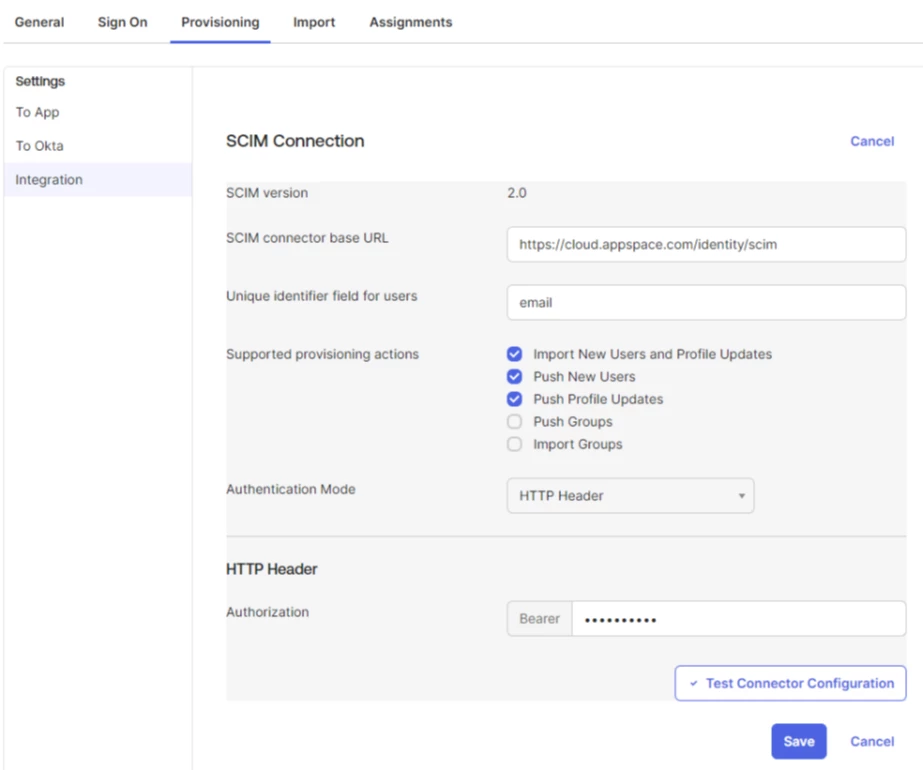
Step 4: Configure the SCIM Connection in Okta
Return to Okta and fill in the following fields under SCIM Connection:
| Field | Value |
|---|---|
| SCIM connector base URL | Paste the SCIM Base URL from Appspace |
| Unique identifier field for users | |
| Supported provisioning actions | Select Import New Users and Profile Updates, Push New Users, and Push Profile Updates |
| Authentication Mode | HTTP Header |
| Authorization | Paste the Bearer Token from Appspace |
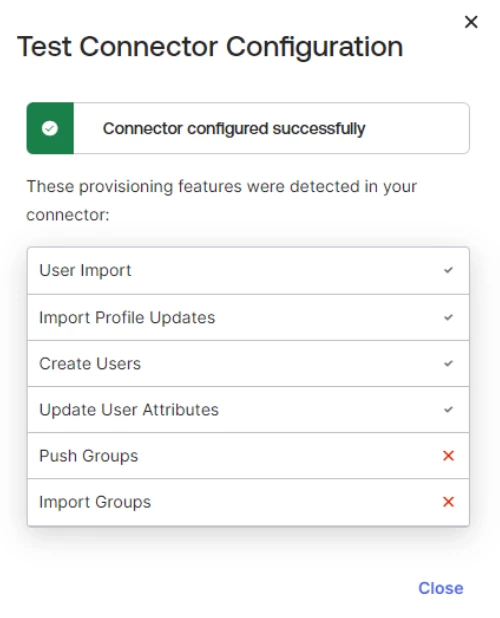
Step 5: Test the Connector Configuration
Select Test Connector Configuration to verify the connection between Okta and Appspace is working correctly before proceeding.
Step 6: Enable Provisioning Actions
- Select the Provisioning tab > To App > Edit.
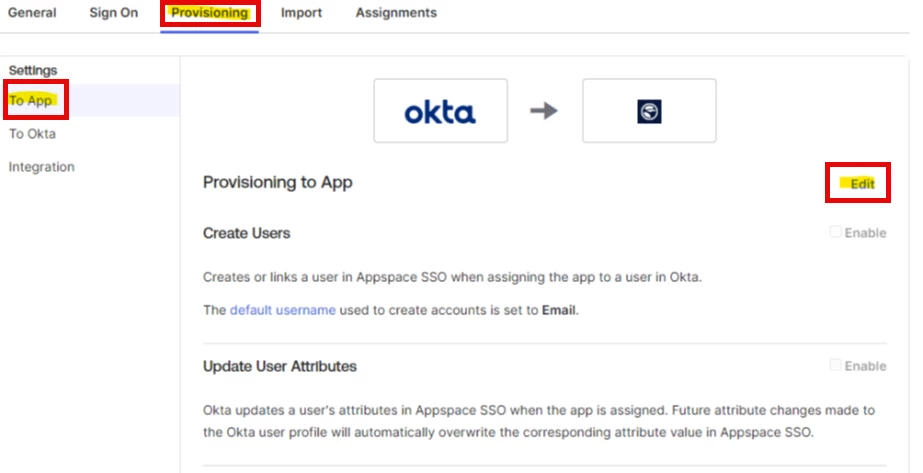
- Enable the following settings, then select Save:
- Create Users
- Update User Attributes
- Deactivate Users

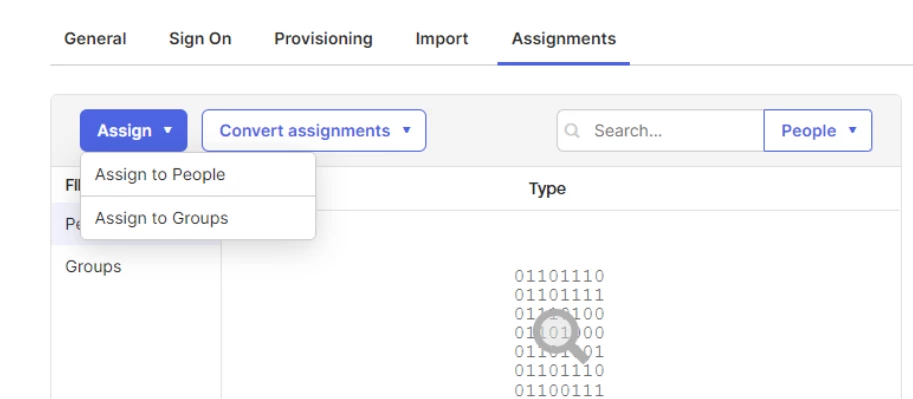
Step 7: Assign Users
Select the Assignments tab and add the users or groups that should be automatically provisioned in Appspace. Only assigned users will be synced.
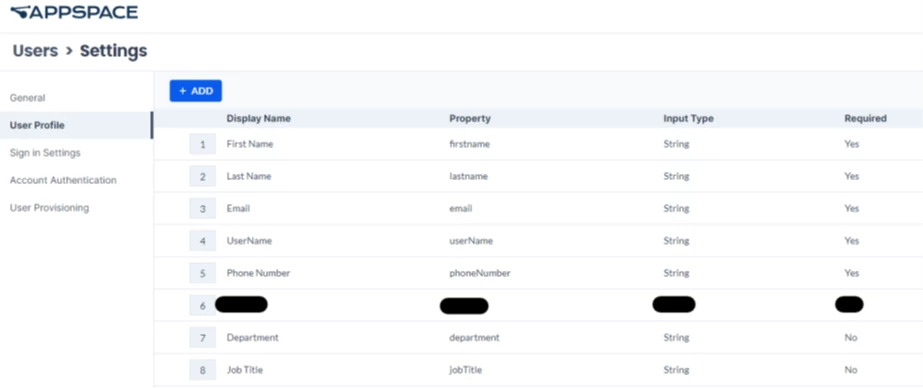
Default Attribute Mappings
The following attributes are automatically mapped from Okta to Appspace by default. These can be reviewed in Appspace under Users > Settings > User Profile.
- First Name
- Last Name
- User Name
- Phone Number
- Department
- Job Title
SCIM is now configured. Users assigned to the application in Okta will be provisioned, updated, and deactivated in Appspace automatically.
Adding Custom Attributes (Optional)
If your organization needs to sync additional user attributes beyond the defaults, follow the steps below to create and map custom attributes from Okta to Appspace.
Step 1: Open the Profile Editor
- In Okta, select the Provisioning tab > To App.
- Scroll down and select Go to Profile Editor.

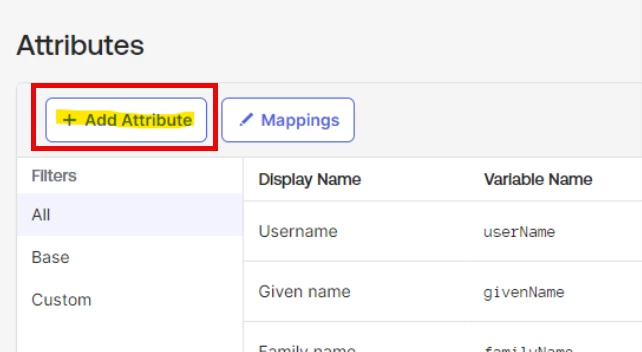
Step 2: Add a New Attribute
- Select Add Attribute.
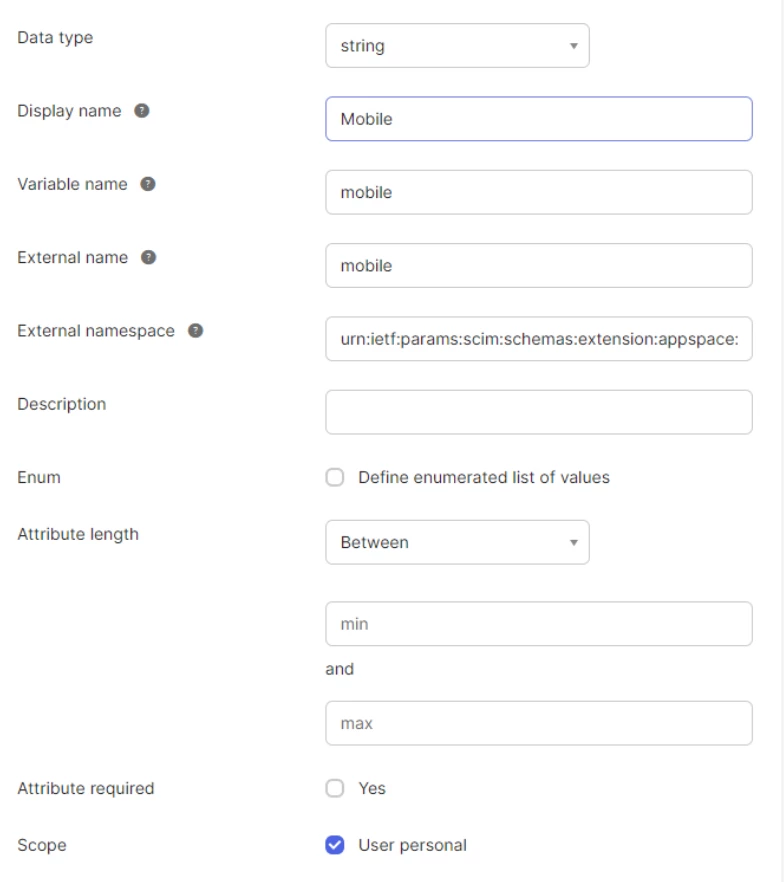
- Fill in the following fields, then select Save:
| Field | Value |
|---|---|
| Data Type | String |
| Display Name | Your attribute name |
| Variable Name | Your attribute name |
| External Name | Your attribute name (same as Variable Name) |
| External Namespace | urn:ietf:params:scim:schemas:extension:appspace:2.0:User |
| Scope | User personal |
Important: The External Namespace field must be entered exactly as shown above, including capitalization.
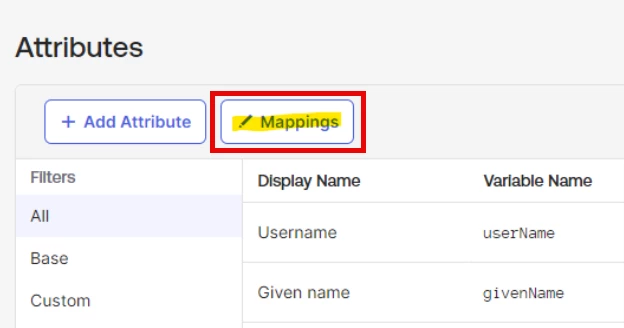
Step 3: Map the Attribute
- Select Mappings.
- Select Okta User to [Application Name].
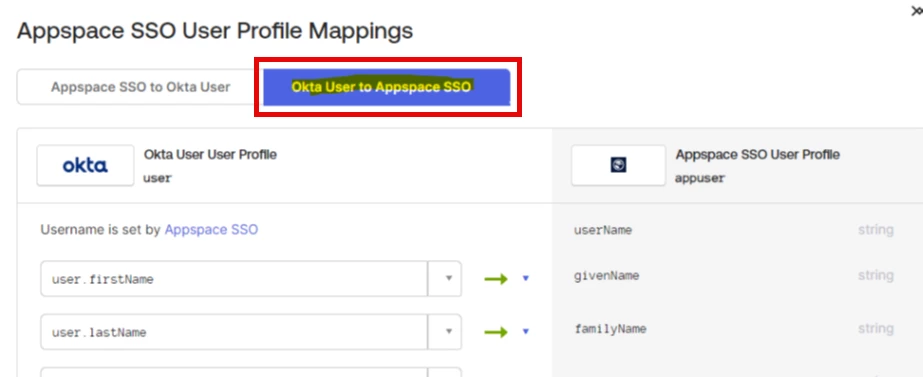
- Scroll down to the newly added attribute, select the Okta field you want to map it to, then select Save Mappings.

Step 4: Add the Attribute in Appspace
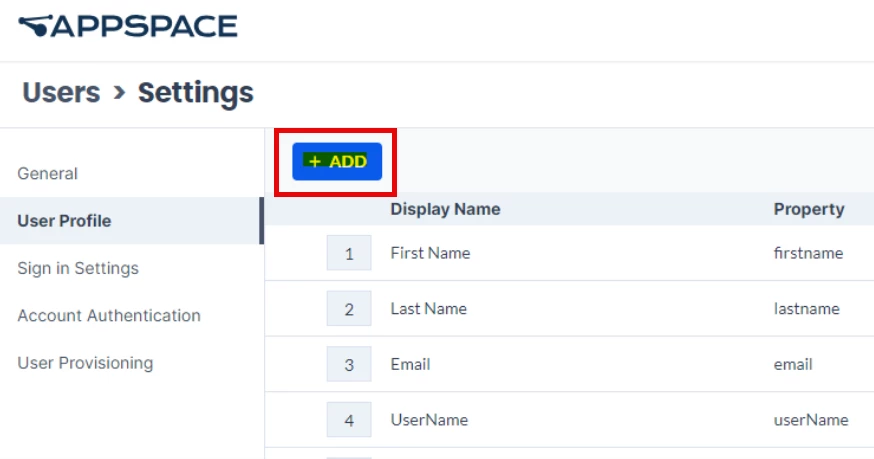
- In Appspace, navigate to Users > Settings > User Profile.
- Select + Add
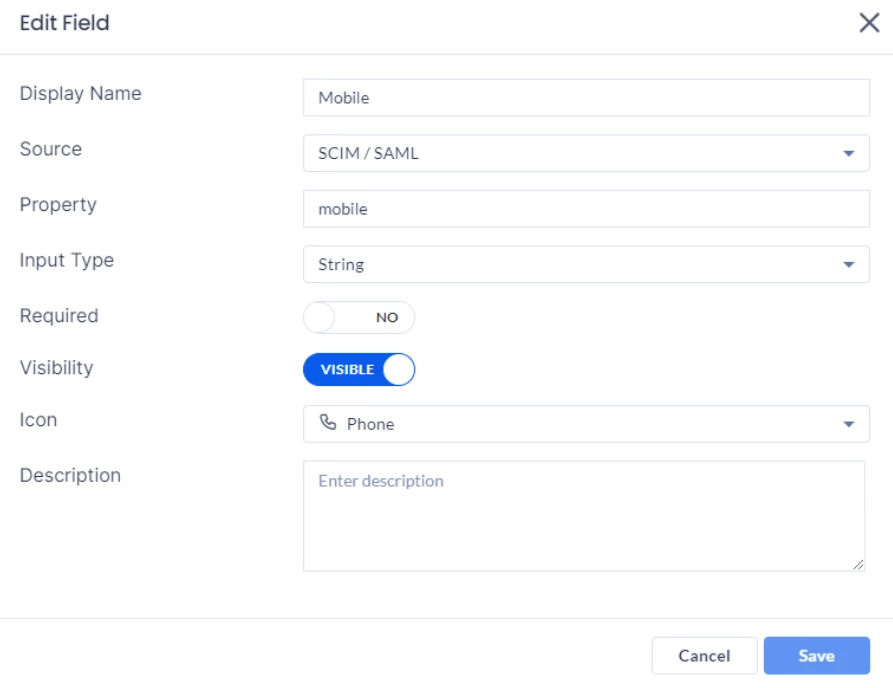
- Fill in the following fields:
| Field | Value |
|---|---|
| Display Name | Must match the Display Name set in Okta |
| Source | SCIM / SAML |
| Property | Must match exactly as labeled in Okta (case sensitive) |
| Input Type | String |
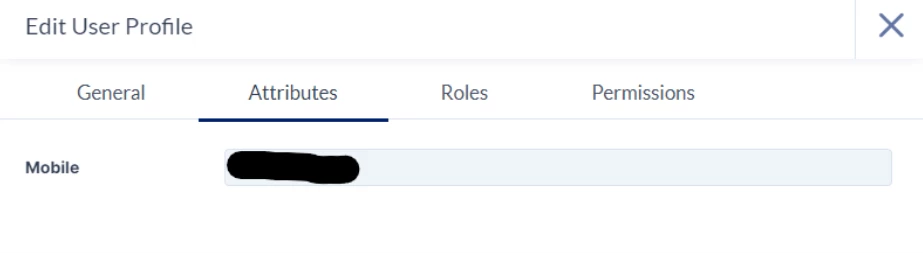
Once saved, the custom attribute will appear under the user's profile in Appspace in a dedicated Attributes tab.
!-->!-->!-->!-->!-->!-->!-->!-->!-->!-->!-->