


Appspace introduces Post Connectors, a groundbreaking advancement for Appspace, empowering seamless connections to third-party information systems such as SharePoint. These connectors are designed to streamline content provisioning into the Employee View, simplifying the setup process for administrators. The driving force behind this feature is to bolster the platform’s compatibility with external systems, automating content creation within the App and eradicating redundant efforts.
The main objective of Appspace is to significantly reduce content creation time and eliminate duplication across multiple systems, ultimately enhancing user efficiency and optimizing content management processes. With automatic content creation from third-party systems, this feature minimizes manual labor, boosts productivity, and offers a more streamlined content flow within the platform. The Post Connectors feature opens up a new level of efficiency and interoperability for users, allowing them to connect their Appspace platform with third-party information systems.
Furthermore, the Post Connectors feature streamlines the content creation process and empowers administrators with better control and management of content flow. This enhancement offers users an advanced solution to seamlessly connect their Appspace platform with various third-party systems, thereby enhancing overall efficiency and effectiveness in managing content. With the ability to automate content creation from external sources, Appspace users can save valuable time and resources, avoiding duplicate content creation efforts across different systems. The result is a more productive and streamlined content management experience, aligning with Appspace’s commitment to delivering a powerful and user-friendly platform.
This article provides administrators with the instructions to create post connectors to establish an authentication request and integrate Appspace with supported third-party platforms, applications, or services, to display external content and private data.
Prerequisites
- An Appspace Account Owner or Publisher that has been assigned a Platform User license.
Create and Configure Appspace SharePoint Intranet Connectors
Follow the instructions below to create and configure connectors.
- Log in to your Appspace console.
- Click Integrations from the ☰ Appspace menu, and click Connectors.
- Click +Create, and select Appspace SharePoint Intranet and click Next.
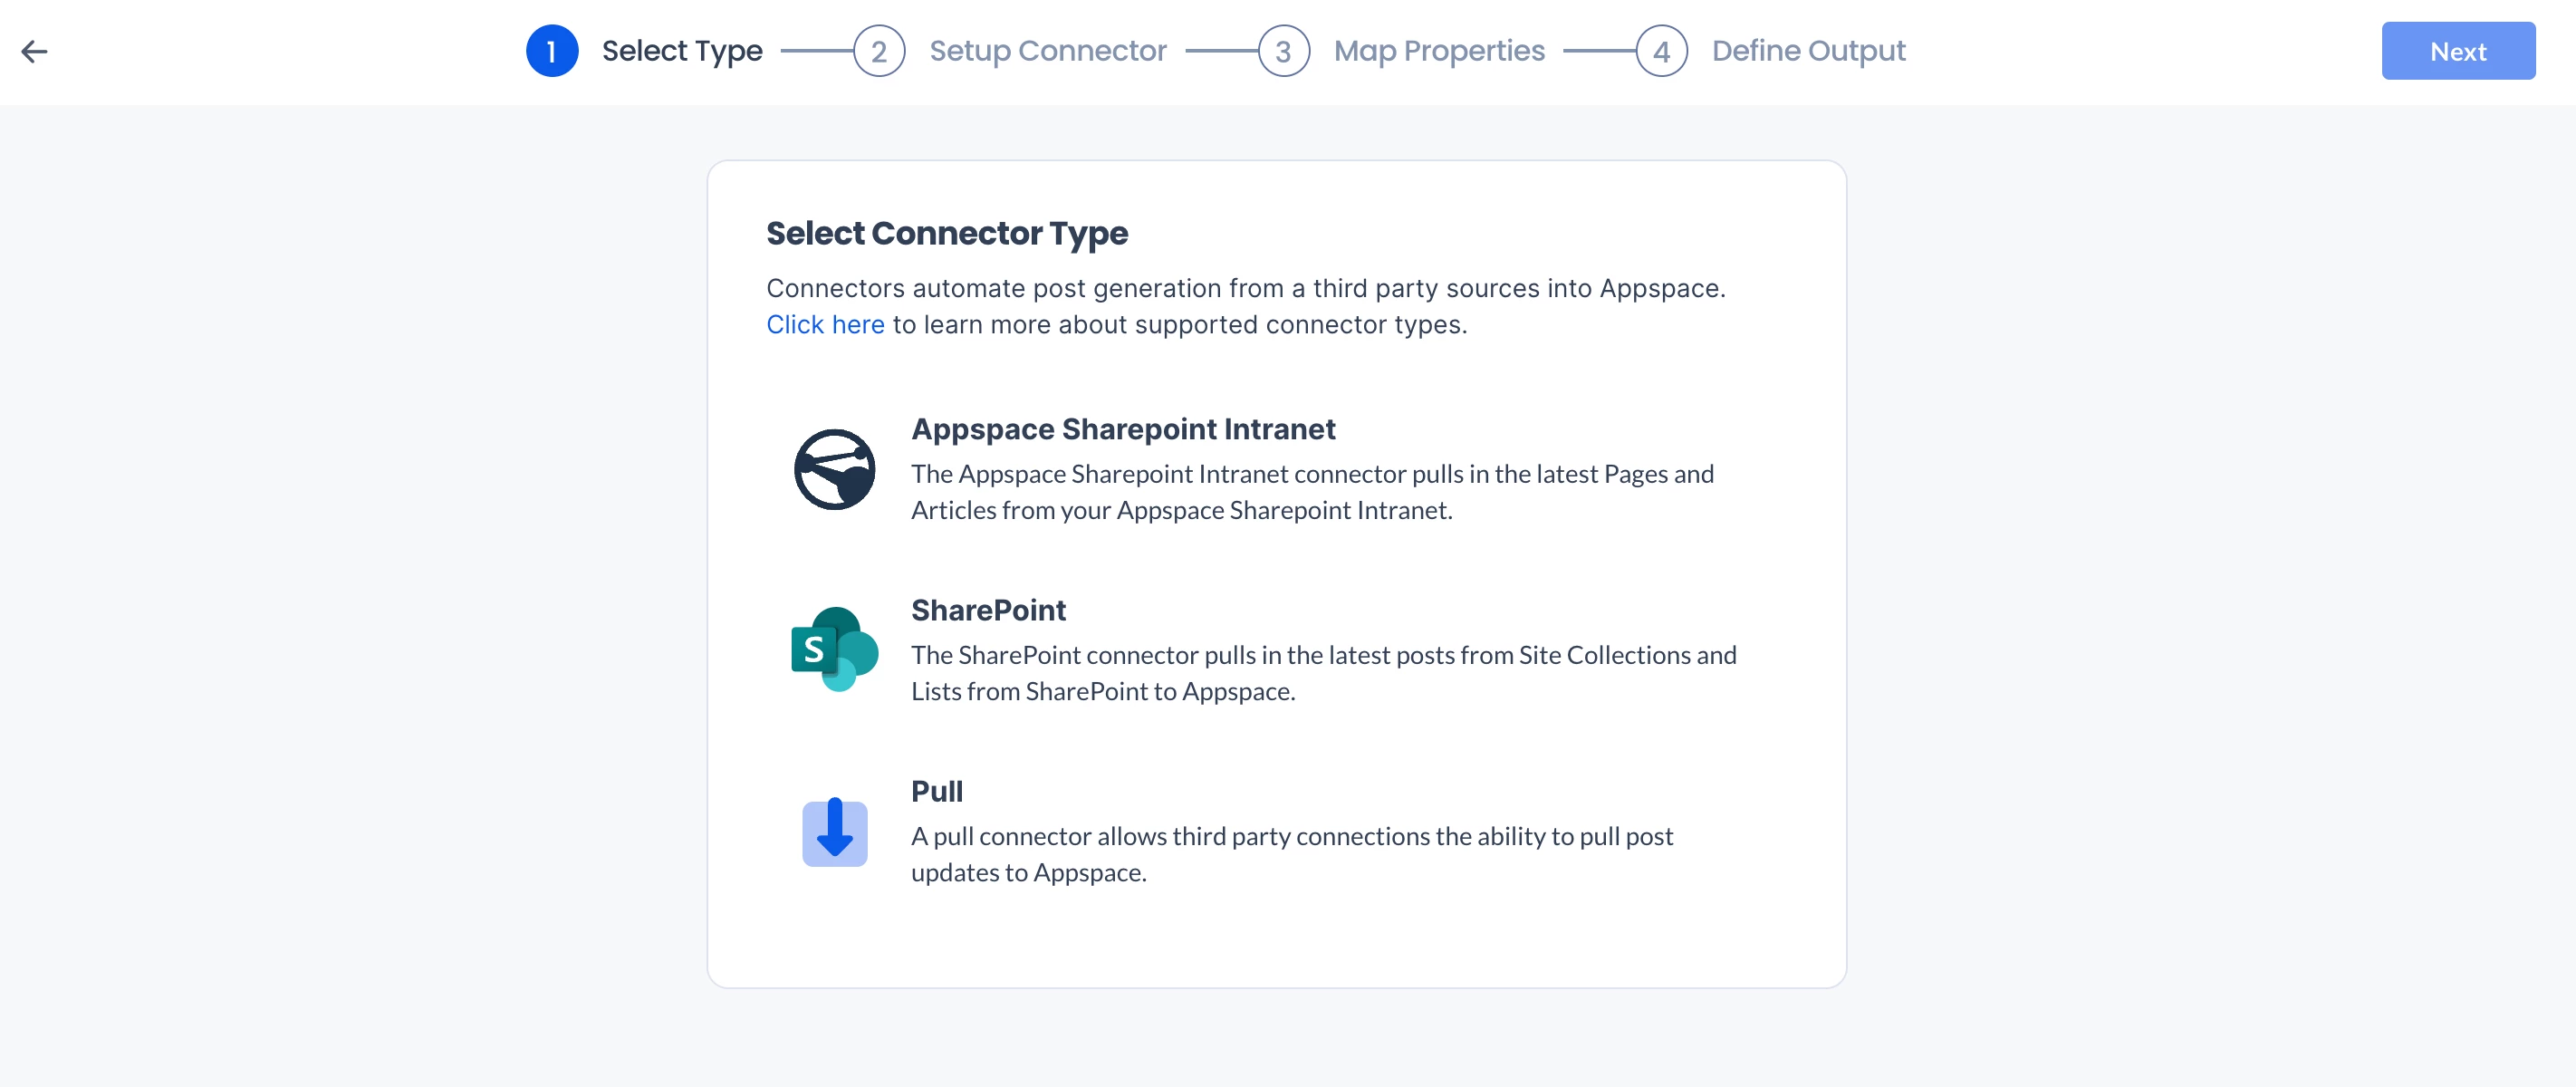
- In the Setup Connector section, complete the following:
- Name – Enter the name of the connector.
- Passport* – Select the existing passport or create a new passport.
- Entity* –
- Topics or Channels* – Choose your preferred topics or channels.
- Permissions – Choose your preferred publisher.
- Once done, click Next.
- In the Map Properties section, backend property mapping is automated. You can proceed by clicking the ‘Next‘ button or configure optional settings by toggling the features below ON or OFF.
- Tags
- Attachements
- Referral URL
- Scheduling
- Featured
- Translations (New)
- Once done, click Next.
- In the Define Output section, complete the following:
- Post Editing Permissions:
- Allow Editing – This allows editing in Appspace. Once edited, the post will be unsynced from the source connector and will no longer receive updates.
- Do Not Allow Editing – This will block editing in Appspace, and all updates will come from the source connector.
- Click Add another and you may do the following:
- Feed – Select the feed (Topics or Channels) where you want content from your lists will be published.
- Rules – Create rule for the content that will be posted as followed:
- Rule – Include or Exclude.
- Property – Select the property to filter by:
- Title
- Caption
- Article
- Author Email
- Referral URL
- Attachment
- Start Schedule
- End Schedule
- Tags
- Featured
- Featured Start Date
- Featured Number of Days
- SharePoint List
- Operator – Choose the desired operator:
- Equals
- Not Equals
- Contains
- Not Contains
- Is Empty
- Is Not Empty
- Value– Enter the desired value.
-
Default Author – Search for the desired user.
-
Device App Template – Select the card template the content will be posted in.
- Post Editing Permissions:
- Once done, click Save.
Create and Configure SharePoint Connectors
Follow the instructions below to create and configure connectors.
- Log in to your Appspace console.
- Click Integrations from the ☰ Appspace menu, and click Connectors.
- Click +Create, and select SharePoint, and click Next.
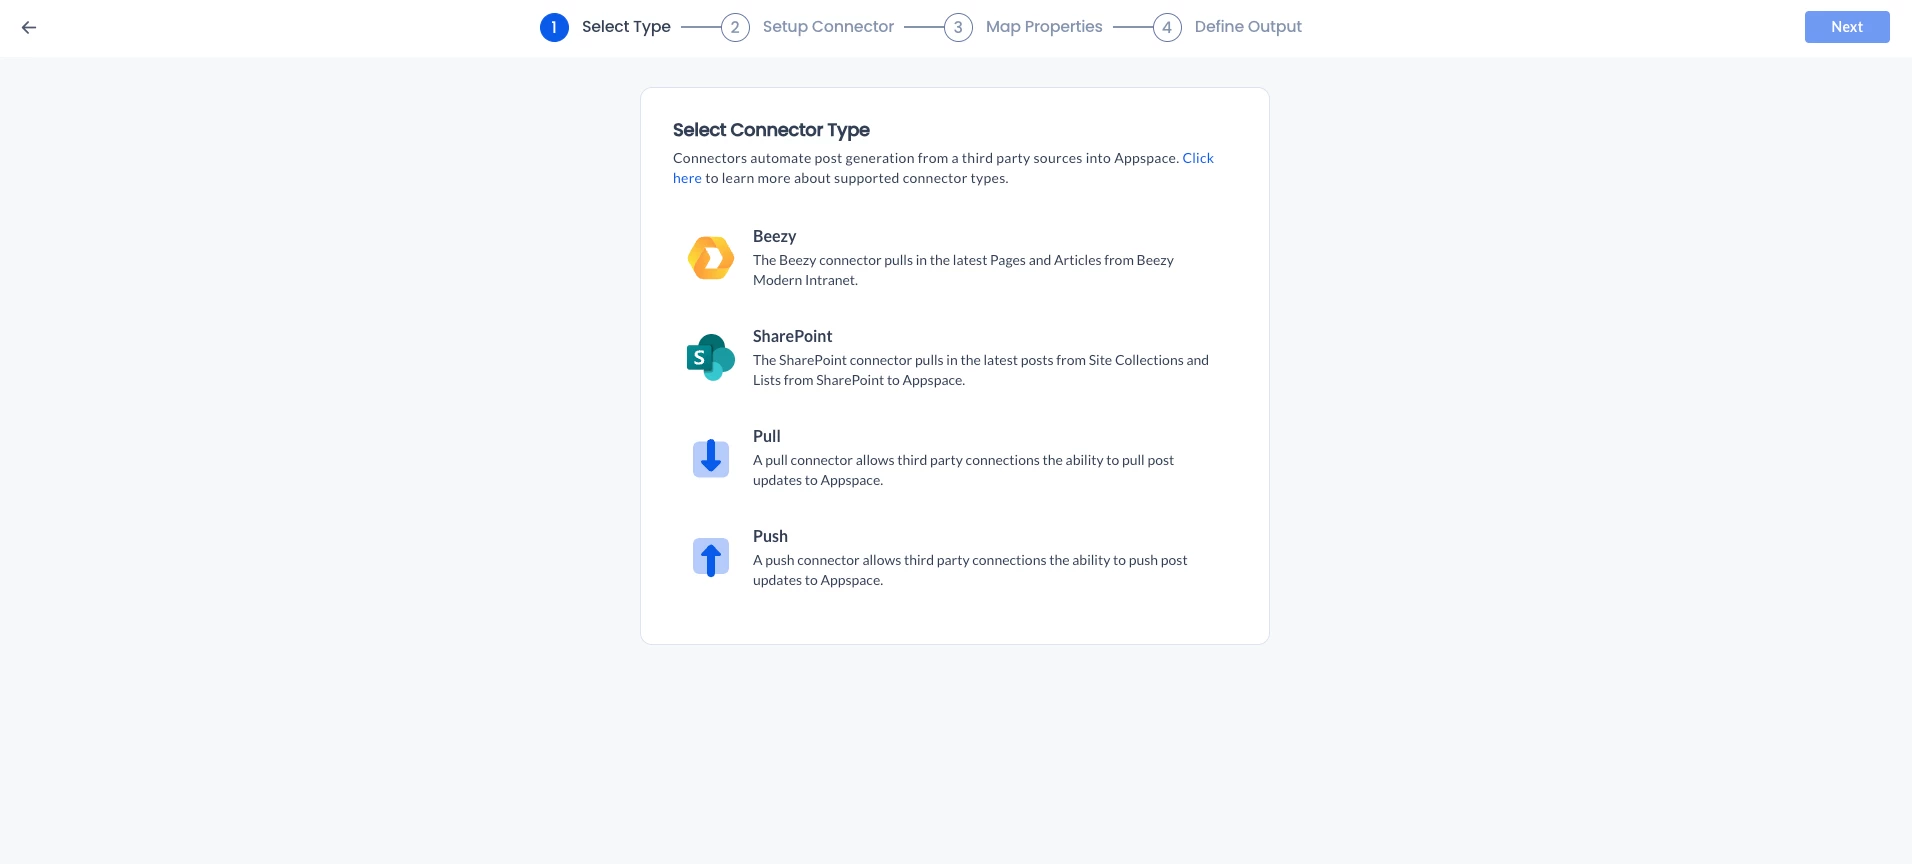
- In the Setup Connector section, complete the following:
- Name – Enter the name of the SharePoint connector.
- Passport – Select an existing SharePoint passport or create a new passport.
Note
When setting up the SharePoint connector, ensure that you use the “manage site permissions” option, as the SharePoint card’s passport will not be compatible.
- SharePoint Site Collection – Select the SharePoint site you wish to import the list from.
- SharePoint Lists – Select one or more lists from the selected site you want to connect to.
- Once done, click Next.
- In the Map Properties section, complete the following:
- SharePoint Lists tab – Each tab represents a SharePoint list that was selected in the Setup section. Only displayed if multiple lists were selected.
- Select the post type from the drop-down menu:
- User Post
- Event Post
- Source Filters: The connector pulls all content by default, thus you may want to define the Source Filter to filter any content that you may want or not want imported. Multiple content source filters may be added.
- Proceed to map the Source Property (SharePoint lists) with the corresponding Appspace Property from the drop-down menu.
Note
The following Appspace properties are required to be mapped:
- Title
- Start Date – Event Posts only
- End Date – Event Posts only
- Once done, click Next.
- In the Define Output section, complete the following:
- Post Editing Permissions: (New)
- Allow Editing – This allows editing in Appspace. Once edited, the post will be unsynced from the source connector and will no longer receive updates.
- Do Not Allow Editing – This will block editing in Appspace, and all updates will come from the source connector.
- Click Add another and you may do the following:
- Feed – Select the feed (playlist channel) you wish content from your SharePoint lists will be published to.
- Rules – Create rule for the content that will be posted as followed:
- Rule – Include or Exclude.
- Property – Select the property to filter by:
- Title
- Caption
- Article
- Author Email
- Referral URL
- Attachment
- Start Schedule
- End Schedule
- Tags
- Featured
- Featured Start Date
- Featured Number of Days
- SharePoint List
- Operator – Choose the desired operator:
- Equals
- Not Equals
- Contains
- Not Contains
- Is Empty
- Is Not Empty
- Value– Enter the desired value.
- Default Author – Search for the desired user.
- Device App Template – Select the card template the content will be posted in.
- Post Editing Permissions: (New)
- Once done, click Save.
Important
This feature currently pending release and and is behind a feature flag.
Create and Configure AI Connectors
(New) AI Connectors use a custom prompt or an AI Assistant to generate and publish content automatically. The generated content can be published as a User Post, Page, Story, or Event Post, depending on the output produced by the prompt or assistant.
Note: AI Assistant options are displayed only when AI Connector assistants are enabled for the account. Only active AI Assistants are available for selection.
Follow these instructions to create and configure an AI Connector:
- Log in to your Appspace console.
- From the ☰ Appspace menu, click Integrations, and then click Connectors.
- Click + Create, select AI, and click Next.
- In the Setup AI Connector section, enter a name for the connector.
- Select one of the following content-generation options:
- Custom Prompt – Enter instructions describing the content the connector should generate.
- AI Assistant – Select an active AI Assistant and optionally provide additional instructions.
- If you select Custom Prompt, complete the following:
- In Custom Prompt, enter the instructions that the connector should use to generate content.
- Click Preview Prompt to review an example of the generated content.
- If you select AI Assistant, complete the following:
Note
Only one AI Assistant and one impersonated user can be selected. An AI Assistant must be selected before you can preview, continue, or save the connector.
- In Select AI Assistant, search for and select an active AI Assistant.
- In Additional Instructions, optionally enter extra context or instructions for the assistant.
- In AI Assistant Impersonation, select the user whose access context the connector should use. The connector creator is selected by default.
- Click Preview Prompt to review an example of the content produced by the assistant.
Important
AI Assistant Impersonation determines the user context used when the connector reads from a feed. It does not change the author of the generated post and does not determine which AI features the connector can use. Access to AI features is evaluated using the connector creator’s permissions.
- Configure the publication schedule:
- In Post Every, select how frequently content should be generated.
- Select the required generation time.
- Select the applicable time zone.
- Configure the available AI enrichment settings for the generated content.
- Click Preview Prompt to verify the expected output.
The preview is displayed using the social-card format that corresponds to the generated content type. For example:- A Page is displayed as a Page.
- A Story is displayed as a Story.
- An Event Post is displayed as an Event Post, including its generated date, time, and location.
- A User Post is displayed as a User Post.
- When the prompt or assistant does not return a recognized structured content type, the connector creates a User Post.
- Click Next.
- In Define Output, select the feed or feeds where the generated content should be published and configure the available output settings.
- Click Save.
Create and Configure Pull Connectors
Follow the instructions below to create and configure connectors.
- Log in to your Appspace console.
- Click Integrations from the ☰ Appspace menu, and click Connectors.
- Click +Create, and select Pull, and click Next.
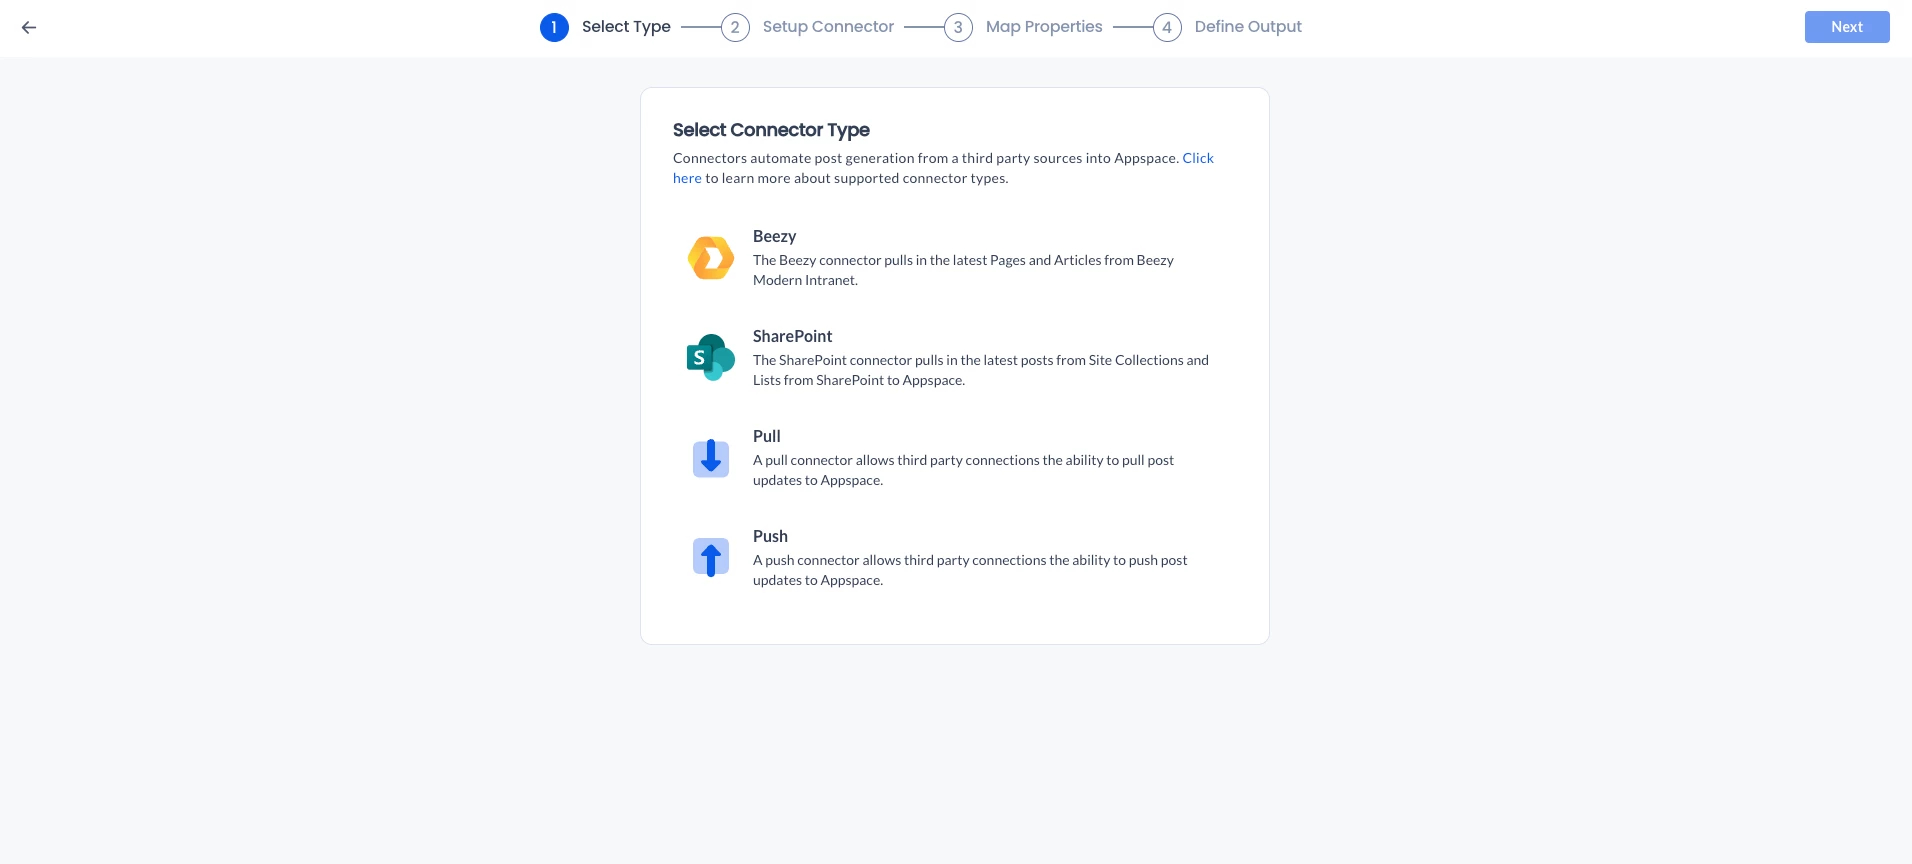
- In the Setup Connector section, complete the following:
- Name – Enter the name of the connector.
- URL – Enter the URL from where the connector will be pulling content, and click Verify. This should be an XML or JSON format.
- JSON or XML* – Optionally, you may upload your own schema for the JSON or XML feed format.
- Pull Every – Determine the pull timer duration for the connector to check for new content.
- Once done, click Next.
- In the Map Properties section, complete the following:
- Pull Lists tab – Each tab represents a list that was selected in the Setup section. Only displayed if multiple lists were selected.
- Select the post type from the drop-down menu:
- User Post
- Event Post
- Source Filters: The connector pulls all content by default, thus you may want to define the Source Filter to filter any content that you may want or not want imported. Multiple content source filters may be added.
- Proceed to map the Source Property (Pull lists) with the corresponding Appspace Property from the drop-down menu.
Note
The following Appspace properties are required to be mapped:
- Title
- Start Date – Event Posts only
- End Date – Event Posts only
- Once done, click Next.
- In the Define Output section, complete the following:
- Post Editing Permissions: (New)
- Allow Editing – This allows editing in Appspace. Once edited, the post will be unsynced from the source connector and will no longer receive updates.
- Do Not Allow Editing – This will block editing in Appspace, and all updates will come from the source connector.
- Click Add another and you may do the following:
- Feed – Select the feed (playlist channel) you wish content from your Pull lists will be published to.
- Rules – Create rule for the content that will be posted as followed:
- Rule – Include or Exclude.
- Property – Select the property to filter by:
- Title
- Caption
- Article
- Author Email
- Referral URL
- Attachment
- Start Schedule
- End ScheduleTags
- Featured
- Featured Start Date
- Featured Number of Days
- SharePoint List
- Operator – Choose the desired operator:
- Equals
- Not Equals
- Contains
- Not Contains
- Is Empty
- Is Not Empty
- Value– Enter the desired value.
- Default Author – Search for the desired user.
- Device App Template – Select the card template the content will be posted in.
- Post Editing Permissions: (New)
- Once done, click Save.
Create and Configure Push Connectors
Follow the instructions below to create and configure connectors.
- Log in to your Appspace console.
- Click Integrations from the ☰ Appspace menu, and click Connectors.
- Click +Create, and select Push, and click Next.
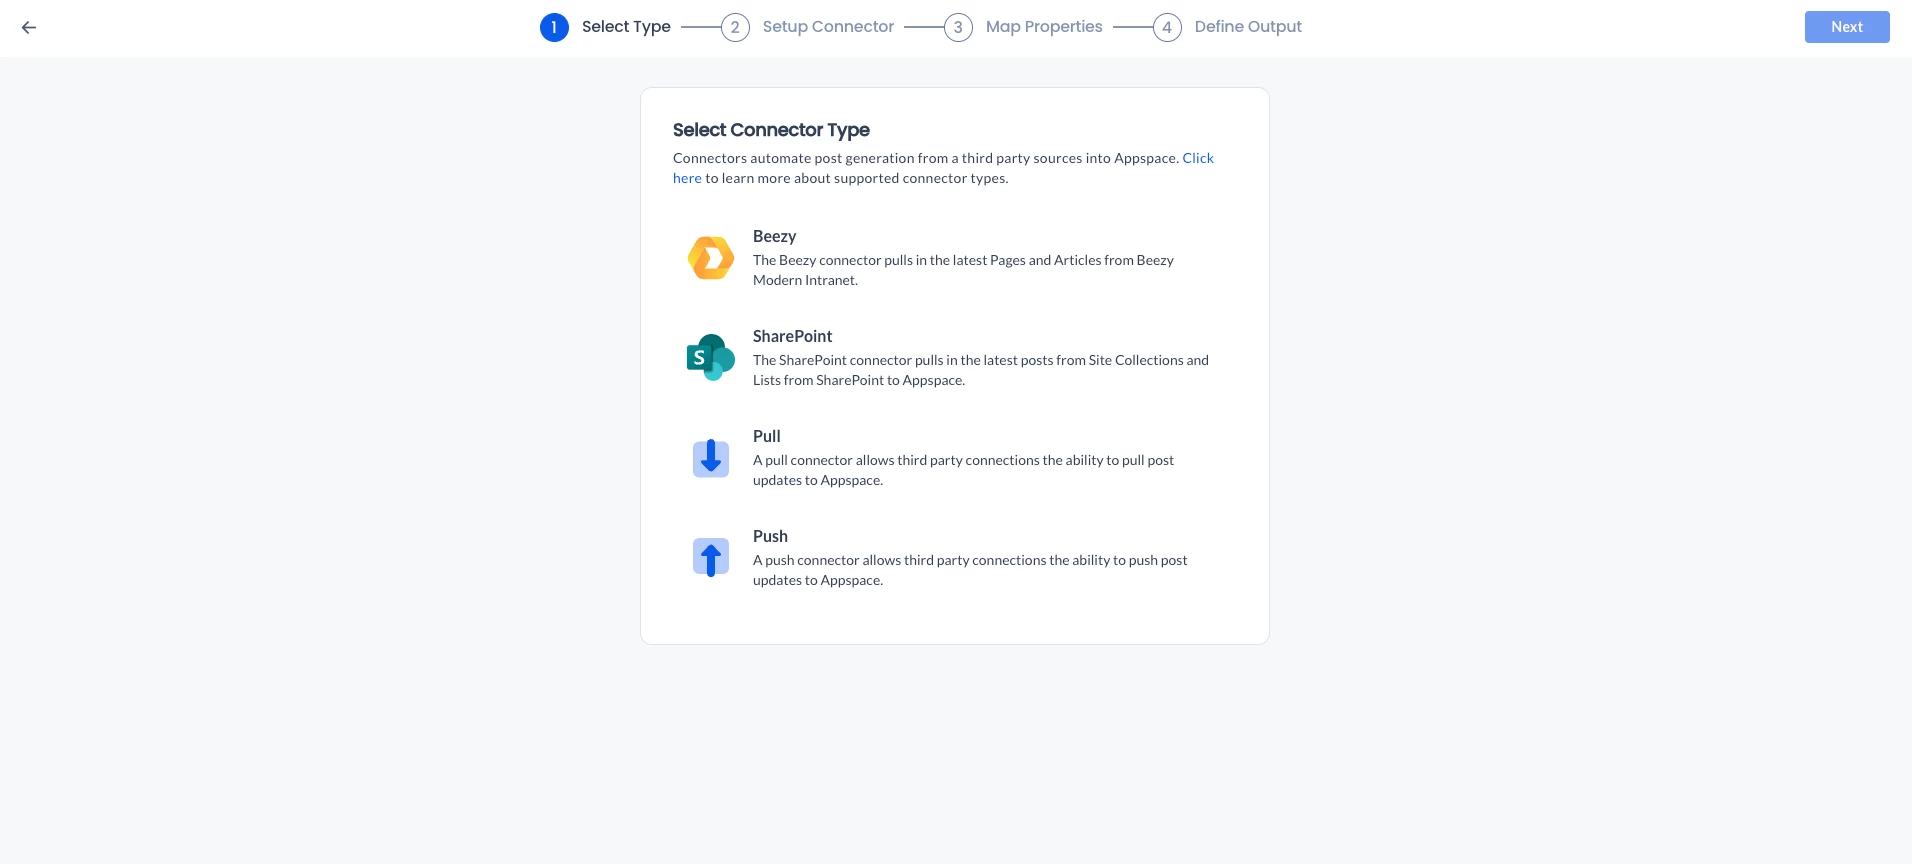
- In the Setup Connector section, complete the following:
- Name – Enter the name of the connector.
- URL – Enter the URL from where the connector will be pushing content, and click Verify. This should be an XML or JSON format.
- Push Connector Headers * – Ensure all Push API requests are authorized.
- Property Name
- Key
- JSON or XML* – Optionally, you may upload your own schema for the JSON or XML feed format.
- Permissions – To identify all publishers unless specified otherwise.
- Once done, click Next.
- In the Map Properties section, complete the following:
- Select the post type from the drop-down menu:
- User Post
- Event Post
- Source Filters: The connector push all content by default, thus you may want to define the Source Filter to filter any content that you may want or not want imported. Multiple content source filters may be added.
- Proceed to map the Source Property (Push lists) with the corresponding Appspace Property from the drop-down menu.
Note
The following Appspace properties are required to be mapped:
- Title
- Caption
- Article
- Author Email
- Referral URL
- Attachment
- Start Schedule
- End Schedule
- Tags
- Featured
- ID
- Select the post type from the drop-down menu:
- Once done, click Next.
- In the Define Output section, complete the following:
- Post Editing Permissions: (New)
- Allow Editing – This allows editing in Appspace. Once edited, the post will be unsynced from the source connector and will no longer receive updates.
- Do Not Allow Editing – This will block editing in Appspace, and all updates will come from the source connector.
- Click Add another and you may do the following:
-
- Feed – Select the feed (playlist channel) you wish content from your Push lists will be published to.
- Rules – Create rule for the content that will be posted as followed:
- Rule – Include or Exclude.
- Property – Select the property to filter by:
- Title
- Caption
- Article
- Author Email
- Referral URL
- Attachment
- Start Schedule
- End Schedule
- Tags
- Featured
- Featured Start Date
- Featured Number of Days
- SharePoint List
- Operator – Choose the desired operator:
- Equals
- Not Equals
- Contains
- Not Contains
- Is Empty
- Is Not Empty
- Value– Enter the desired value.
- Default Author – Search for the desired user.
- Device App Template – Select the card template the content will be posted in.
-
- Post Editing Permissions: (New)
- Once done, click Save.
Manage Post Connectors
Follow the instructions below to manage a Connector.
- Log in to your Appspace console.
- Click Integrations from the ☰ Appspace menu, and click Connectors.
- The Connectors dashboard lists all available connectors, including connector names, details, feeds, dates, created post, and also connector status.
- You may use the Search bar or Filters to narrow down the list of connectors displayed on the dashboard.
- Click the ellipsis for the desired connector to perform the following action:
- Pause Connection – Pause the connector from retrieving content.
- Edit – Make changes or corrections to the connectors as follows:
- Setup – Allow the user to set up the connection to the third-party data source.
- Properties – Allow the user to map the connector data source properties to Appspace post properties.
- Output – Allow the user to choose the feeds into which they want their connector to flow and define the rules.
- Logs :
- Allow the user to view the content processed by the connector to see what has been synced to Appspace.
- Allow users to export selected logs by marking checkboxes next to items in the content list, supporting single and multiple selections. (New)
- Delete – Deletes the connector.