

Appspace Workspace for End Users: A Step-by-Step Guide to Booking and Managing Reservations
Important: Appspace’s Space Reservation product line has been renamed to “Appspace Workspace”.
This guide explains how employees can find, reserve, and manage workspaces in Appspace. Depending on your organization’s configuration, you can use the Employee Experience in a web browser, the Appspace mobile app, or an approved embedded experience.
Key Benefits
This article provides the following benefits:
- Find the right space: Search by location, date, time, resource type, capacity, amenities, and other filters configured by your organization.
- Use map context: View available workspaces in relation to nearby rooms, desks, zones, and points of interest.
- Manage reservations in one place: Review, edit, cancel, check in to, extend, or end eligible reservations from the Reservations area.
What This Guide Covers
This guide covers the following topics:
- Accessing Appspace on the web or a supported mobile device
- Finding workspaces with filters and Map View
- (New) Creating a reservation directly from the Employee Experience Home page using the Quick Reservation widget, when configured by your administrator.
- Creating a reservation and completing checkpoints
- Managing, checking in to, and ending reservations
Prerequisites
Before you begin, confirm the following requirements:
- Account access: You need an active Appspace account and access to your organization’s Employee Experience.
- License and permissions: Your organization must assign the license and reservation access required for the Employee Experience.
- Configured resources: An administrator must configure reservable rooms, desks, spaces, or other supported workspace resources.
- Supported deployment: These instructions apply primarily to Appspace Public Cloud and supported Private Cloud deployments. Availability and sign-in behavior may differ for on-premises environments.
- Mobile use: For a native mobile experience, use a supported iOS or Android device. Desktop platforms may use the web experience or another organization-approved client.
Accessing Space Reservation
Step One: Sign In to Appspace
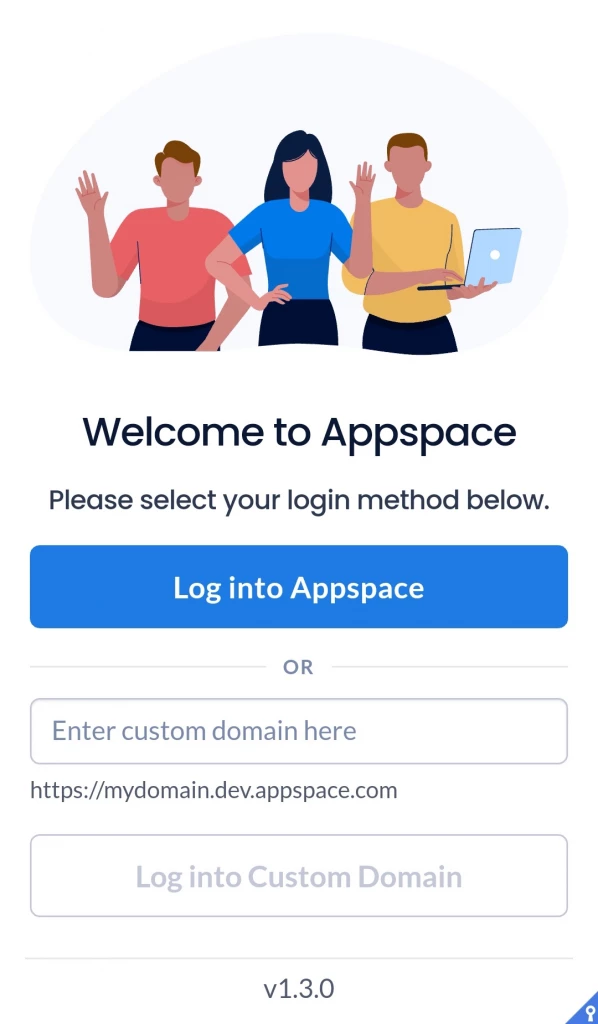
Open your organization’s Appspace sign-in page in a supported web browser, or open the Appspace mobile app on iOS or Android.
1. Select the sign-in option provided by your organization.
2. Enter your work email address or other approved identifier.
3. Complete your organization’s single sign-on or password steps.
4. Open the Employee Experience. Depending on how you want to create or manage a reservation:
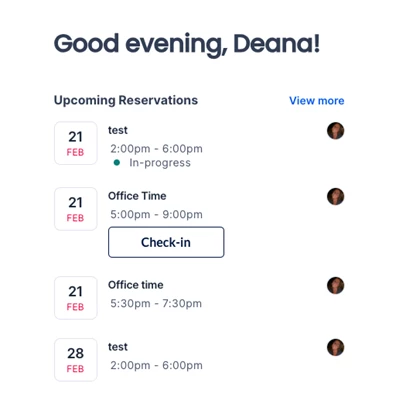
- Select Home to use the Quick Reservation widget. This widget is available when your administrator has added it to your Employee Experience Home page. See the Create a Reservation Using the Quick Reservation Widget section below.
- Select Places to search for workspaces using the full reservation workflow.
- Select Reservations to view and manage your existing reservations.
| Note: The exact sign-in screens and deployment options depend on your organization’s Appspace environment and identity configuration. |
Finding a Reservable Workspace
Step Two: Search and Filter
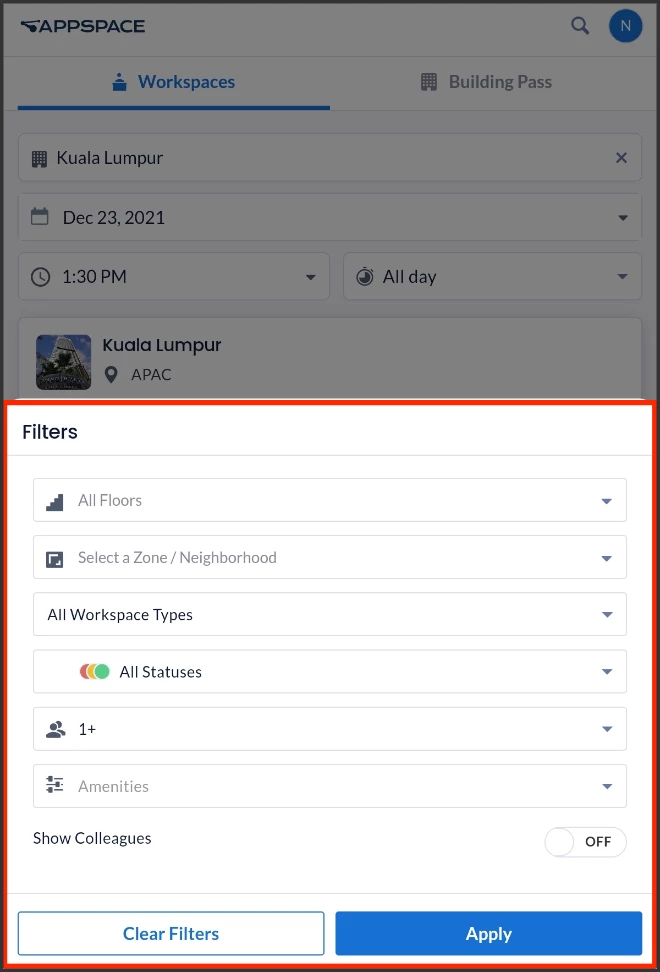
Use Places to find a resource that meets your needs. Available filters depend on how your administrators configured locations and resources.
1. Select a building or location.
2. Choose the reservation date, start time, and duration.
3. Open Filters and refine the results.
- Floor or neighborhood/zone: Limit results to a particular area.
- Resource type or subtype: Filter for rooms, desks, spaces, or other configured workspace types.
- Capacity: Find a resource that supports the expected number of attendees.
- Amenities or equipment: Filter for displays, accessibility features, collaboration equipment, or other configured facilities.
- Additional organization-specific filters: Your environment may expose other resource attributes or policies.
Step Three: Use Map View
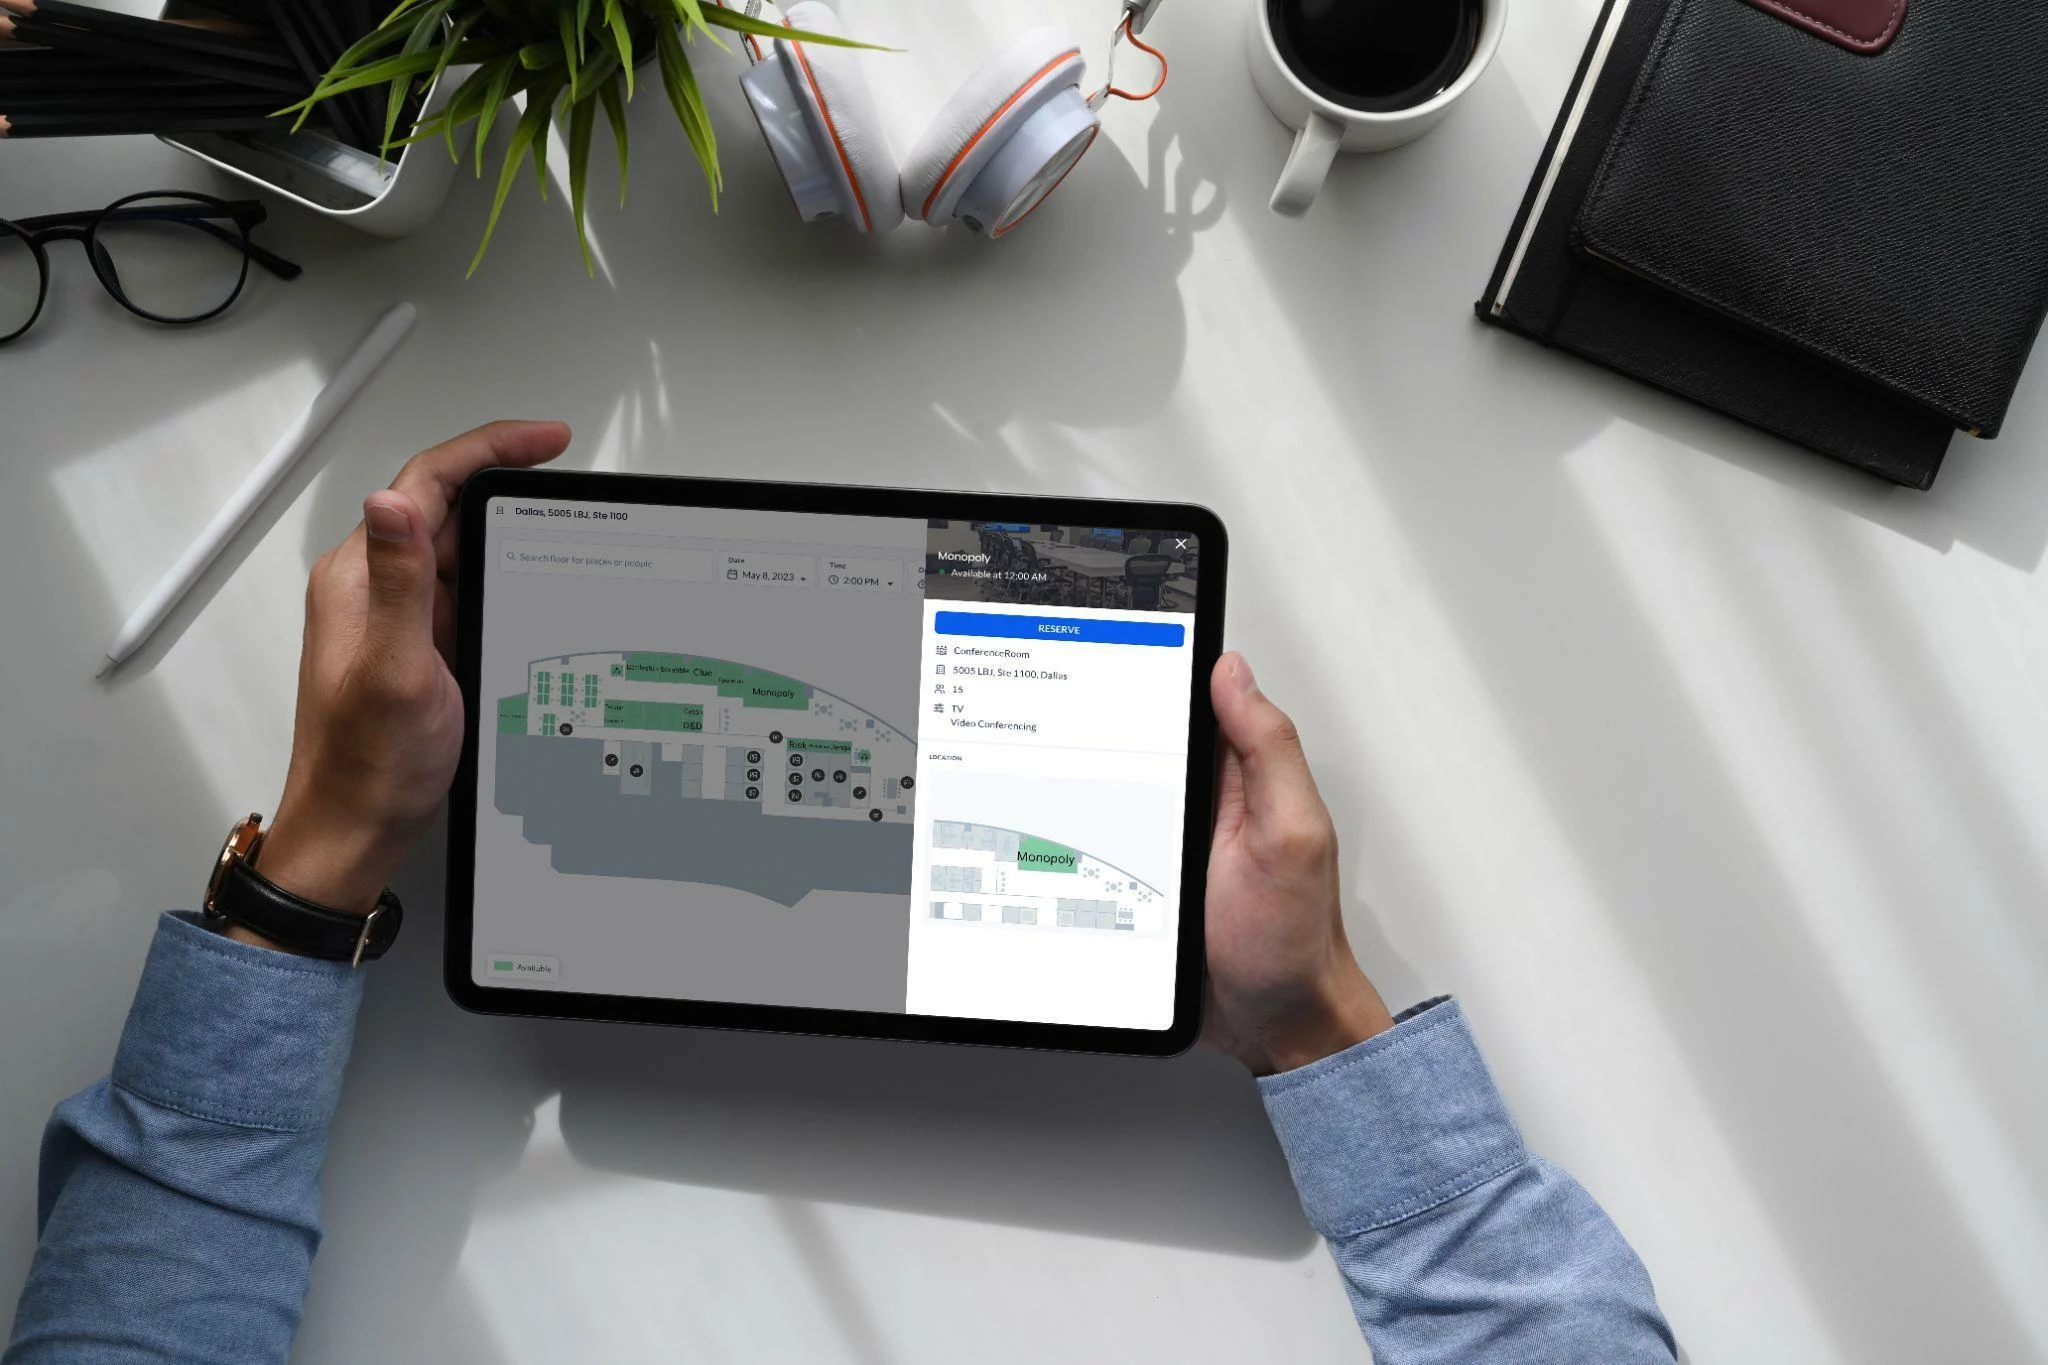
Open Map View to compare available resources with their physical surroundings. Select a mapped resource to review details and begin a reservation.
| Point of interest guidance: Points of interest such as restrooms, elevators, wellness rooms, or kiosks are primarily used for navigation and map context. Reservation workflows normally focus on configured rooms, desks, spaces, and other bookable workspaces. |
Creating a Reservation
Create a Reservation Using the Quick Reservation Widget
If your administrator has configured the Quick Reservation widget on the Employee Experience Home page, you can reserve a workspace without opening the full reservation workflow.
The widget can be configured to support Desk, Room, and Parking resources.
Note: The options available in the Quick Reservation widget depend on how it has been configured by your administrator. Workspace visibility rules, supported workspace types, capacity filtering, and duration options may vary.
To create a reservation using this method, refer to the Reserve a Workspace Using the Quick Reservation Widget article.
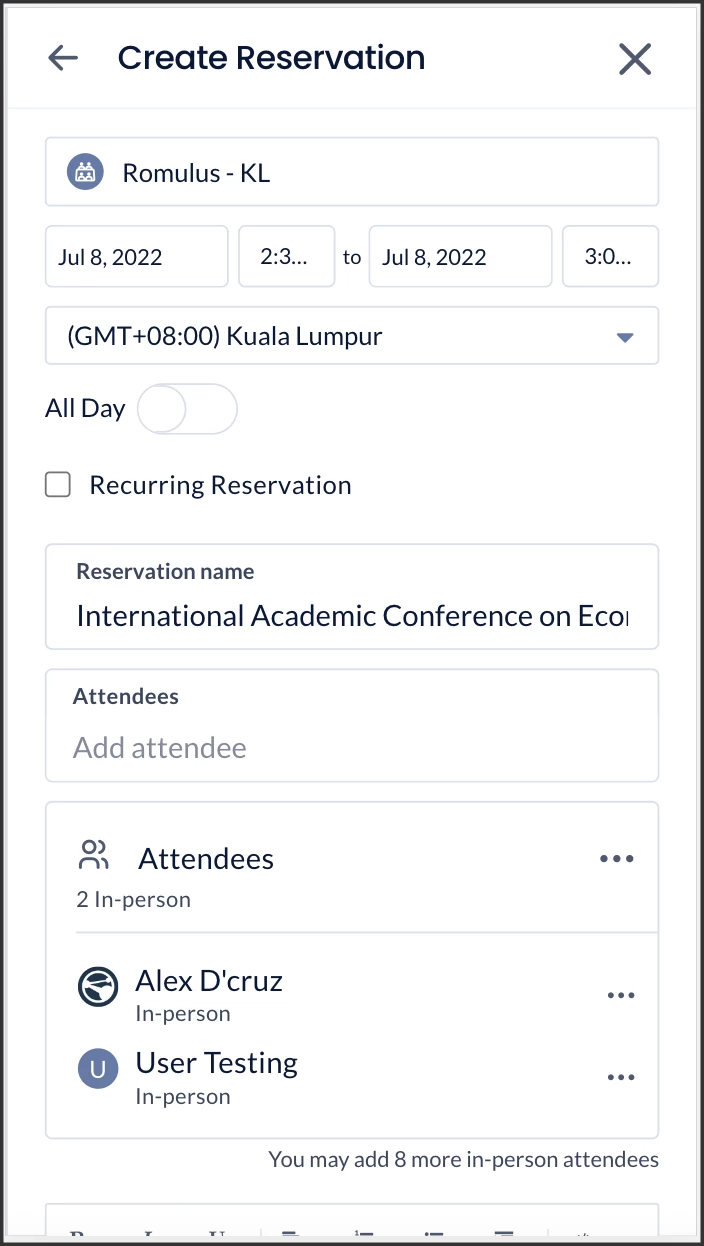
Step Four: Enter Reservation Details
1. Select an available resource from the list or map.
2. Click or tap Reserve.
3. Enter a reservation name, then confirm or adjust the date, time, and duration.
4. Add attendees when needed and available.
5. Review any recommendations or restrictions displayed by Appspace.
6. Select Confirm to submit the reservation.
Step Five: Complete Required Checkpoints
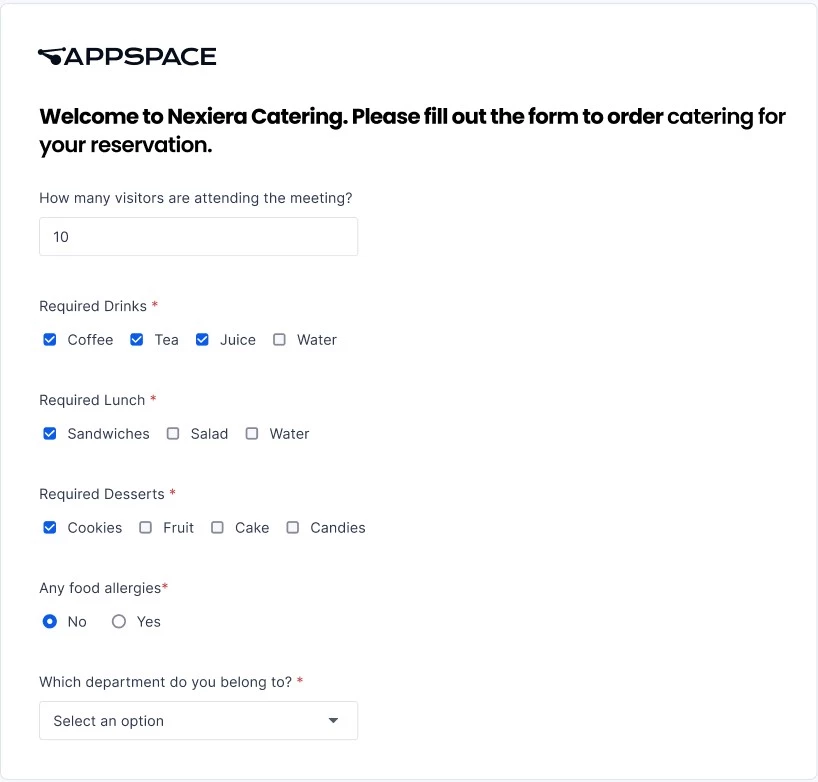
If your organization requires a questionnaire, acknowledgment, or another checkpoint, complete the on-screen steps before the reservation is finalized.
Managing Reservations
Step Six: View, Edit, or Cancel
Open Reservations to review upcoming and previous bookings. Select a reservation to view the actions available for that resource and time.
- Edit: Update eligible details, such as time, attendees, or reservation information.
- Cancel: Remove the reservation when you no longer need the workspace.
- Check in: Confirm attendance during the configured check-in window.
- Extend or end: When enabled and availability permits, extend the reservation or end it early.
| Availability: Actions vary by resource rules, calendar-provider integration, and organization settings. |
Step Seven: Check In and Check Out
Use the check-in action in the Employee Experience or an organization-provided email link during the allowed check-in window. At the end of the reservation, select End or Check Out when that option is enabled.