Location-Based Visitor Notifications: User Guide
Introduction
This guide provides information on configuring, setting up prerequisites for, and properly using Location-Based Visitor Notifications. This feature allows administrators to customize the wording and appearance of visitor notification emails based on that visitor’s location. They can also control which notifications are sent, all based on the visitor's specific location.
Key Benefits
Using location-based visitor notifications offers several benefits:
- Tailored Visitor Experience: Enables administrators to tailor notifications to a location’s unique setup, workflows, or brand.
- Delivery Controls: Provides the ability to configure delivery methods based on available technology.
- Supplemental Information: Allows administrators to include additional information and prerequisites for check-in within the notification itself.
What This Guide Covers
This guide will cover the following topics:
- Configuration global visitor notifications
- Editing global notification templates
- Creating location-specific templates
Prerequisites
Before you can use location-based visitor notifications, you need to meet the following requirements:
- You must have a Platform license.
- You must have an Account Owner or Location Admin role.
Step One: Configuring Global Visitor Notifications
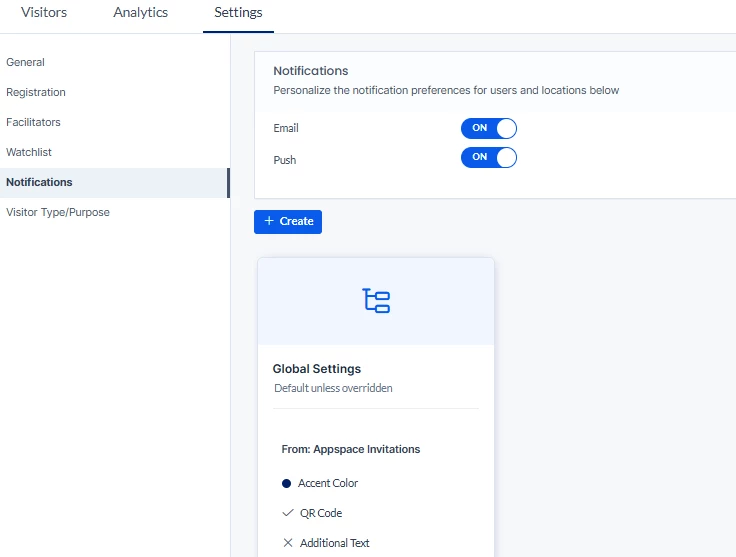
To configure the visitor notifications across all locations, go to Visitors > Settings > Notifications. Until location-specific notifications are set up, these global settings will remain the default.
To edit the global notification settings:
- Open the Notifications panel.
- Under the Notifications drop-down, select the methods by which the notification will be delivered: Email or Push Notification.
Step Two: Editing Global Notification Templates
Elements within the global notification template are configurable, enabling a richer experience. All locations will inherit this template unless a location has a specific template configured for it.
To edit the global template, follow these steps within the visitor notification settings:
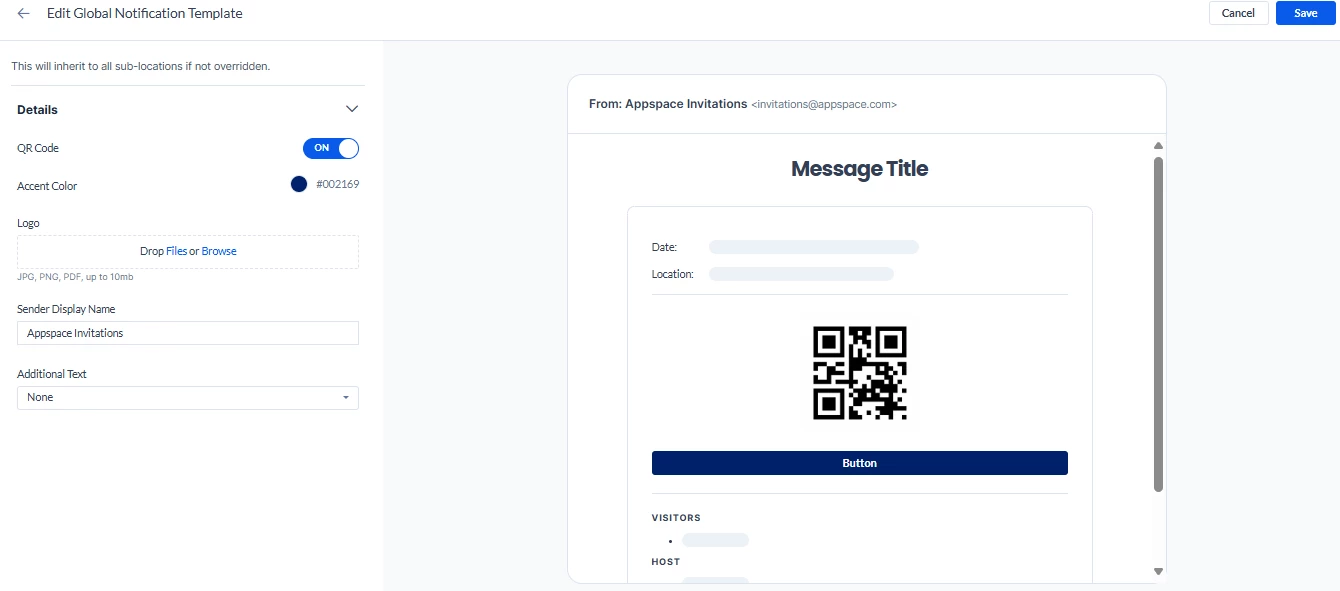
- Hover over the Global Settings template and click edit to open the editor.
- Here you can configure the following settings:
- QR code for visitors to scan at check-in (toggle to enable or disable)
- Accent color used in the template
- Logo displayed in the template
- Display name of the sender
- Additional text at the top, middle, or bottom of the notification
- Once you have made your changes, click Save.
Step Three: Creating Location-Specific Templates
Locations can have their own specific templates to reflect different branding, check-in processes, or other details unique to that site.
To build a unique template for a location, follow these steps within the notification settings:
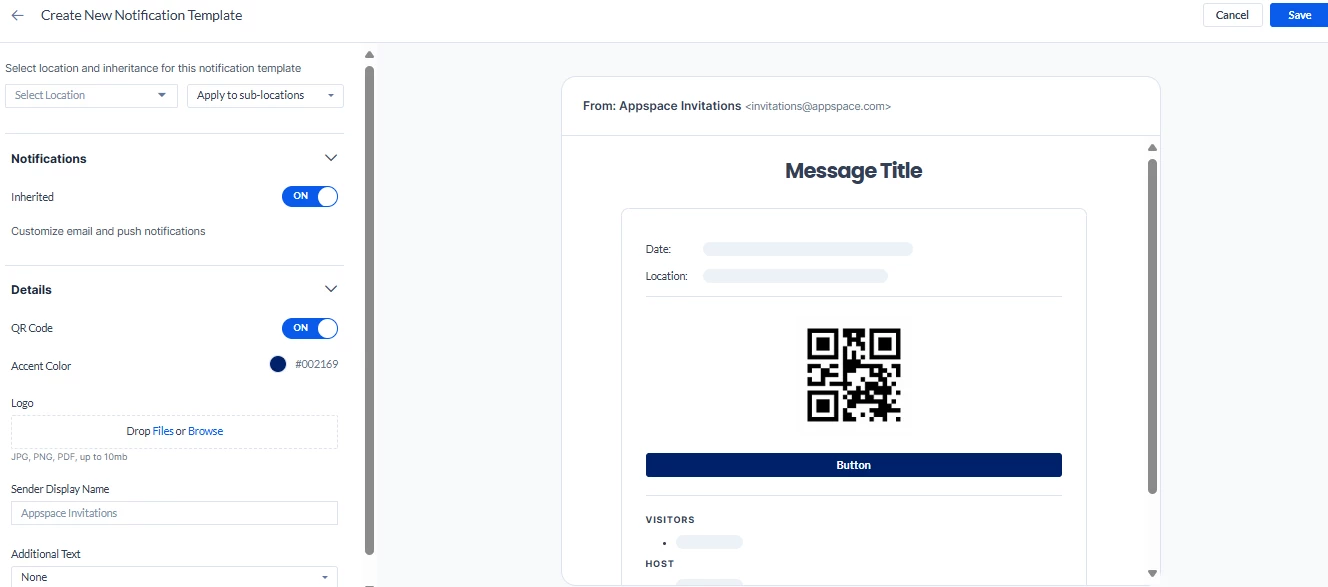
- Click +Create to open the editor.
- Select a location for this template and whether it will apply to sub-locations as well.
- Under Notifications, choose whether or not this template will inherit the global settings; if not, configure unique settings for this location.
- Under Details, configure the following settings:
- QR code for visitors to scan at check-in (toggle to enable or disable)
- Accent color used in the template
- Logo displayed in the template
- Display name of the sender
- Additional text at the top, middle, or bottom of the notification
- Once you have made your selections, click Save. This template is now created and will be applied to a specific location.