
This article guides you through configuring Just-in-Time (JIT) user provisioning in Azure for your Appspace Cloud instance, ensuring seamless single sign-on (SSO) with the correct attributes and claims.
Prerequisites
- You will first need to follow the documentation on setting up SSO with Appspace:
- Make sure you have created the user group in Appspace in order to enter the details in step one.
Steps
- Navigate to the Appspace admin console > upper-left menu > users module > settings tab > user provisioning.
- Check the JIT configuration. We recommend using the following configuration for the best results, and make sure you enter a valid user group, which should auto-populate once you start typing:
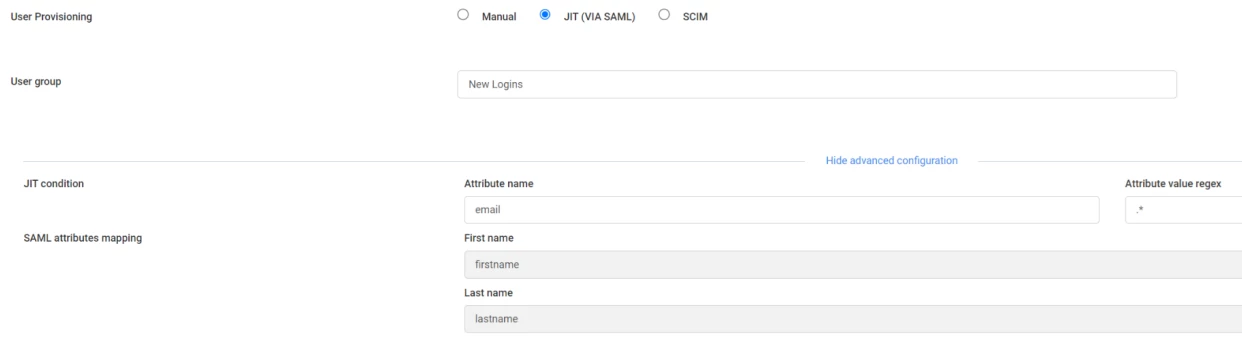
- For this example we have made the name and value regular expression (regex) match all users by setting it to attribute = email value = .* (regex wildcard that will match any email value).
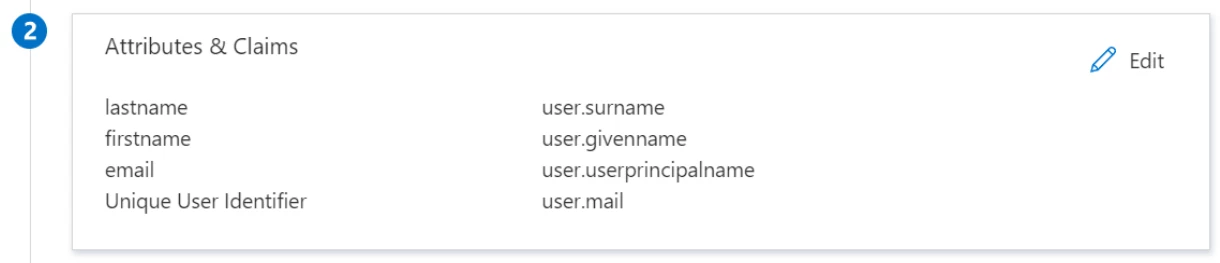
- Go to Azure and ensure you have added the attribute that is listed above in the attribute name. Similar to:
- Once you have saved the above, copy the login URL from the account authentication page (admin console > users > settings) and have the new user paste it into their browser:
