This guide outlines the process for configuring an enterprise application within the Azure Active Directory (Azure AD) admin portal.
Step-by-Step Configuration:
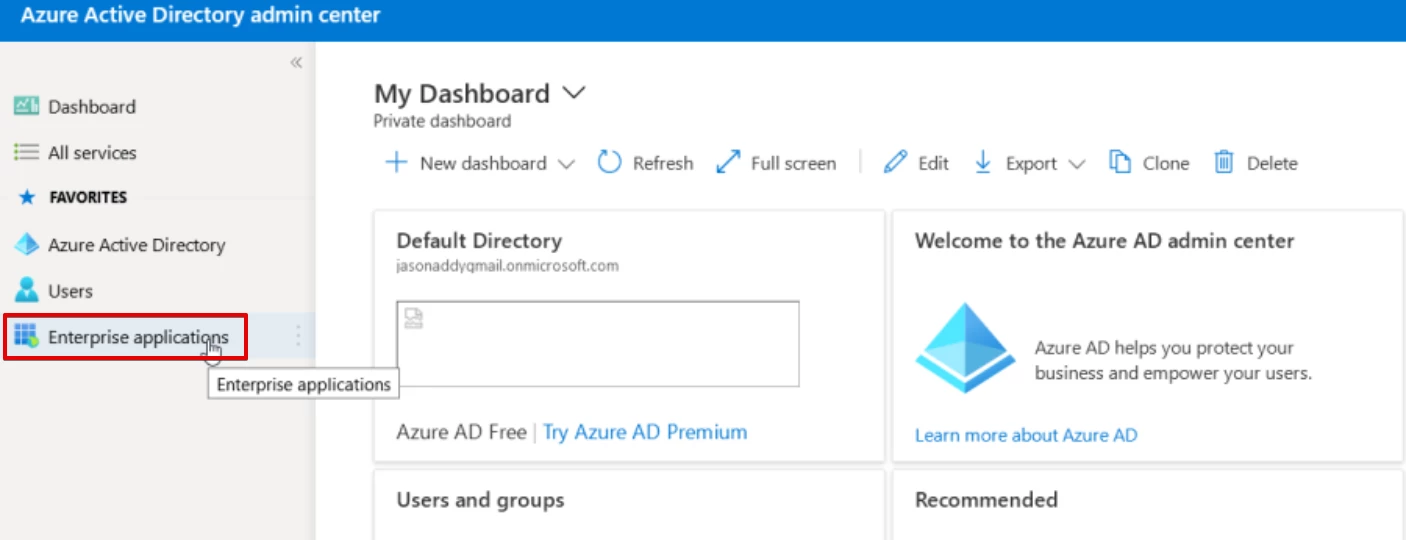
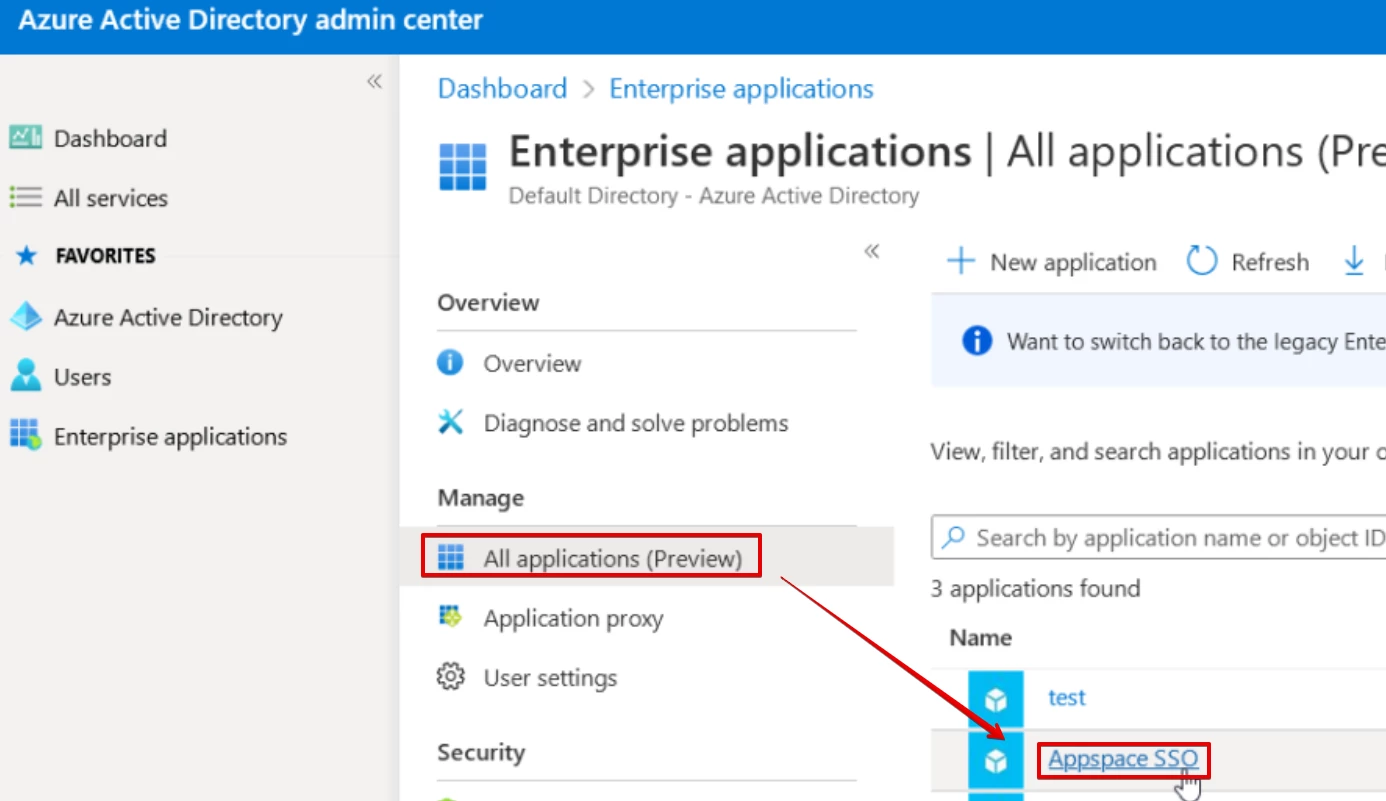
- Access Azure Active Directory: Log in to the Azure portal and navigate to the Enterprise applications section within Azure Active Directory.
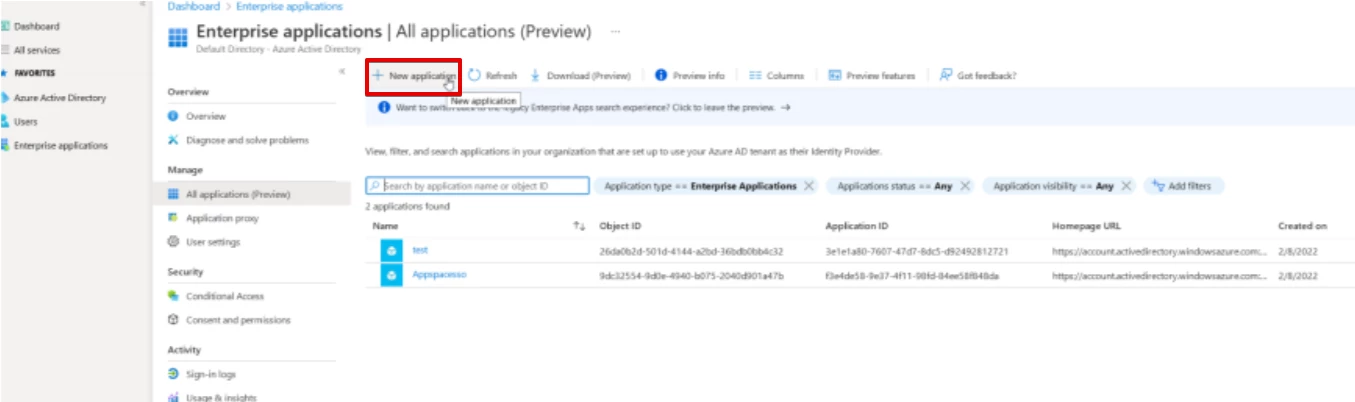
- Click on New application.
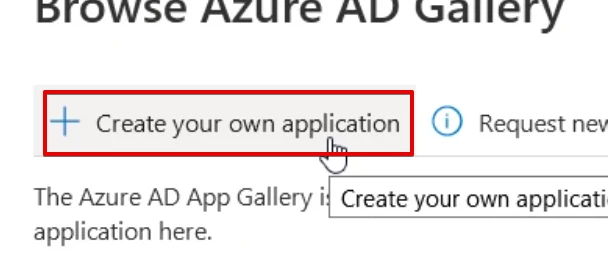
- Select Create your own application.
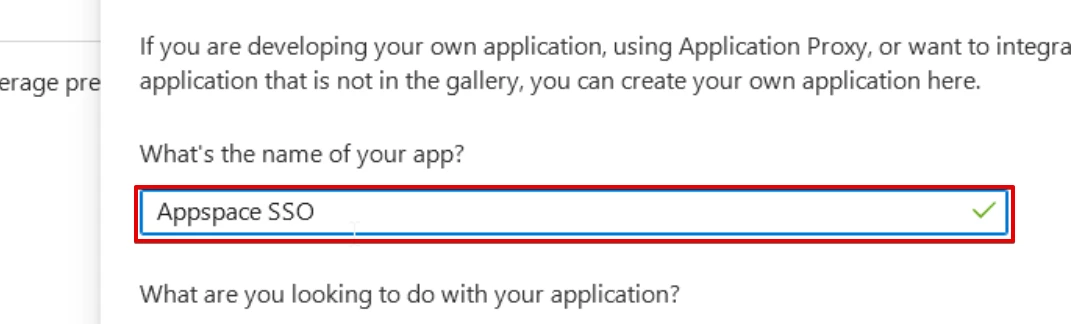
- Provide a descriptive Name for your application and click Create. Please allow a moment for the application to be provisioned.
-
Once the application is created, open its settings.
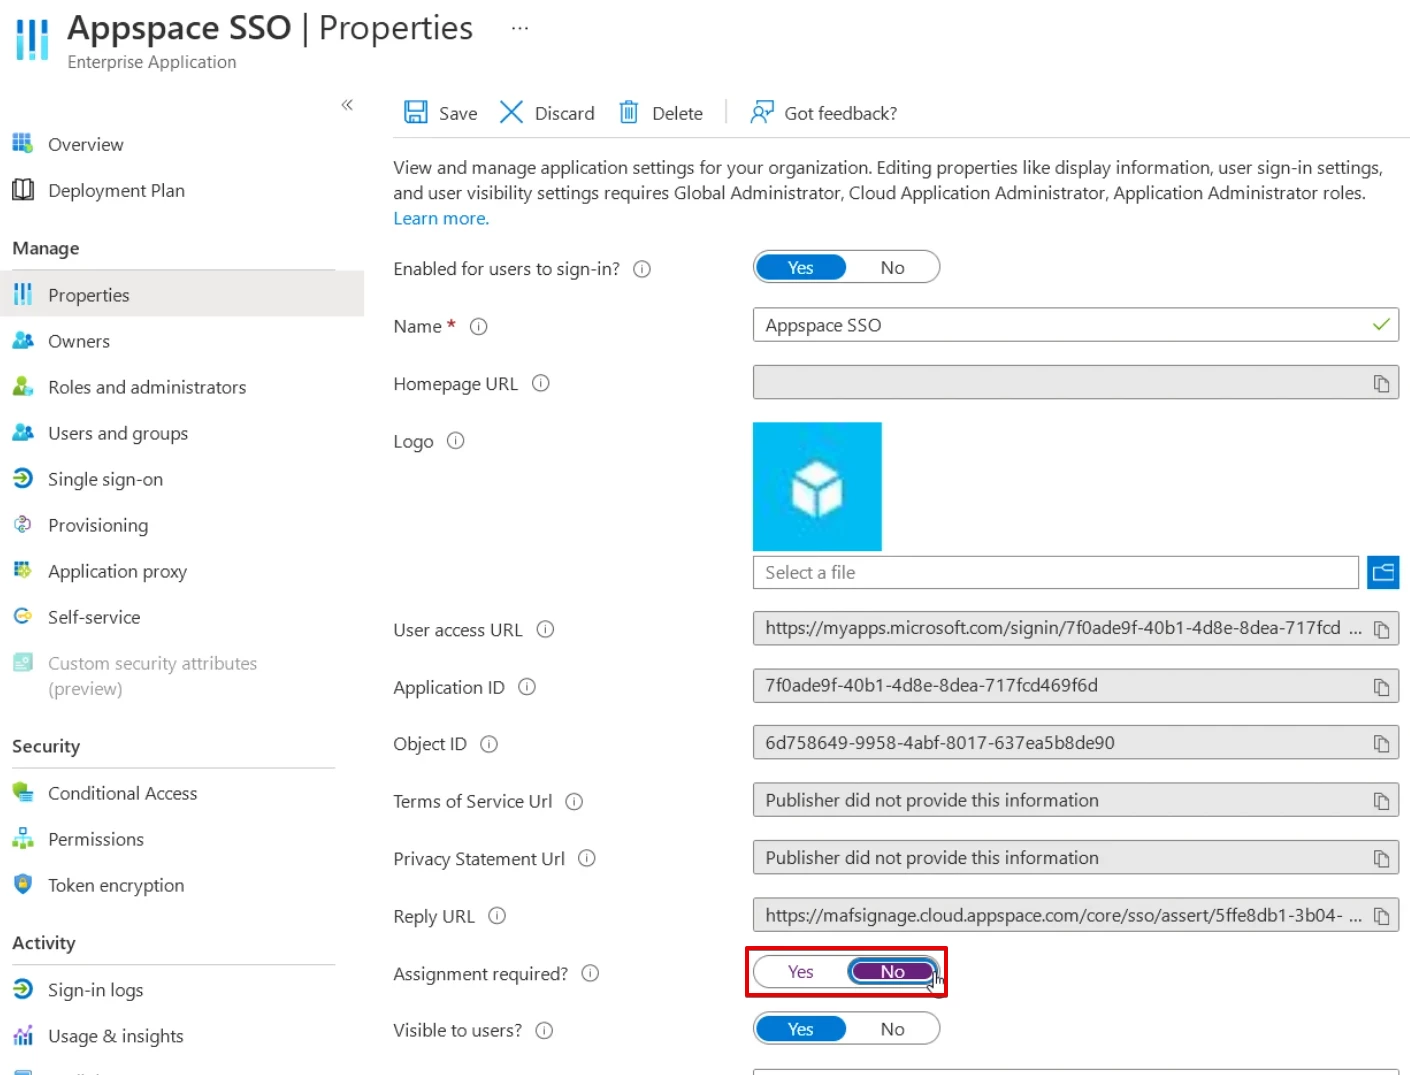
- Navigate to the Properties menu. For the Assignment required setting, choose No if all users should have access. If specific user assignment is required, leave this set to Yes (manual assignment is outside the scope of this guide).
-
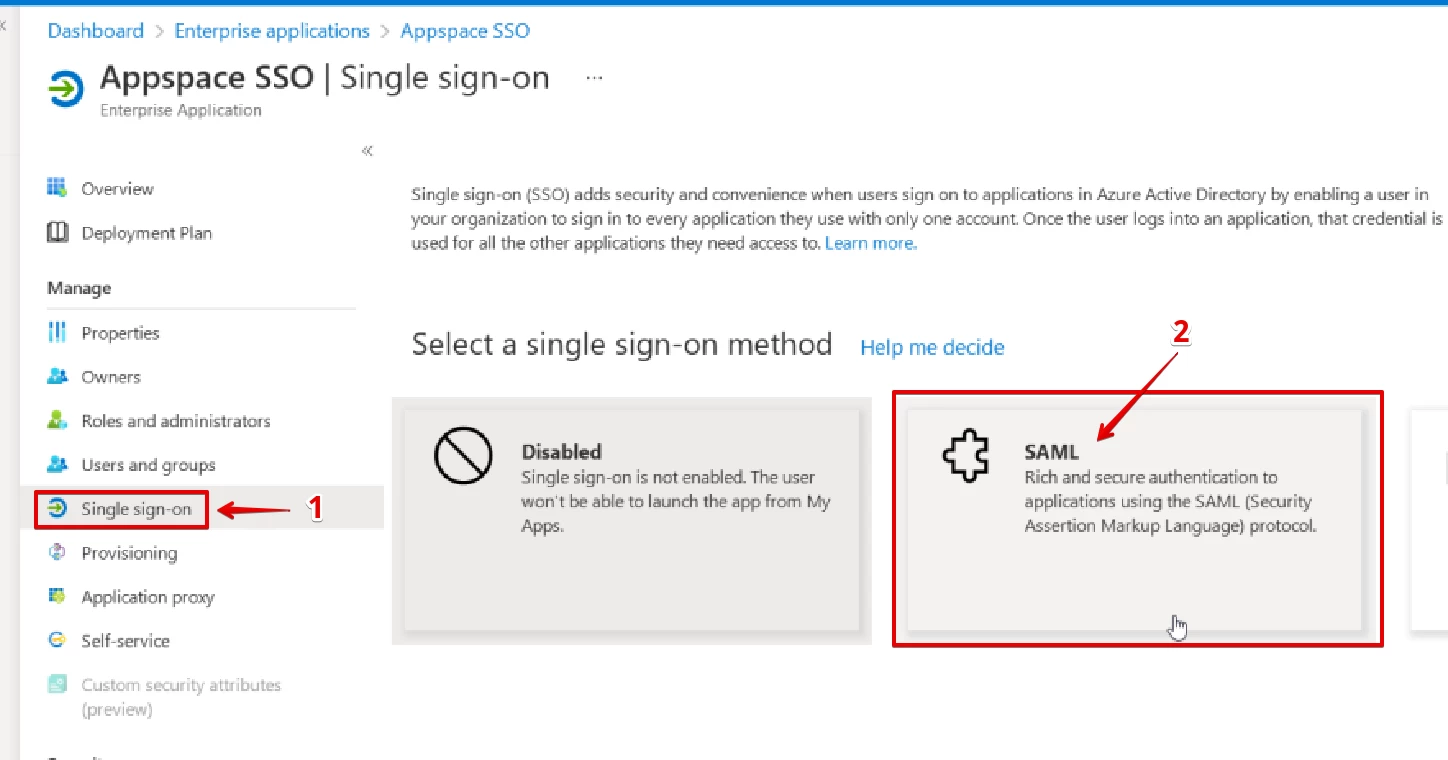
Click on Single sign-on from the application's left-hand menu. Select SAML as the single sign-on method.
-
In Section 1: Basic SAML Configuration, click Edit.
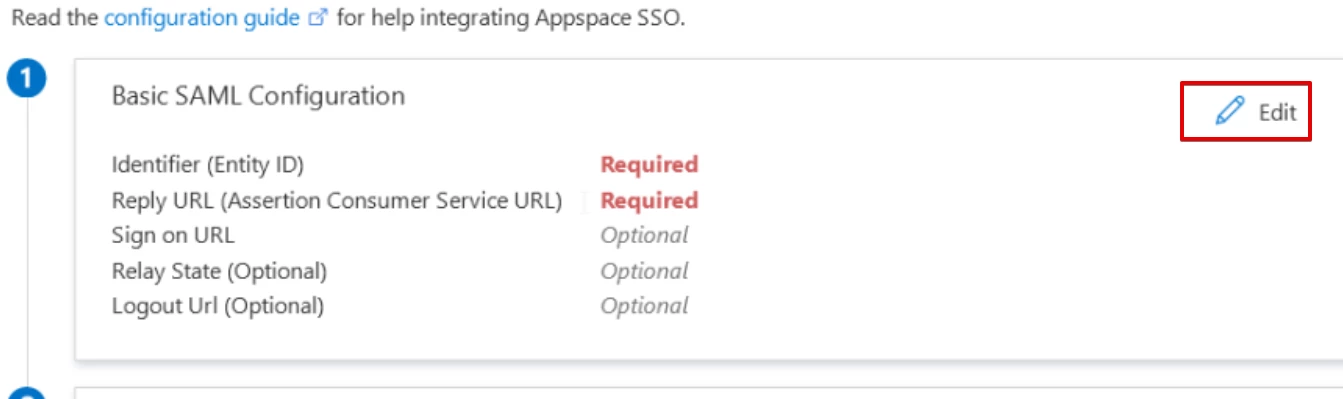
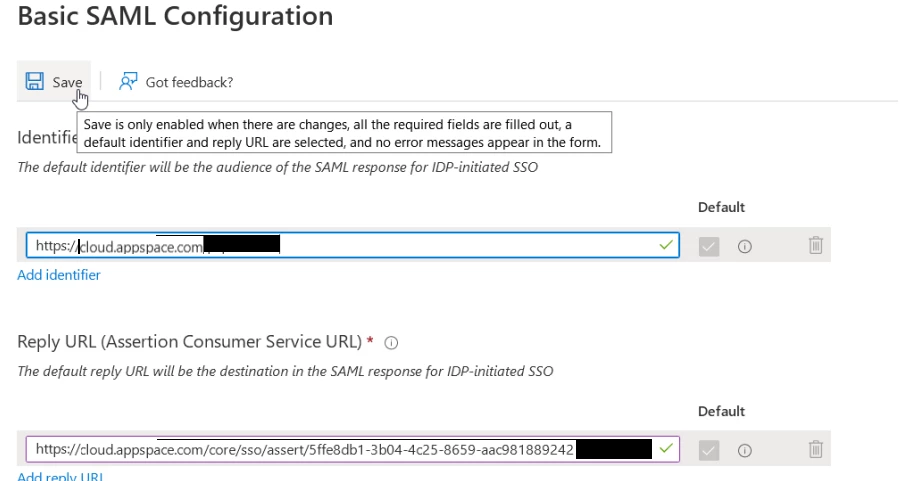
- Enter the Identifier (Entity ID) and Reply URL (Assertion Consumer Service URL). These values should be provided by your account management team or Cloud Operations. The fields displayed are examples only.
-
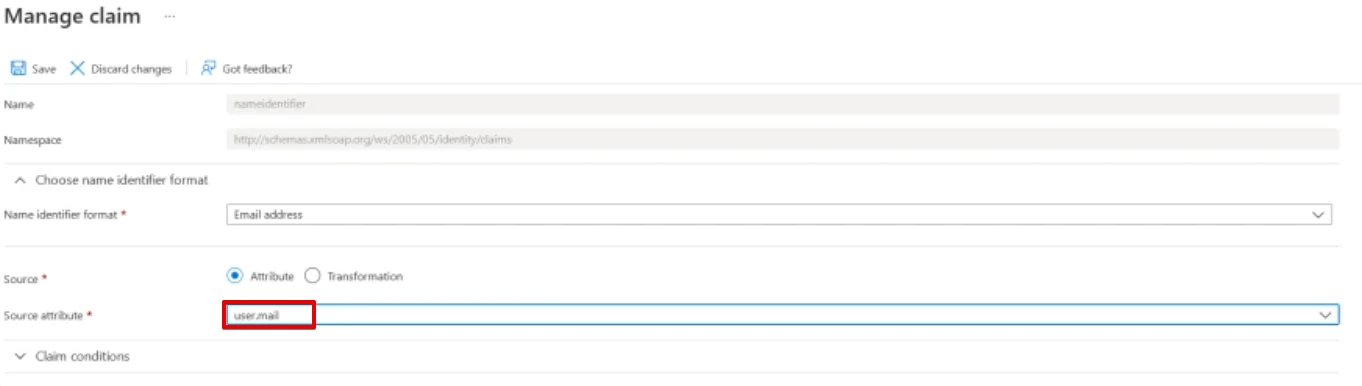
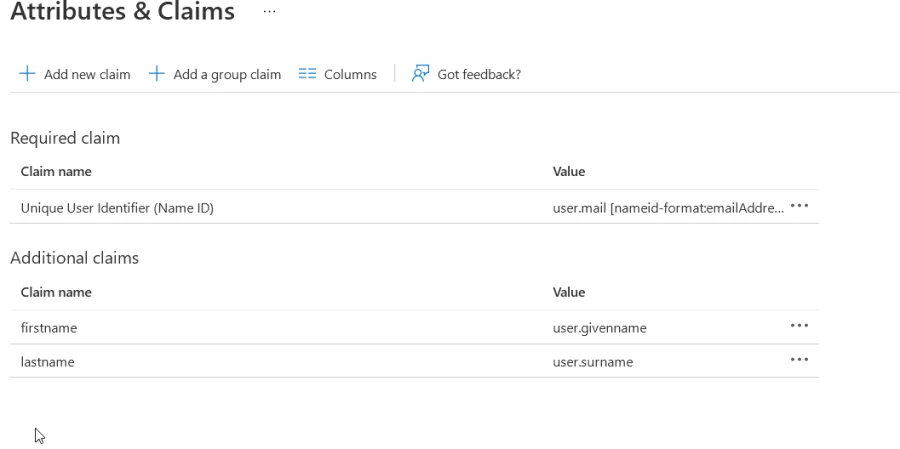
Set the Unique User Identifier (Name ID) claim to
user.mail.
-
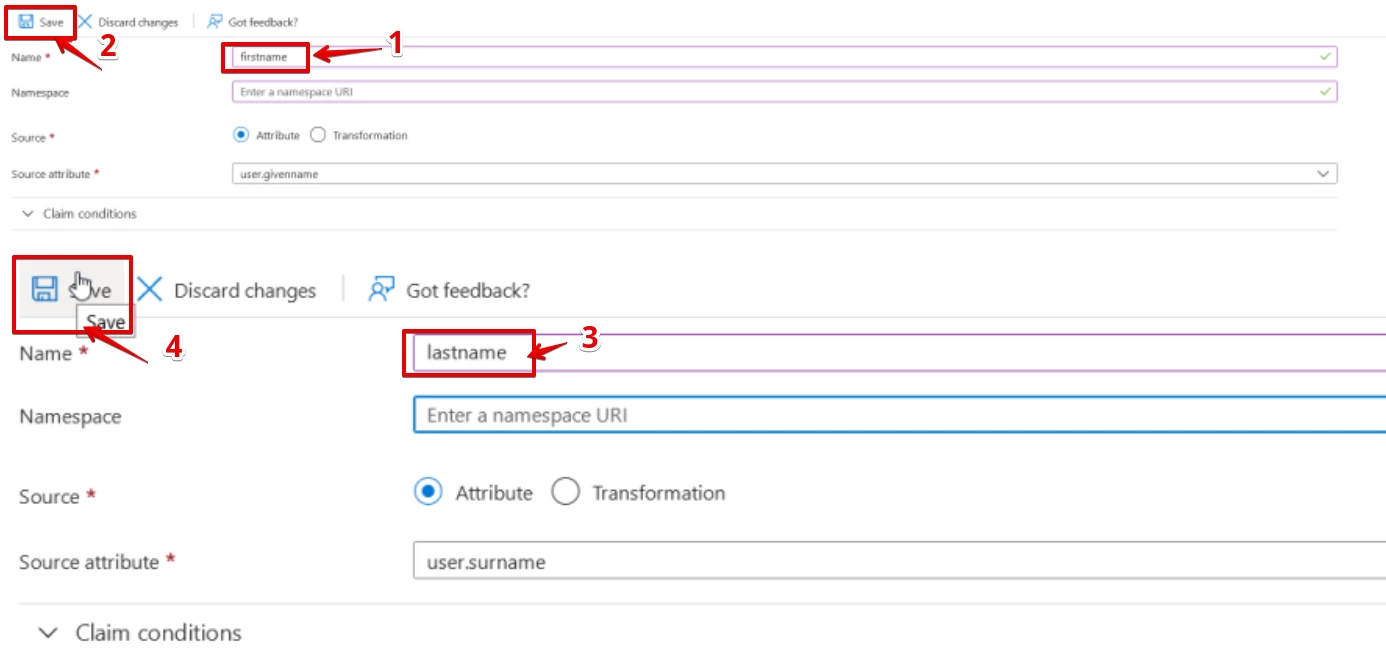
Remove any existing additional claims. Add new claims for firstname and lastname, ensuring the Namespace field remains blank for both.
-
Verify that the configured claims align with the required format. Complete claims should appear like this:
-
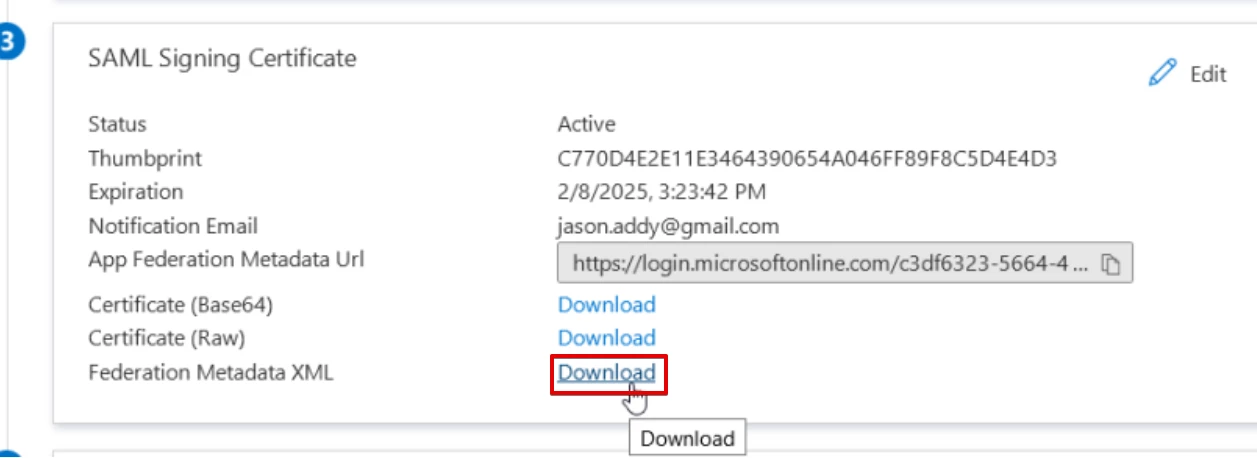
Download the Federation Metadata XML file from Section 3: SAML Signing Certificate. Provide this metadata file to Appspace for your configuration.