Bring Organizational Clarity to Employees: A Guide to the Org Chart
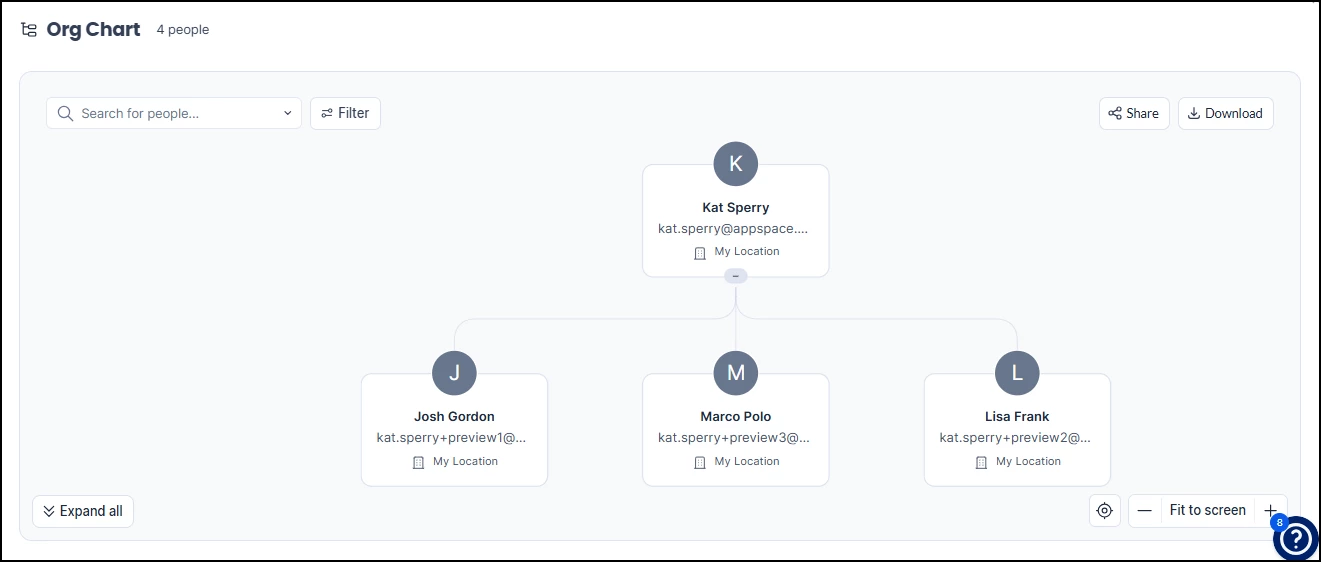
A visual Org Chart (short for "Organizational Chart") can now be accessed in Appspace. It is built by synchronizing a customer's Microsoft Entra ID or through SCIM provisioning, allowing users to see reporting lines and find colleagues.
Key Benefits
- Clarity for Employees — Provide employees with up-to-date reporting lines and team structures, giving them context and clarity in the platform
- Faster Onboarding — Accelerates onboarding for new hires by presenting an easy-to-understand chart
- Automated Mapping — Automates the building of the visual chart, saving time and effort
- Consistent Profile Photos — Automatically sync employee profile pictures from Azure AD, ensuring up-to-date, professional images across the platform without relying on manual uploads
What This Guide Covers
- Configuring the People Directory provider
- Enabling the Org Chart feature
- Configuring your chosen data source method
- Enabling Azure AD profile picture sync
- Adding Org Chart widgets to Communities and Themes
- Viewing and navigating the Org Chart
Prerequisites
- Platform license
- Location Admin or Account Owner user role
- One of the following, depending on your chosen method:
- Access to user profile management (for manual configuration)
- SCIM provisioning configured with your IdP (for SCIM method)
- Microsoft Entra ID account with admin permissions (for Entra ID method)
Step One: Configuring the People Directory Provider
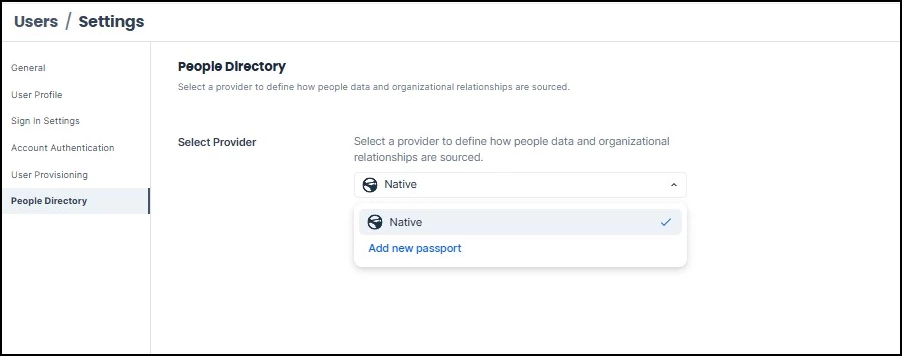
Before enabling the Org Chart, you need to select how people data and organizational relationships are sourced across the platform. This is now configured in a centralized location that applies to the People Directory as a whole — not just the Org Chart.
- Navigate to Users > Settings > People Directory.
- Under Select Provider, choose how your people data is sourced:
- Native — Appspace manages people data directly. Use this if you manually configure user profiles or use SCIM provisioning to sync data. This is the default option.
- Add new passport — Connect an external provider (such as Microsoft Entra ID) to pull people data and organizational relationships automatically.
- Click Save.
Note: This setting defines the data source for the entire People Directory, including the Org Chart, people search, and profile data. If you previously configured a provider in the Org Chart settings, that selection has moved here.
Step Two: Enabling the Org Chart
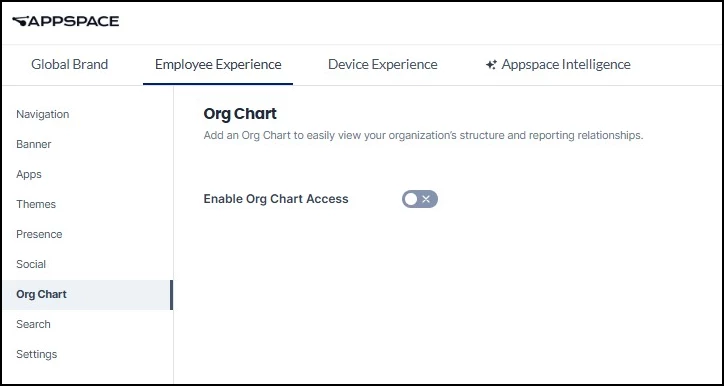
Once your People Directory provider is configured, enable the Org Chart so users can access the organizational hierarchy within the Employee View.
- Navigate to Settings > Configuration > Employee Experience > Org Chart.
- Toggle Enable Org Chart Access to the ON position.
Note: The provider selection that was previously on this page has moved to Users > Settings > People Directory (see Step One).
Step Three: Configuring Your Data Source
After enabling the Org Chart, follow the steps below based on the provider you selected in the People Directory settings:
- Native with manual configuration: No additional provider setup is needed. Navigate directly to User Profiles to edit organizational information for each user. See Step 3.1 below.
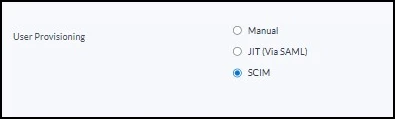
- Native with SCIM provisioning: No additional provider setup is needed. Appspace automatically pulls user attributes, including manager relationships, from your identity provider system. See Step 3.2 below.
- Microsoft Entra ID passport: Set up a Passport connection to Entra ID if you haven't already. Once configured, the People Directory will use this connection to sync your organizational structure. See Step 3.3 below.
Step 3.1: Manually Adding Org Chart Positions
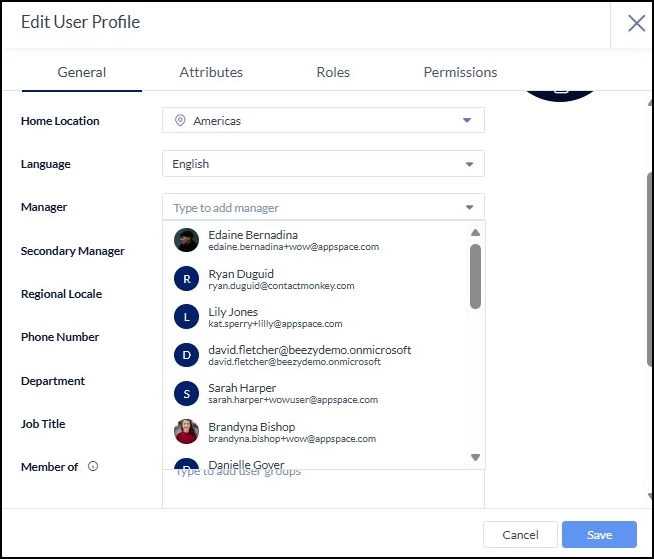
To manually add positions to your Org Chart, you'll need to assign managers within individual user profiles.
Navigate to Users, select a user, and under the General tab, choose names from the Manager and Secondary Manager dropdown menus.
Step 3.2: Enabling SCIM for Your Org Chart
Appspace has tested and officially supports the two leading SCIM compliant IdPs: Microsoft Azure AD and Okta. However, most SCIM compliant IdPs should be able to integrate with Appspace.
If you already have your SCIM set up, you will not need to configure anything further.
If you do not have your SCIM set up, follow this article to do so: Configure SCIM User Provisioning with HRIS/IdP for Appspace Cloud
You will also need to map your attributes on the Azure side to fill the Manager and Secondary Manager fields: SCIM - Azure Setup | Community
Step 3.3: Setting Up a Microsoft Entra ID Passport
If you are using the Microsoft Entra ID method for the Org Chart, you must first establish a Passport connection.
To configure a Microsoft Entra ID Passport:
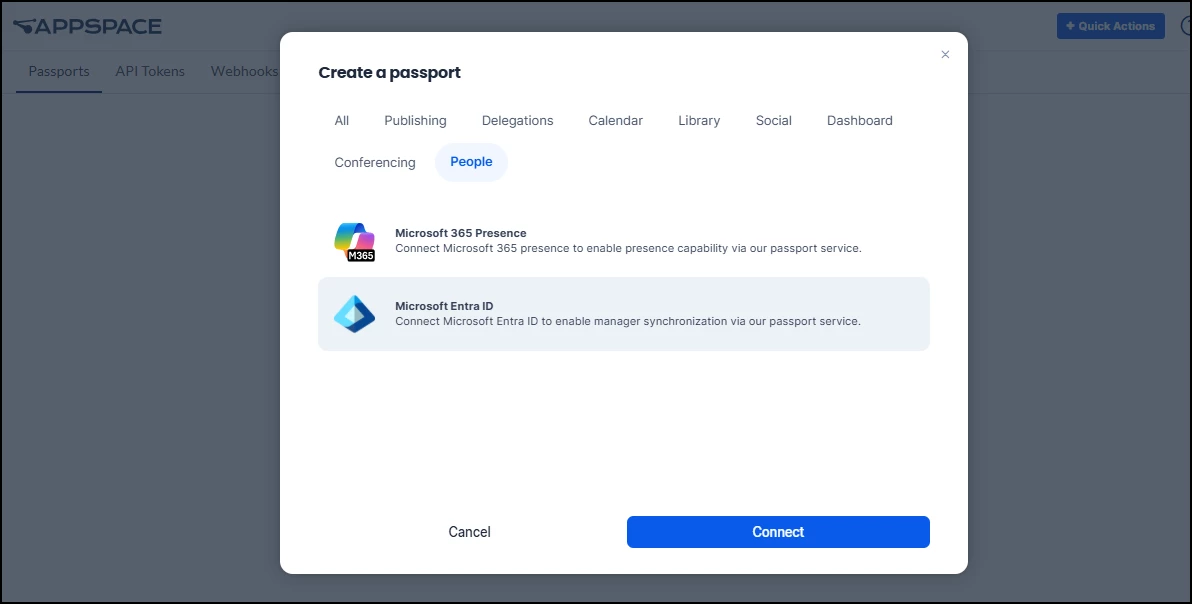
- Navigate to Integrations > Passports.
- Click +Create (for first-time setup) or +Add (if existing passports are present).
- Select the People tab and click Microsoft Entra ID.
- Click Connect and enter the required account credentials.
Step 3.4: Enabling Azure AD Profile Picture Sync
If you are using Microsoft Entra ID (Azure AD) as your People Directory provider, you can automatically sync employee profile pictures from Azure AD to Appspace. This eliminates the need for employees to manually upload photos and ensures consistent, up-to-date profile images across the platform — including profiles, the Org Chart, search results, and content authorship.
To enable profile picture sync:
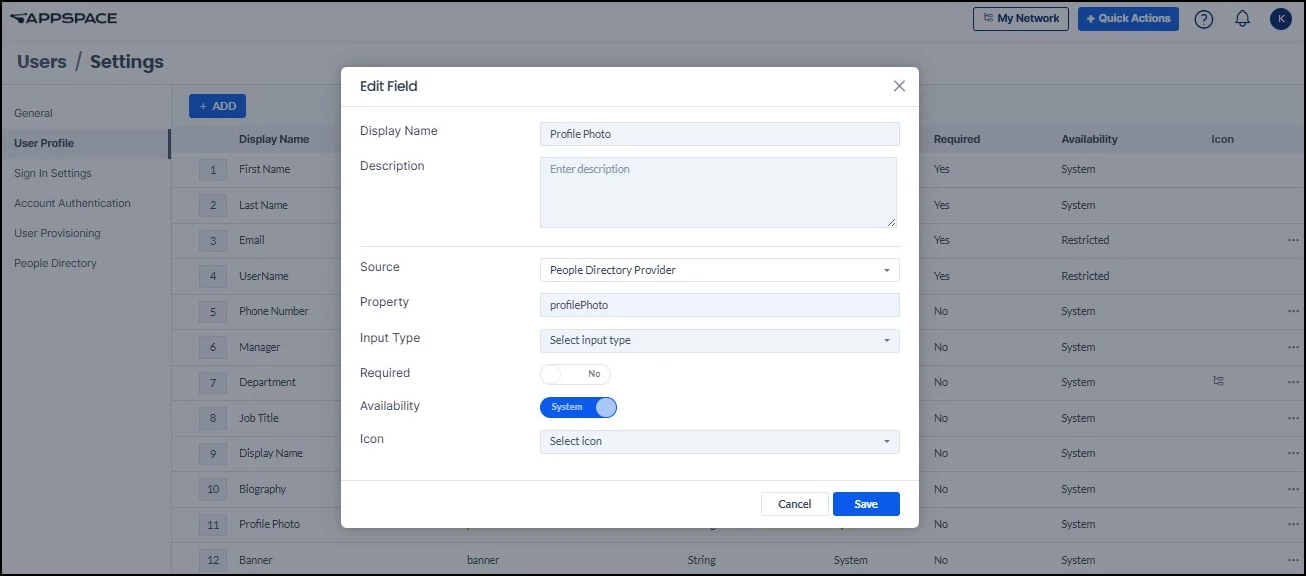
- Navigate to Users > Settings > User Profile.
- Locate the Profile Photo field and click to edit it.
- In the Edit Field dialog, set Source to People Directory Provider.
- Click Save.
Once enabled:
- Profile pictures are synced one-way from Azure AD to Appspace.
- Photos appear automatically across all platform areas — profiles, Org Chart, search, and content authorship.
- Employees can still manually override their synced photo using the existing upload functionality.
- However, any subsequent update to the photo in Azure AD will override the manual upload. Azure AD is the source of truth.
Note: The People Directory Provider option only appears when a provider (such as Microsoft Entra ID) has been configured in Users > Settings > People Directory (see Step One).
Step Four: Configuring a Community Org Chart
You can display the Org Chart within a specific Community. For example, you could show a team's structure in their Community by selecting the team's manager as the Top Person.
To add an Org Chart widget to a Community:
- Navigate to Spaces > Communities and select the desired community. Go to the Widgets tab, click +Add Widget, and select Org Chart from the drop-down menu.
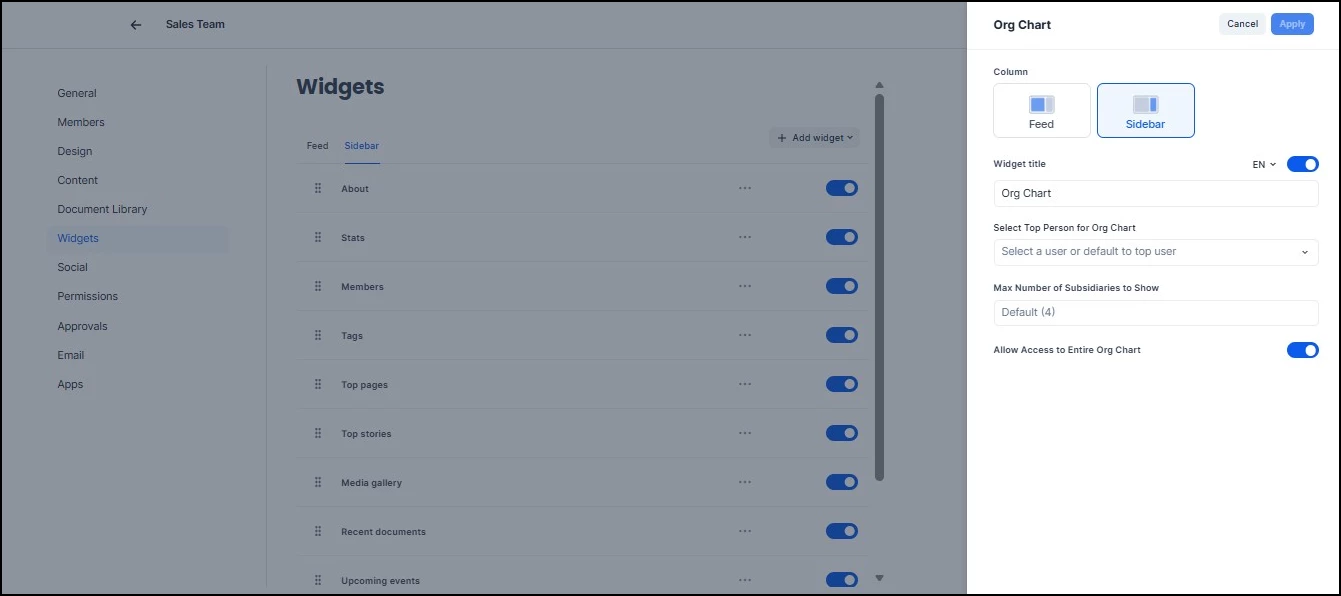
- Choose where to place the widget: Feed or Sidebar.
- Configure these settings:
- Title: Enter a name for the widget.
- Top Person: Select the individual at the top of the chart hierarchy.
- Max Subsidiaries: Define the maximum number of levels to display.
- Show Entire Org Chart: (Optional) Toggle this to enable full directory viewing.
- Click Apply to save your changes.
Step Five: Adding an Org Chart to a Theme
Adding the Org Chart widget to a theme displays the directory directly on the Employee View homepage, giving all employees quick access to organizational structure and contact information from their main landing page.
- Navigate to Settings > Configuration > Employee Experience > Themes and select the target theme.
- In the Widgets tab, click +Add and select Org Chart. Select the Org Chart widget to open the configuration window.
- Configure the following settings:
- Column Placement: Select the layout column where the widget will appear.
- Top Person: Select the individual at the top of the chart hierarchy.
- Max Subsidiaries: Define the maximum number of levels to display.
- Entire Org Chart Access: (Optional) Toggle to enable full directory viewing.
- Click Apply.
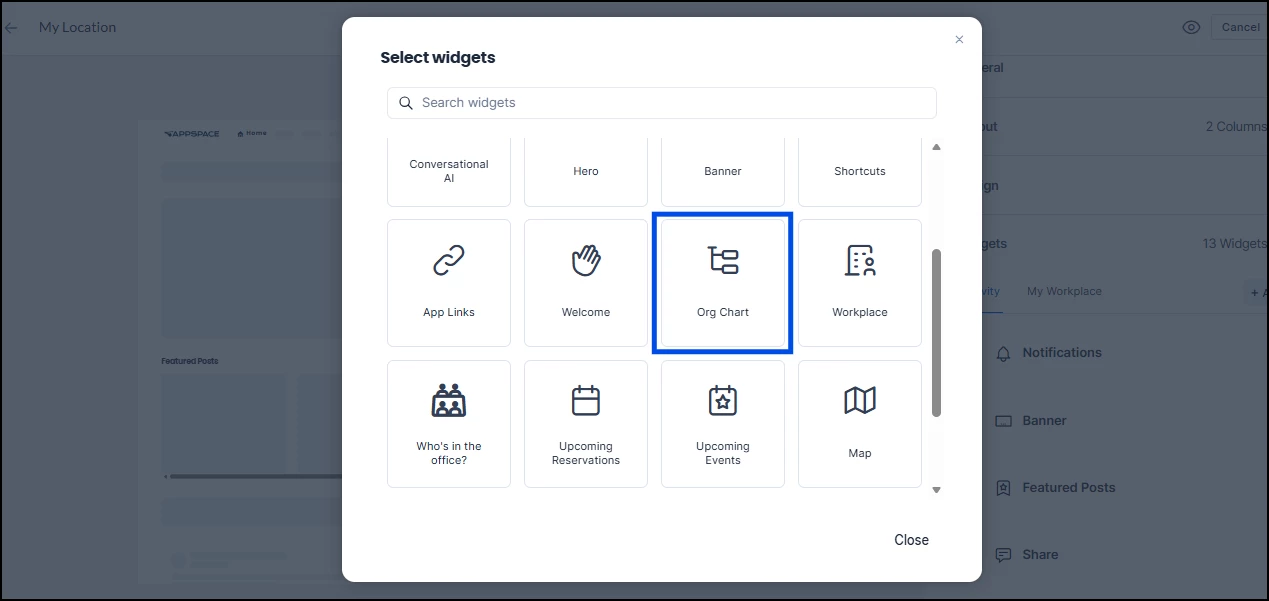
Step Six: Viewing the Org Charts
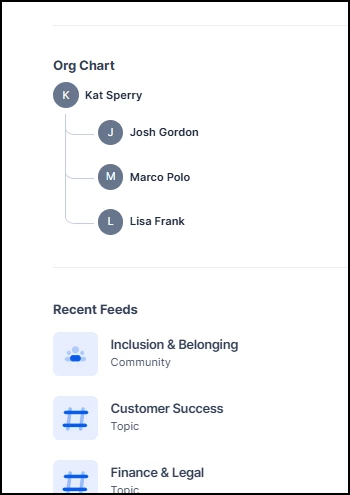
The Org Chart can be accessed from multiple locations within Appspace:
People Directory
Navigate to the People tab. The Org Chart widget is located in the right-hand sidebar.
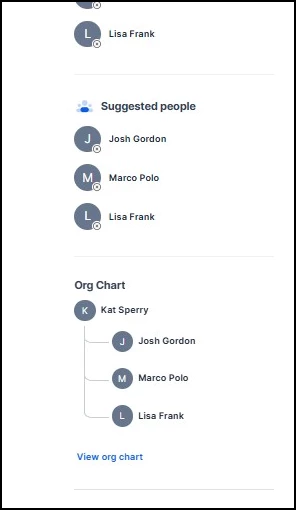
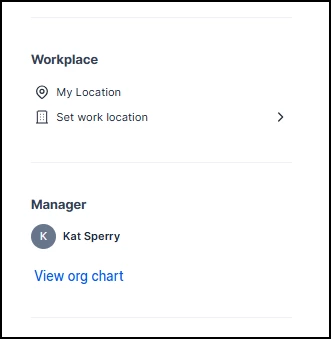
User Profiles
Select a specific user from the directory or feed. The Org Chart is displayed in the left-hand navigation panel of their profile.
Community View
- Sidebar: Appears in the right-hand column of the community page.
- Feed: Appears as a widget within the main activity stream.
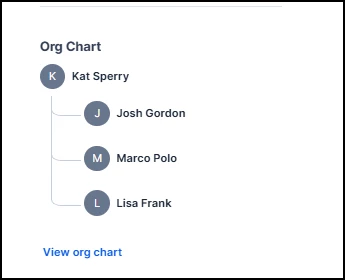
Employee Experience Homepage
Appears as a dashboard widget in the specific column designated in the Theme settings.
Step Seven: Navigating the Full Org Chart
To access the expanded interactive view, click View Org Chart on any Org Chart widget.
Note: The View Org Chart option is only available on Community and Homepage widgets if Allow Access to Entire Org Chart was enabled during the administrative setup.
Once the full Org Chart is open, the following actions are available:
- Visualize Hierarchy: View direct and indirect reporting relationships.
- Expand View: Navigate through the entire organization beyond the initial top-level view.
- Search: Locate specific individuals using the search bar.
- Filter: Refine the chart by Location or Manager.
- Share: Generate and copy a direct link to the Org Chart for sharing.
- Download: Export the current Org Chart view as a PNG image file.