

This article provides the instructions to create and configure a Google Sheets card, ideal for displaying information from a Google Sheets file on a display screen.
Administrator now only needs to ensure that a Google Workspace Passport is set up in the Integrations > Passport module. To display a Google Sheets file through the card, the file must first be made shareable and published to the web before its link is added to the card.
- a shareable public link to a file on Google Drive, for G Suite accounts without administrative authentication controls.
- a shareable private link to a file on Google Drive, for G Suite accounts with administrative authentication controls.
The Google Sheets card is now assigned to the Productivity & Engagement content category.
In this article:
Prerequisite
- Ensure your device is compatible. Refer to the Supported Appspace Cards article.
- Account Owner, Publisher, Editor, or Content Producer (Author) role to add or edit content in Library.
Configure Google Authentication
Important
You may skip this section if your Google Drive does not have a G Suite account with administrative controls.
Follow the instructions below to configure the Google Sheets card theme with the G Suite account authentication. Appspace Account Owner role required.
- Log in to your Appspace console.
- To create this card, select one of the following options:
- Click +Quick Action from the Appspace menu bar on the top right, and select Create Card.
- Click Library from the ☰ Appspace menu, and click +CREATE, and select Card from template.
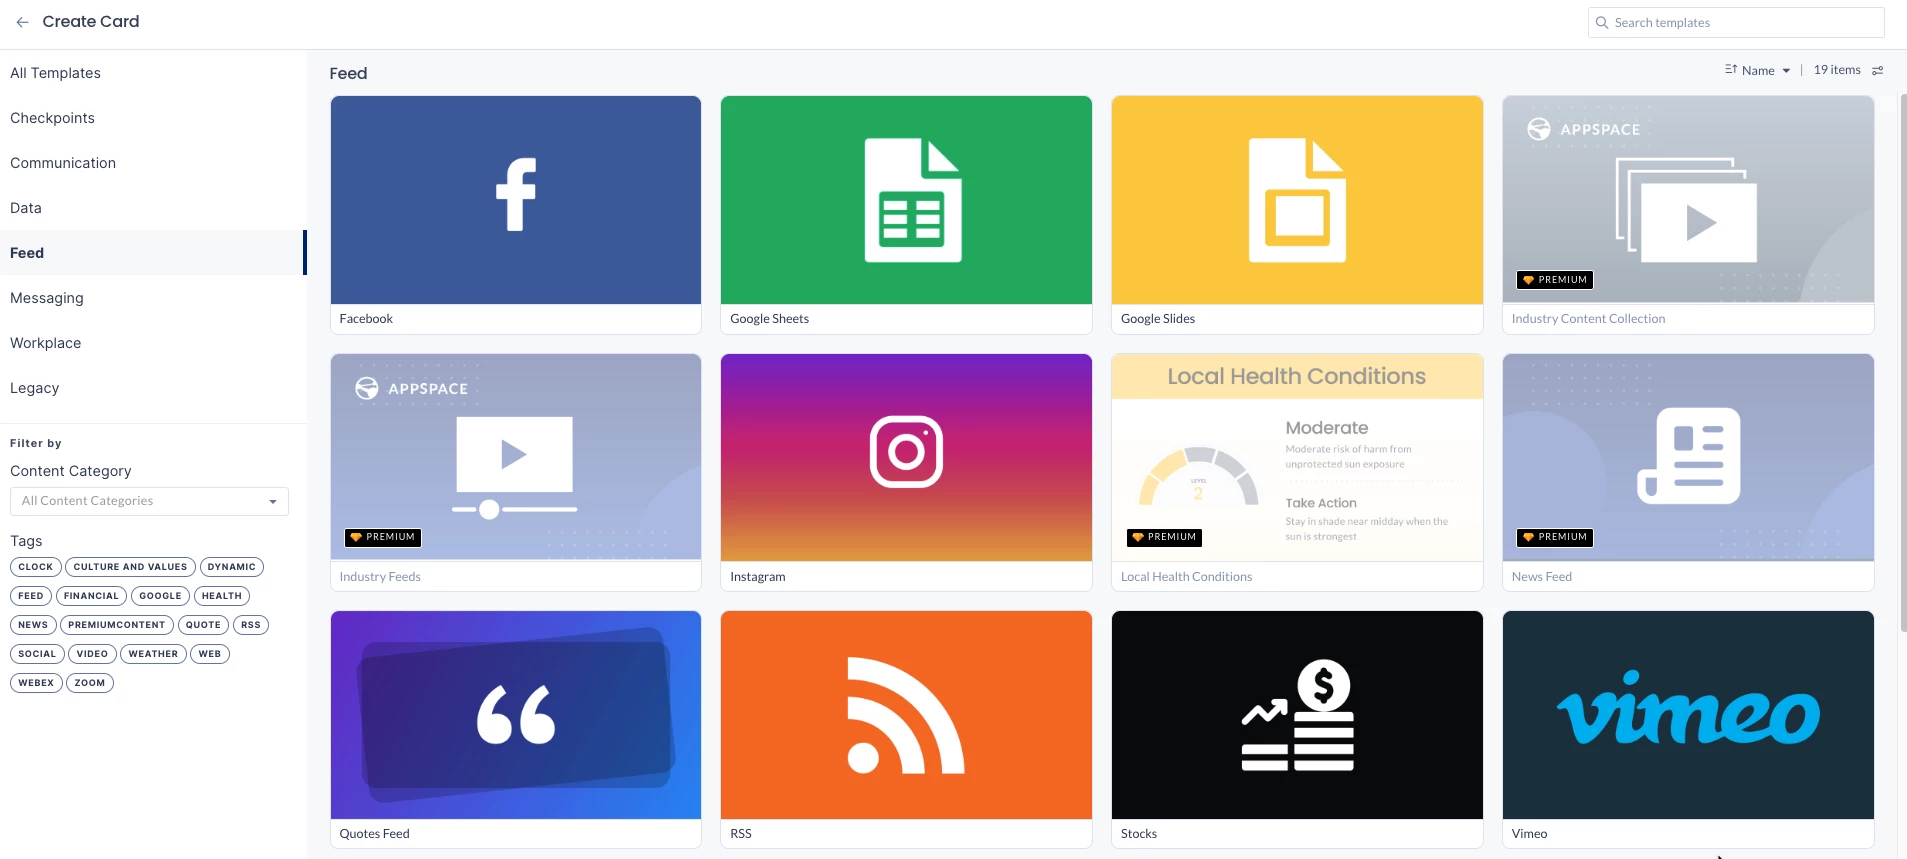
- In the All Templates panel, select Feed > Google Sheets.
- To proceed, you need a Google or Google Workspace account with the appropriate access permissions for the files or folders in Google Drive that you intend to display in Appspace. If a Google Drive passport has not been created, you must set one up first. Refer to the following article: Create Google Drive Passport in Appspace.
- If you already have a Google Drive passport, proceed to Step 4 below in the Configure Google Sheets Card section.
Create Shareable Link
Follow the instructions below to create a shareable link to your file on Google Drive:
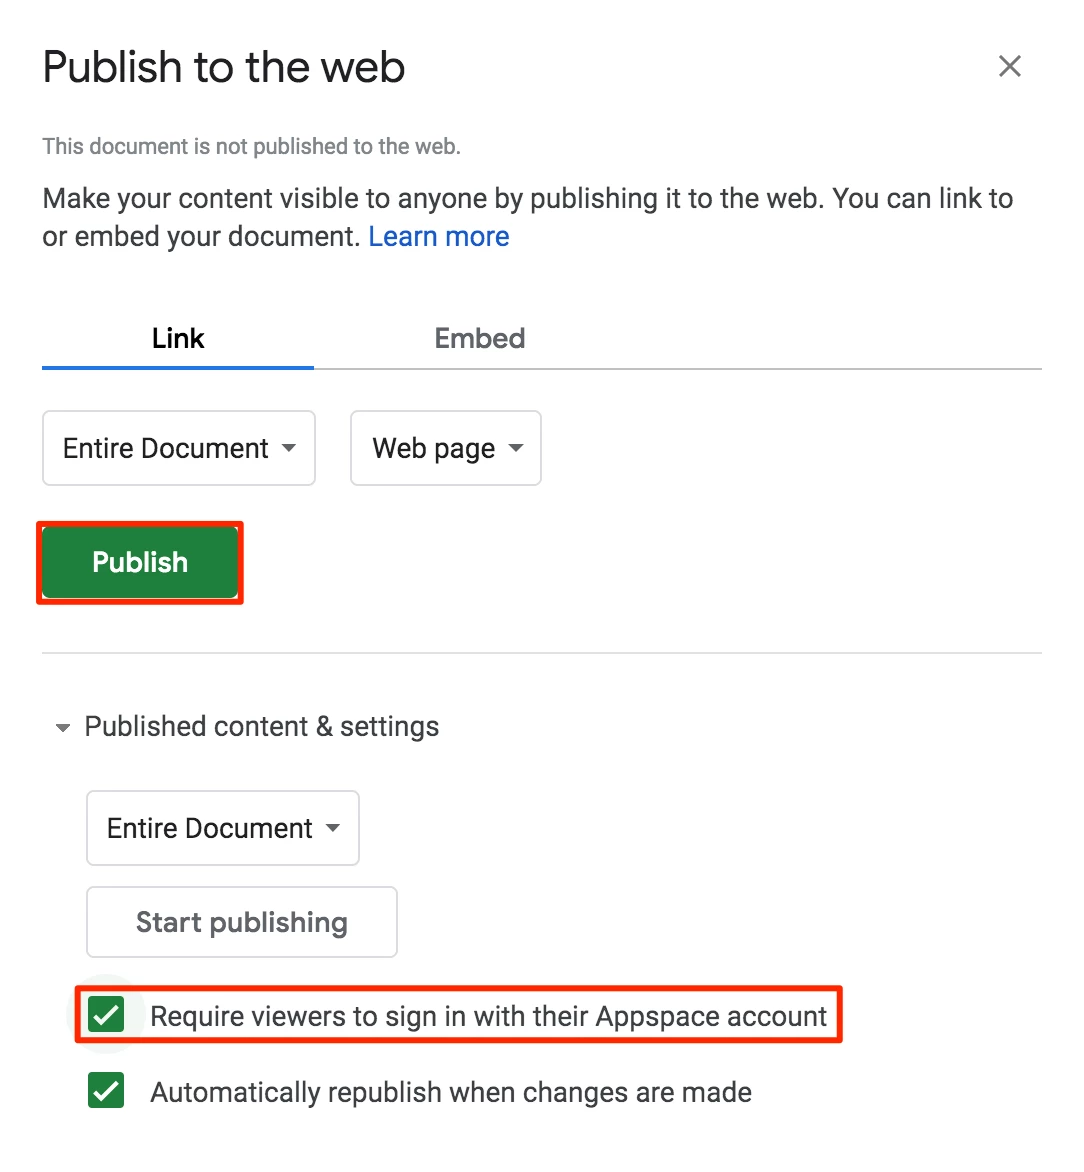
- Follow the steps outlined in the Publish a file to the web section, from this Google Help site: https://support.google.com/a/users/answer/9308870
- Click the Publish button, and close the window.
- Once done, follow the Share a single file instructions in the Step 1: Find the file you want to share section, from this Google Help site: https://support.google.com/docs/answer/2494822
- In the Step 2: Choose who to share with & how they can use your file section, ensure you select one of the following options:
- Share a link to the file – Select this option to get a shareable link to a secured Google file, to be used in an authenticated Google card.
- Share a file publicly – Select this option to get a shareable Google file, to be used in an unauthenticated Google card.
- Copy the shareable link to the Google file and proceed to the next section below.
Configure Google Sheets Card
The instructions below allow you to display Google Sheets data.
- Log in to your Appspace console.
- To create this card, select one of the following options:
- Click +Quick Action from the Appspace menu bar on the top right, and select Create Card.
- Click Library from the ☰ Appspace menu, and click +CREATE, and select Card from template.
- To create and add the card directly to an existing channel, refer to Add Content to Playlist Channels.
- In the All Templates panel, select Feed > Google Sheets.
Important
If you are unable to locate the content, try using either the Search bar, the Order by, or Filter icon to narrow down the content that you are looking for.
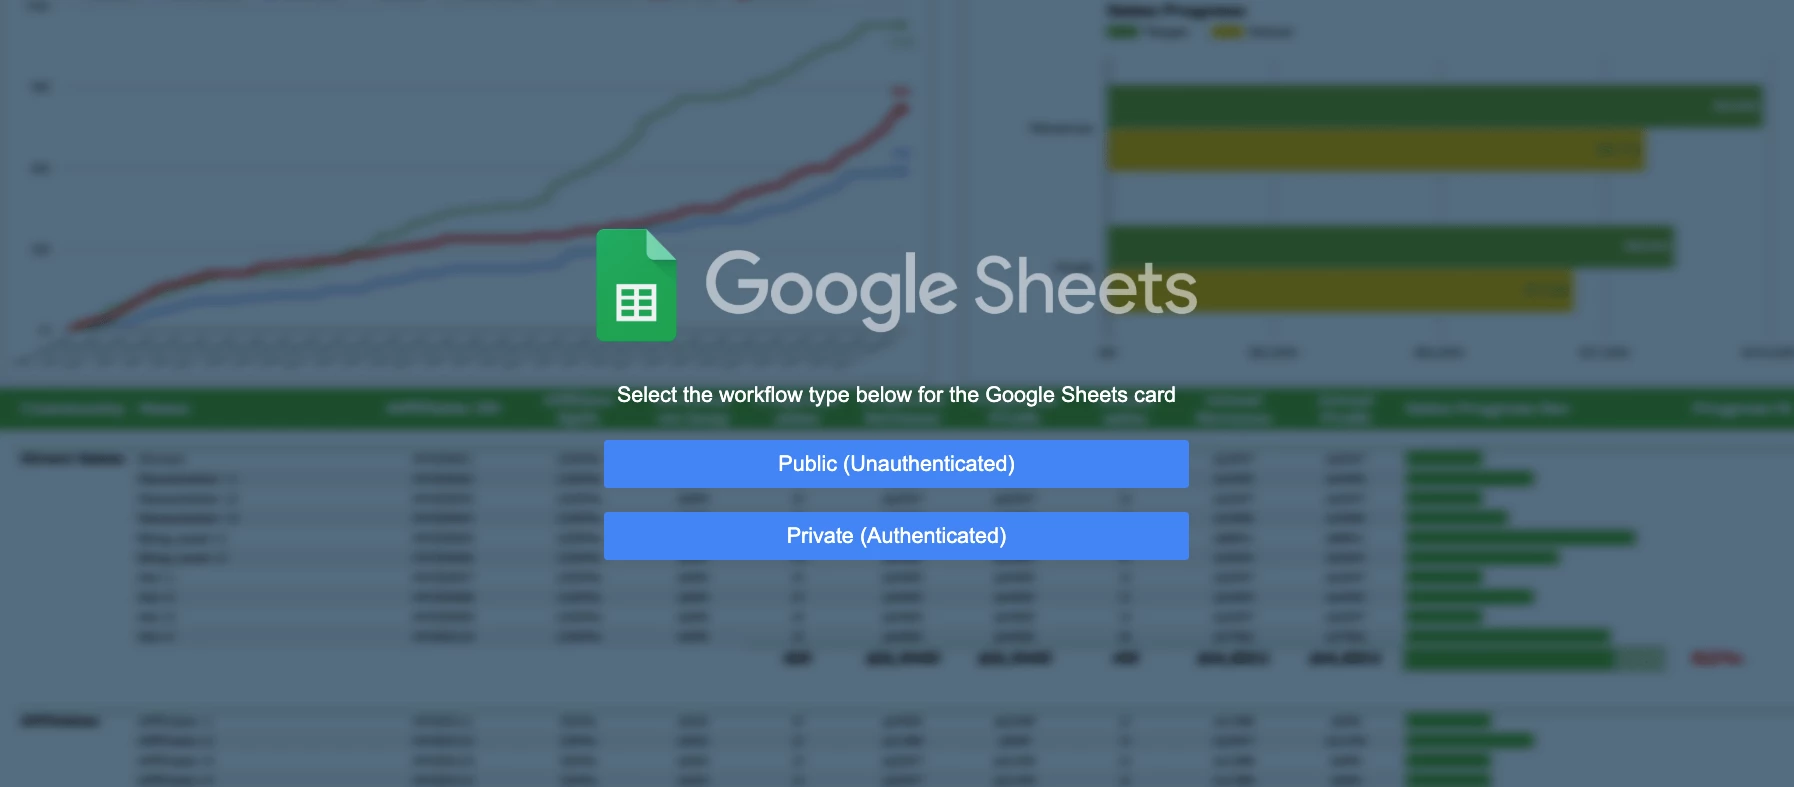
- Select the workflow type for Google Sheets card:
- Public (Unauthenticated)
Supports rendering public Google Sheets without authentication; selecting the “Public (Unauthenticated)” option and pasting a public Google Sheets URL displays the sheet content directly in the card preview. - Private (Authenticated)
Supports a secure authentication workflow for non-public Google Sheets, using Passport-based authentication to fetch sheet data from the back end and render it internally, including the table layout, colors, and basic styling, instead of relying on Google’s embedded iframe experience.
Important
This is a known limitation where embedded images or logos in the sheet are not returned by Google’s service and therefore do not render in the component, and only table content is supported while charts and graphs are not yet supported.Note
Entering the Title of the content is no longer mandatory; the file will be named automatically once you click Save.
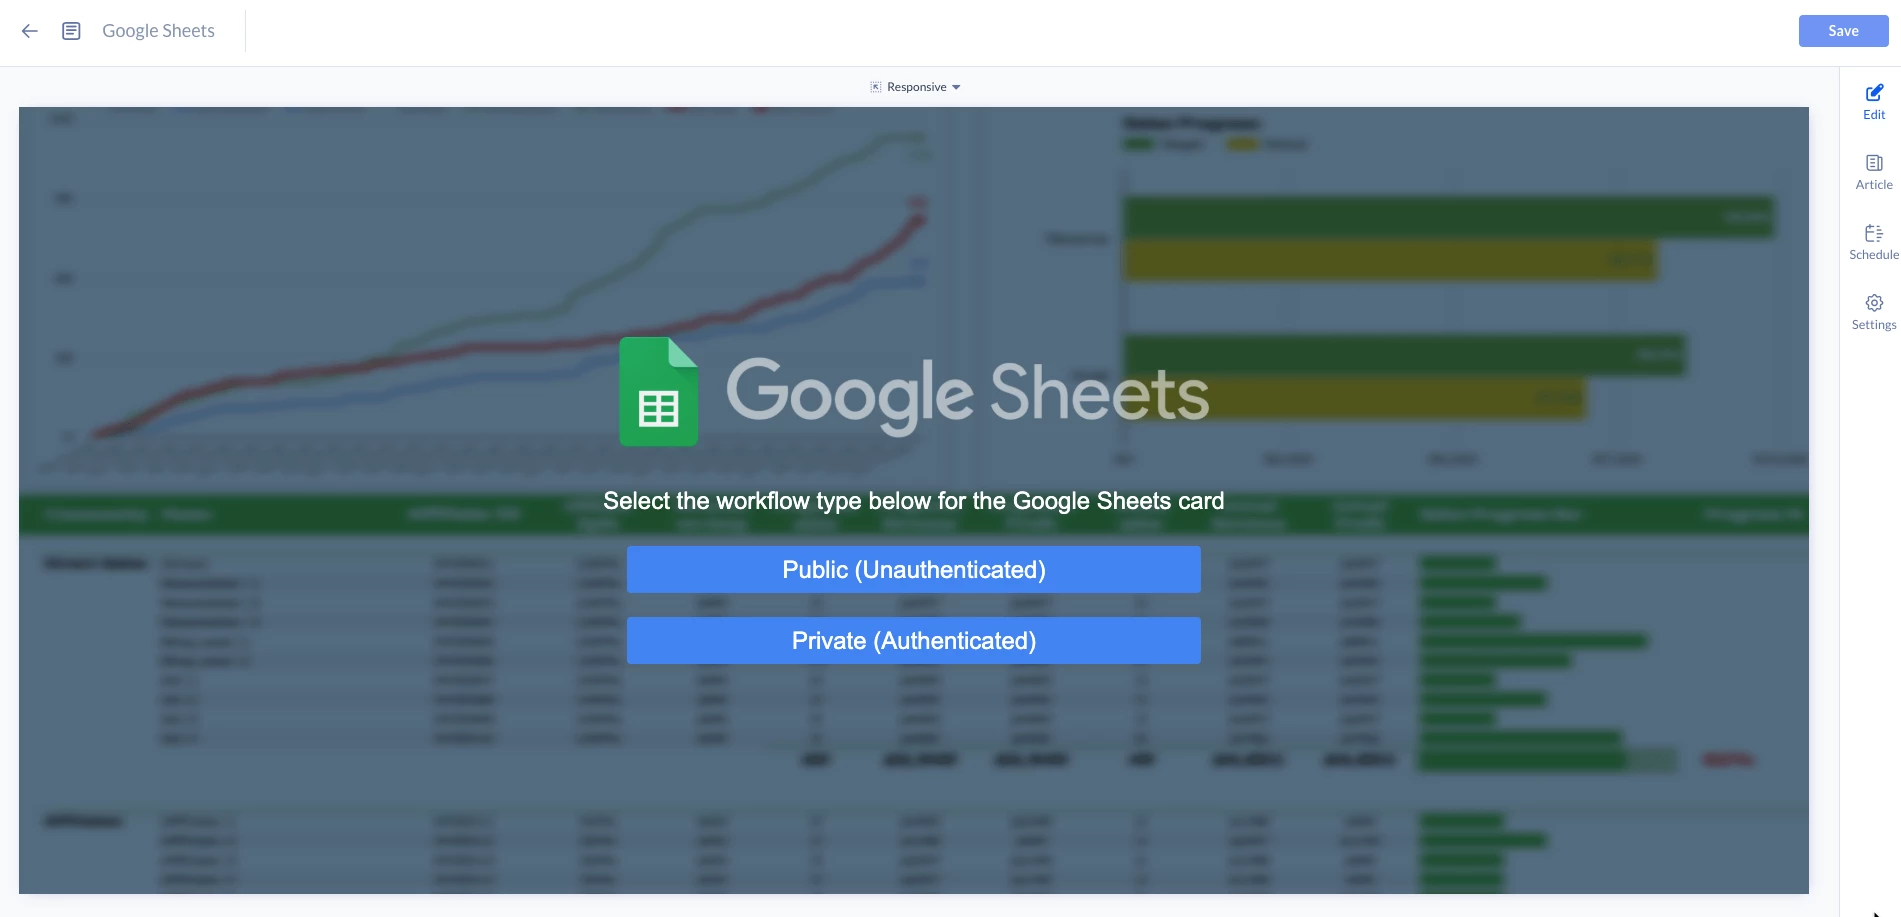
- Public (Unauthenticated)
- In the Edit tab:
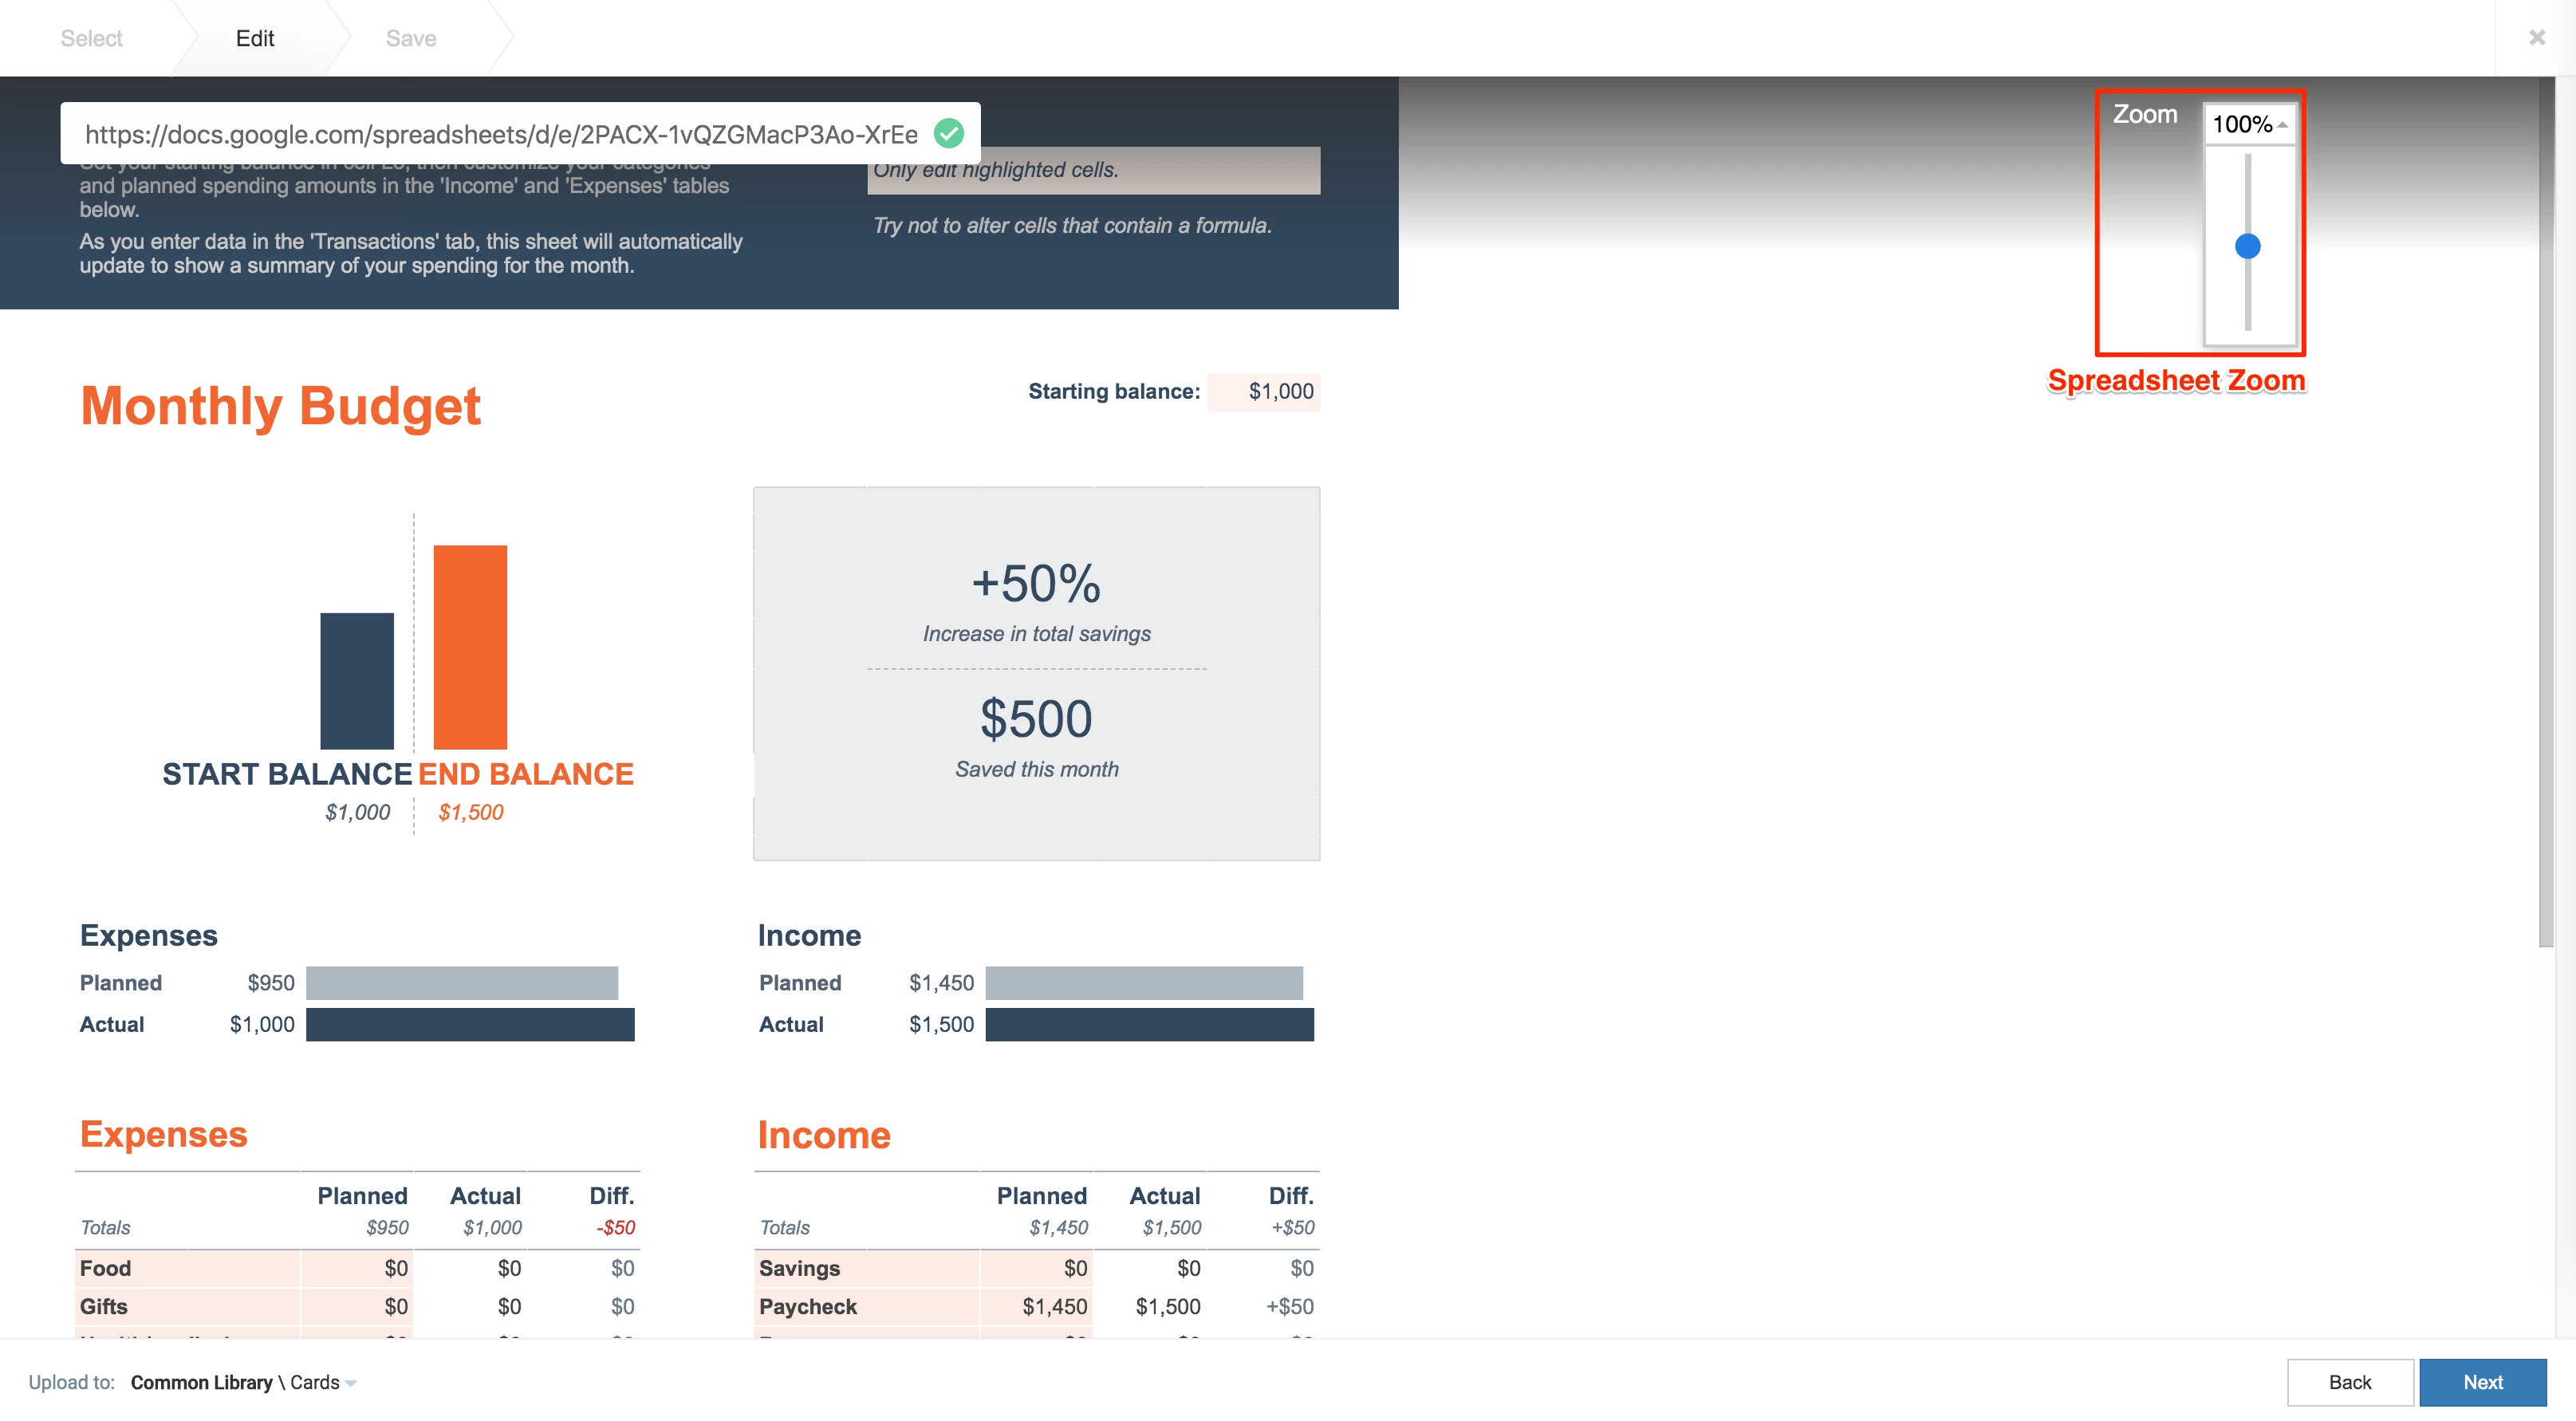
- Enter the Google Sheets shareable URL obtained earlier in the URL field.
- Select the zoom level of the spreadsheet. By default, the value is set to 100%, and anchors to the top right corner.
This can be used to only display certain portions of the spreadsheet.Note
The Zoom feature is only displayed for Public (Unauthenticated) content.
- In the Article tab:
- Include an Article or Caption to accompany the content item when being displayed on mobile apps, tablets, and other social collaboration apps.
- Enter a Referral Link to link more information to the content.
- In the Schedule tab:
- You may add the content to a channel by selecting the channel from the Add to channel drop-down menu, or leave it unassigned to be added later.
- When the content is assigned to a channel, the SCHEDULING and DISPLAY PROPERTIES options are displayed. Refer to the Configure Content Playback Properties: Dayparting, Frequency, Scheduling, in a Playlist Channel article for detailed configuration instructions.
- In the Settings tab:
- The Name field will be auto-populated to match the Title of the content which will also act as the filename for the content. This is a mandatory field.
- Select the Content Category from the drop-down menu to match the focus of the message, or leave it at the default content category.
- Enter any relevant Tags for the content. (Optional)
- Select a folder for the content in the Library Location drop-down menu to change the default folder location.
- Select an expiry date for the content from the Auto Delete Content from Library drop-down menu. (Optional)
- Upload an image to be used as the Thumbnail for the content.
- Once done, click SAVE.
Edit Google Sheets Card
The instructions below show you how to edit a Google Sheets card.
- Log in to your Appspace console.
- Click Library from the ☰ Appspace menu, and select a library or folder containing the content you wish to edit.
- Select and click the Google Sheets card to edit, and select the desired tab to edit or view.
- In the Edit, Article, and Settings tabs:
- You may edit the content the same way as it was configured. For detailed instructions on how to do this, please refer to the Create and Configure Google Sheets Card section above.
- In the Preview tab:
- Preview how the content is displayed on your device.
- In the Channels tab:
- You may add the content to a channel by selecting the channel from the Add to channel drop-down menu, or leave it unassigned to be added later.
- When the content is assigned to a channel, the SCHEDULING and DISPLAY PROPERTIES options are displayed. Refer to the Configure Content Playback Properties: Dayparting, Frequency, Scheduling, in a Playlist Channel article for detailed configuration instructions.
- In the Analytics tab:
- View the individual content analytics in this tab. For more information, please refer to the Individual Content Analytics section of the Analytics article.
- In the Edit, Article, and Settings tabs:
- Once done, click SAVE.