


This article shows Communicators and Content Managers how to view scheduled, live, and expiring content in the Appspace signage calendar.
Prerequisites
- Communicator, Content Manager, or Workspace Administrator role in Appspace.
- At least one channel published to a device. The calendar only shows content scheduled to channels you have permission to view.
- Content items must have a start date, an end date, or both. Items without either date appear under the Live status indefinitely and do not trigger expiration warnings.
- A supported web browser. Refer to the Appspace Supported Browsers, Required URLs & Ports article.
Open and Filter the Calendar
Follow the instructions below to open the Signage Content Calendar, switch between views, review content by lifecycle status, and filter the calendar to focus on specific devices, channels, or content states:
- Log in to the Appspace console.
- Click the ☰ Appspace menu, and select Channels.
- In the Channels page, select Calendar.
- The calendar opens in Month view by default, showing every scheduled content item across the channels you can access. Each entry displays the content title, the channel it is published to, and a color band indicating its lifecycle status:
- Scheduled (Green) — content has a future start date and is not yet live on any screen.
- Live (Blue) — content is within its scheduled window and is eligible to play on assigned devices.
- Expiring Soon (Amber) — content will reach its end date within the next 7 days. Review and extend or replace it before it expires.
- Expired (Grey) — content has passed its end date and is no longer playing. Expired items remain visible on the calendar for reference.
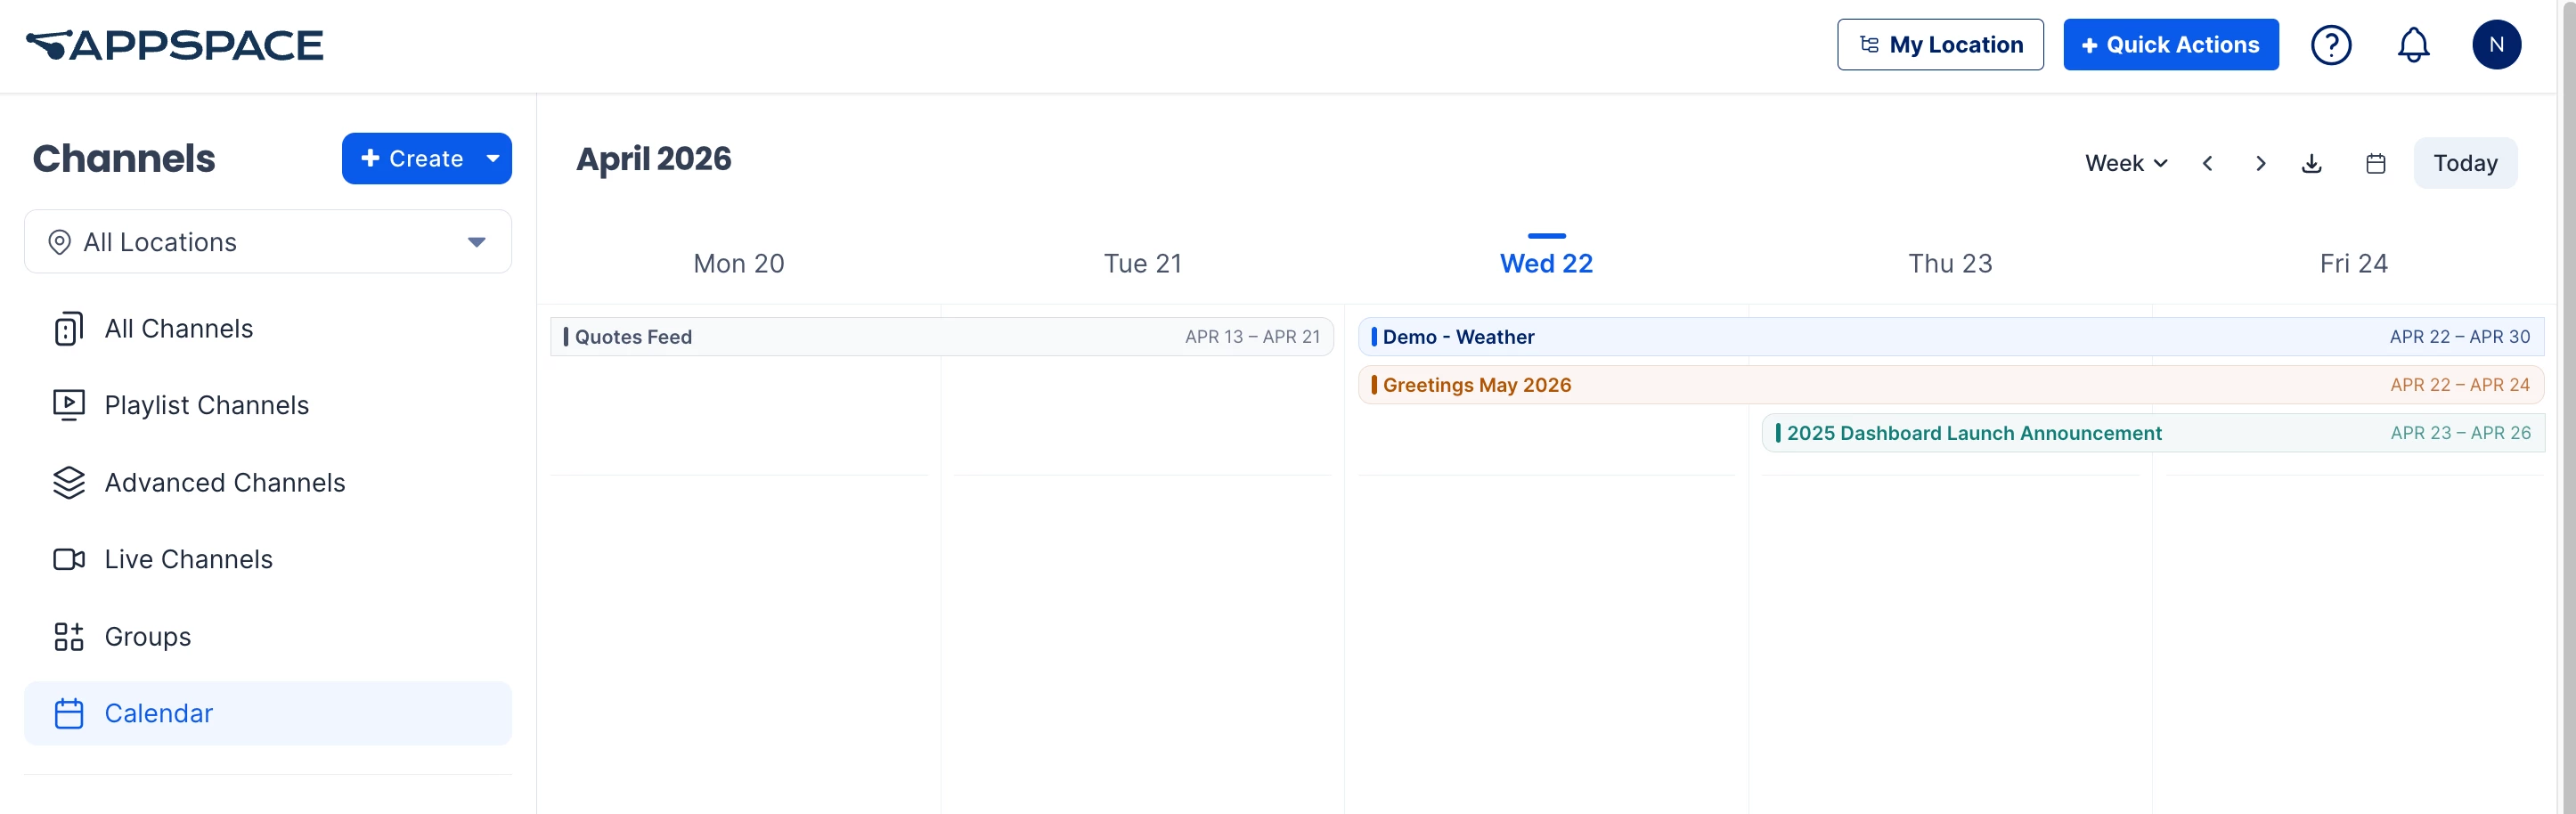
- To change the timeframe, click the view selector in the upper-right corner of the calendar and select one of the following:
- Week — shows seven days, split into two bands. The top band displays all-day content and content spanning more than 24 hours as a continuous bar across every day it covers. The bottom band displays time-specific content, such as an 11:00–12:00 item, in its exact timeslot.
- Month — shows a full calendar month. Multi-day content appears as a continuous spanning bar across the relevant days in each week row, making campaigns easy to see at a glance.
- To narrow the calendar, click Filters in the calendar toolbar. In the filter panel, apply one or more of the following:
- Device — content scheduled to play on the selected device or device group. Use this to confirm what is queued for a specific screen or location.
- Channel — content published to the selected channel. Use this to audit a single publishing workflow without device-level noise.
- Status — content matching the selected lifecycle status: Scheduled, Live, Expiring, or Expired. Multiple statuses can be selected at once.
- Click Apply to update the calendar. To clear all filters, click Clear All at the top of the filter panel.
- To act on expiring content, filter by the Expiring status, then click any content item to open its detail panel. From there, navigate to the source content in the Library to extend its end date, replace it, or unpublish it from the channel.
Note
- The Signage Content Calendar reflects scheduling data only. To preview what is currently playing on a specific screen, go to Devices.
- Filters persist for the current session only. Closing the calendar or signing out clears your active filters.
- To set start and end times on a content item, refer to the Configure Schedule section in the Configure Content Playback Properties: Dayparting, Frequency, Scheduling, in a Playlist Channel article.