



Elevate Your Stories and Pages: Best Practices for Enriching Intranet Content
Stories and Pages combine text, media, links, and other content blocks to create rich employee communications. This guide explains how to structure content, add supported blocks, and use newer publishing options where they are enabled.
Key Benefits
This article provides the following benefits:
- Stronger visual communication: Use images, galleries, video, and banners to make content easier to understand.
- Improved readability: Organize information with headings, lists, quotes, tables, and concise summaries.
- More interaction: Use link tiles, files, acknowledgments, and conditional content to connect employees with the right actions and resources.
What This Guide Covers
This guide covers the following topics:
- Adding media and files
- Using links and structured content
- Formatting text
- Using templates and AI-assisted creation
- Applying conditional permissions and Read and Acknowledge
- Final publishing checks
Prerequisites
Before you begin, confirm the following requirements:
- Premium license: Creators need a Premium license to access the employee view of the Appspace Intranet. (Content can be created in the Admin Console, but we recommend using the employee-view workflow.)
- Content permissions: You need an Account Owner, Publisher, Author, or equivalent content permission for the target location and channel.
- Approved assets: Prepare accessible media, links, files, and audience information.
- Feature availability: Templates, AI-assisted creation, conditional block permissions, tables, and Read and Acknowledge may depend on account configuration and product release.
Create the Content Structure
Step One: Start from a Blank Item or Template
1. Open the Stories or Pages workflow.
2. Select Create.
3. Choose a blank item or an available template.
4. Enter a clear title and summary.
5. Add a banner or cover image when appropriate.
| Templates and AI: Where enabled, the template library or AI-assisted creation tools can help generate a starting structure or media. Review and edit generated content for accuracy, tone, and permissions before publishing. |
Add Media and Resources
Step Two: Add Images and Galleries
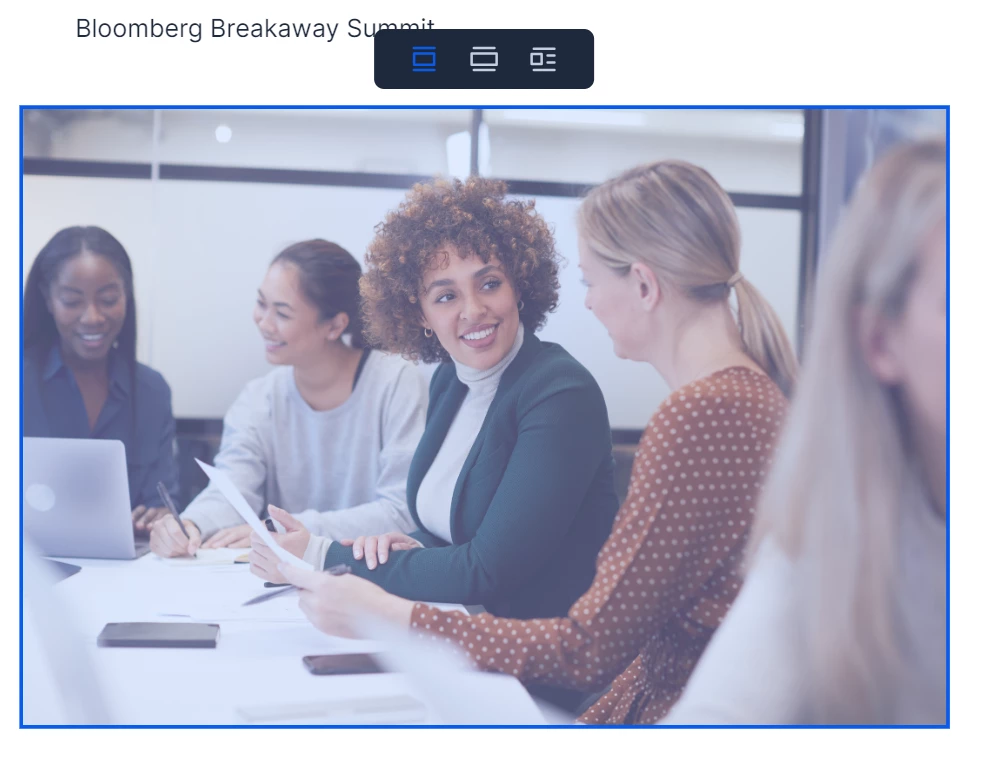
Select the add-block control on an empty line and choose the image or gallery option available in the editor. Configure alignment, captions, and order.

Step Three: Add Video and Files
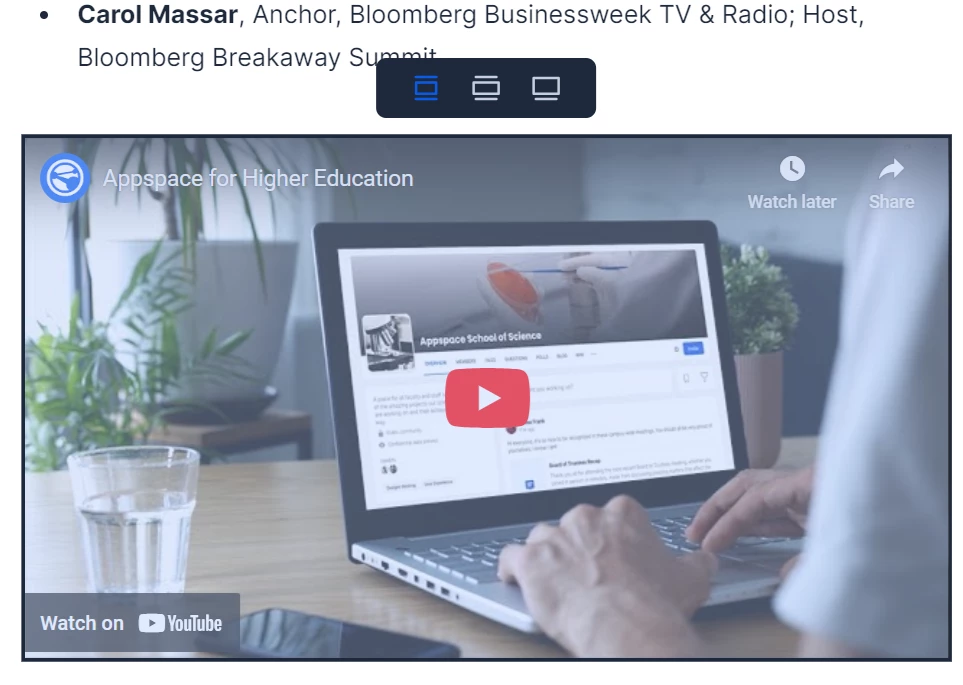
- Video: Upload or embed a supported video using the current editor options.
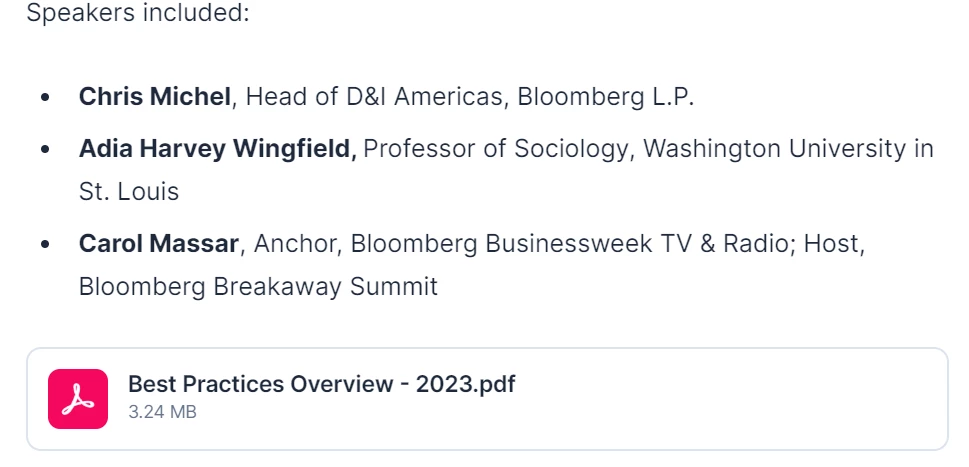
- File: Attach a document so employees can open or download the resource.
- Caption and context: Explain why the media or file is relevant and provide accessible text.
Add Links and Structured Information
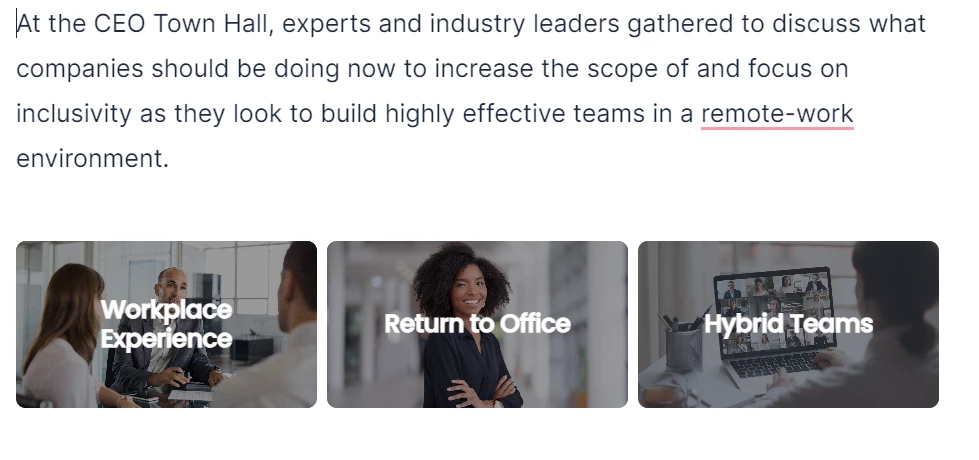
Step Four: Create Link Tiles
1. Add a Link Tiles block.
2. Enter a concise title for each tile.
3. Add an approved image or background.
4. Enter and test the destination URL.
5. Arrange the tiles in a logical order.
Step Five: Add Tables or Other Blocks
Use the blocks currently exposed by the editor. Table support and block types can vary between Stories, Pages, and product versions. When a table is available, keep it small enough for mobile reading and provide context outside the table.
Format for Readability
Step Six: Apply Text Hierarchy
- Headings: Use H1, H2, and H3 in a logical hierarchy.
- Lists: Use bullets or numbered steps for scannable information.
- Bold and italics: Use emphasis selectively.
- Quotes: Use a quote block only for meaningful quotations or key statements.
- Links: Use descriptive link text instead of a raw URL where possible.
Use Audience and Acknowledgment Controls
Conditional or Block-Level Permissions
Where enabled, conditional blocks or block-level permissions can show selected content only to approved audiences. Verify that the fallback experience still makes sense for users who cannot see the restricted block.
Read and Acknowledge
Where enabled for Stories or Pages, turn on Read and Acknowledge when the organization needs employees to formally confirm they have read the content.
- Use for: Policy updates, required notices, safety information, or other communications with an acknowledgment requirement.
- Avoid for: Routine news or promotional content where forced acknowledgment would create unnecessary friction.
- Validate: Confirm the target audience, effective dates, and reporting or follow-up process before publishing.
Final Publishing Checklist
Step Seven: Review and Publish
1. Confirm the title, summary, banner, author, channel or topic, and tags.
2. Check links, files, images, video, captions, and mobile layout.
3. Confirm conditional permissions and acknowledgment settings.
4. Preview the content as a representative employee.
5. Publish or schedule the content.
6. Review engagement or acknowledgment information when available.