



Customize New Types of Spaces in Appspace Intranet: A Guide to Creating and Managing Space Templates
This guide provides information on creating, customizing, and using Space Templates in Appspace. Space Templates allow administrators to standardize the design, structure, and functionality of custom space types. By using templates, organizations can quickly deploy consistent spaces while reducing manual configuration.
Key Benefits
- Standardized Experiences — Create reusable templates that ensure every new space follows the same design, layout, permissions, and content structure.
- Faster Deployment — Reduce setup time by creating new spaces from preconfigured templates instead of starting from scratch.
- Custom Space Types — Extend beyond Communities and Topics by creating entirely new space types tailored to your organization.
- Consistent Branding — Apply standardized icons, banners, colors, and navigation across all similar spaces.
- Scalable Administration — Simplify management as your organization grows by maintaining a library of reusable templates.
What This Guide Covers
- Creating Space Templates
- Creating custom Space Types
- Configuring template settings
- Designing layouts and navigation
- Managing permissions
- Creating new Spaces from templates
Prerequisites
- Platform License — Required to access the Admin Console.
- Account Owner Role — Required in order to access Space Settings.
- Information Architecture — A foundational understanding of your organization's content layout.
Creating a Space Template
Templates are created from the Spaces > Settings > Templates area.
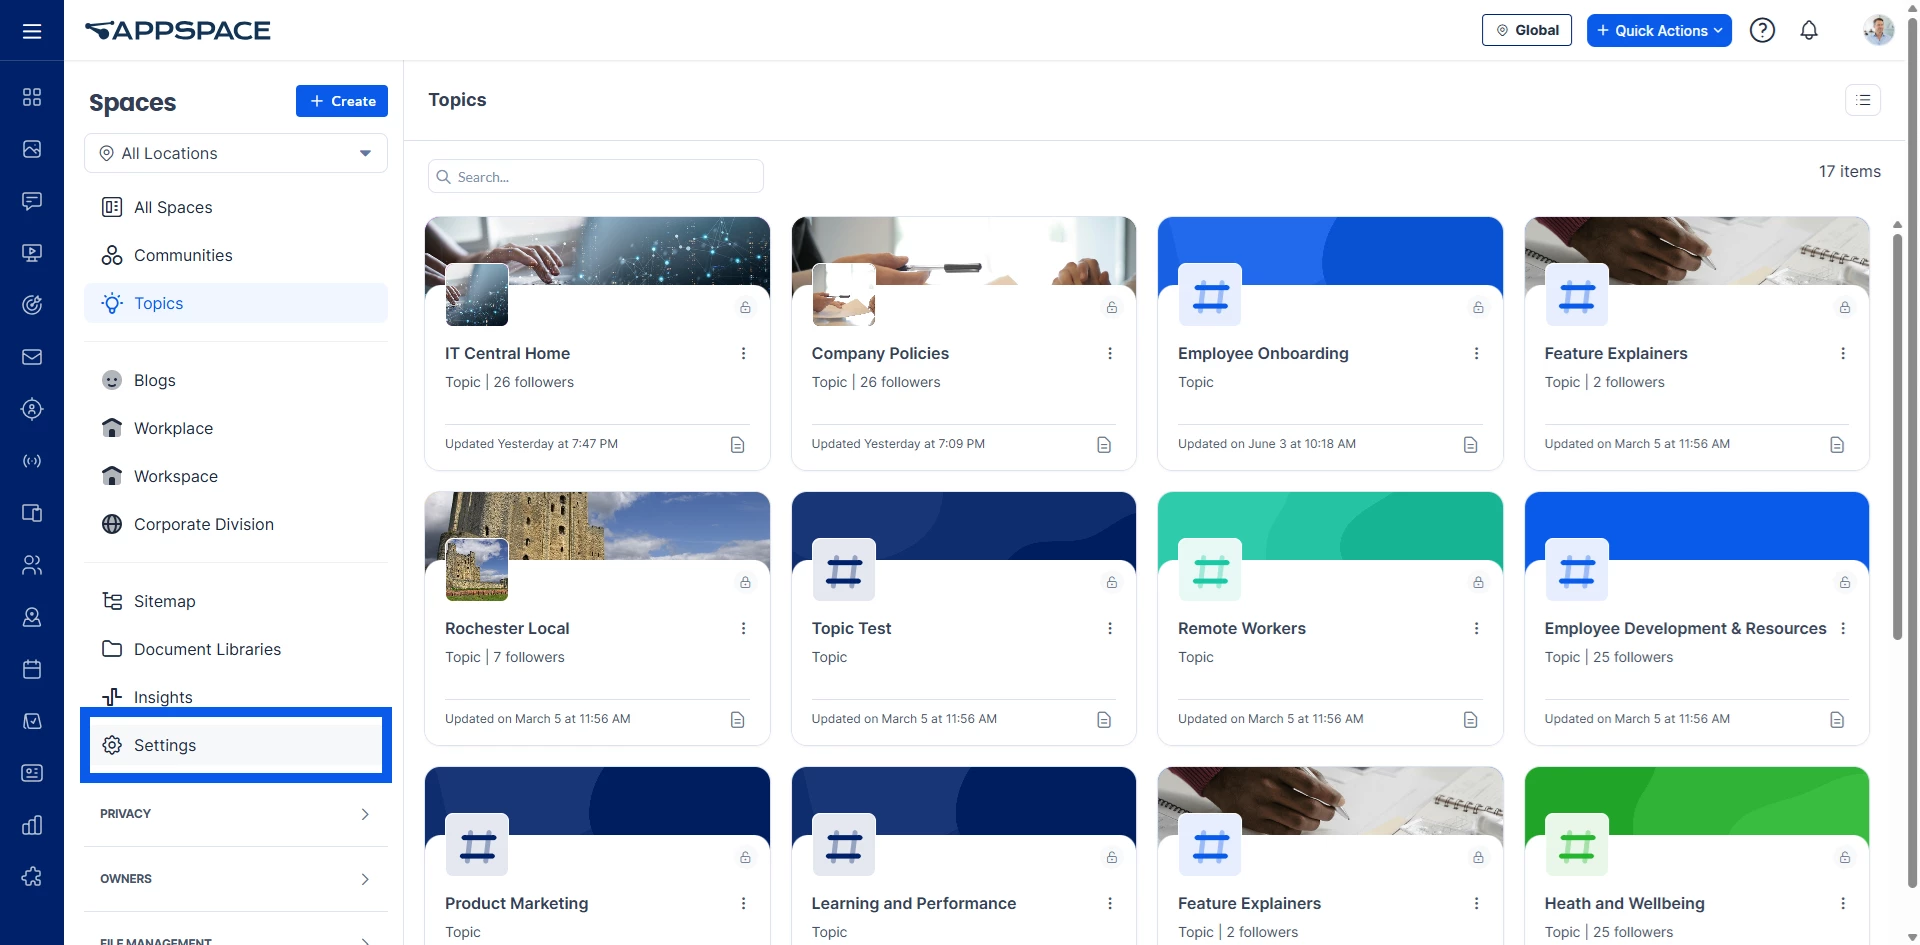
Step One: Open the Templates Manager
- Navigate to Spaces.
- Select Settings.
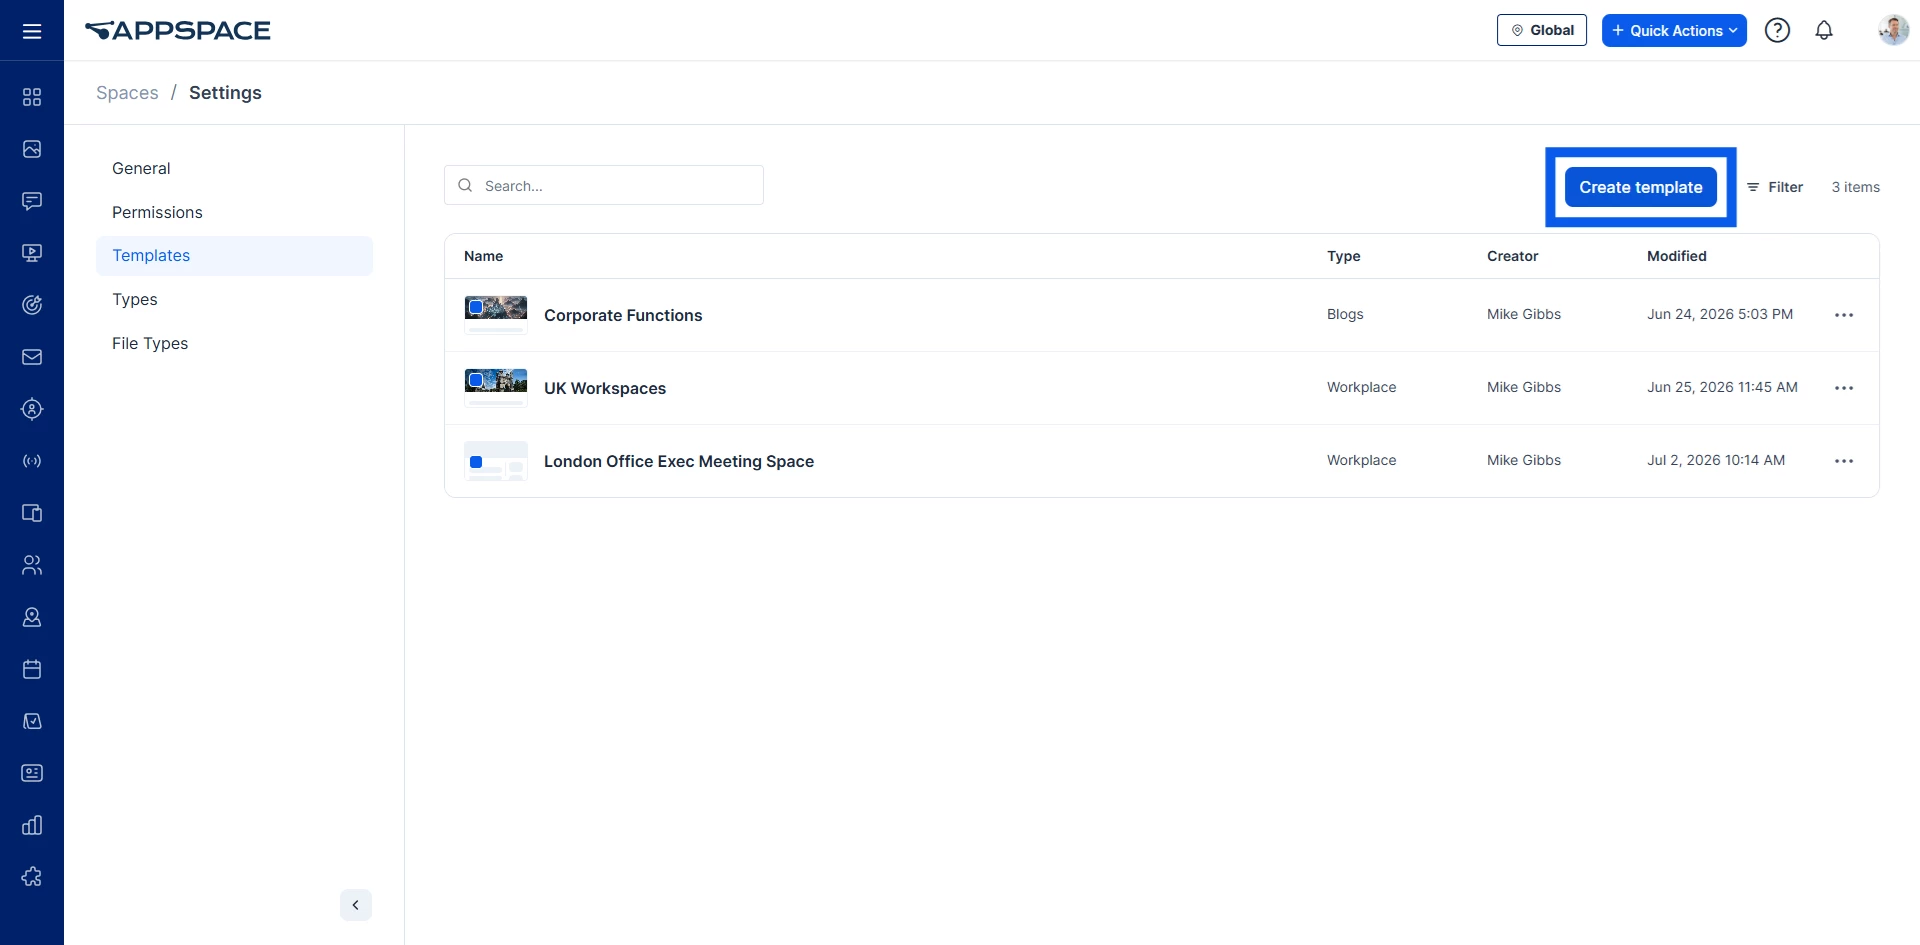
- Choose Templates.
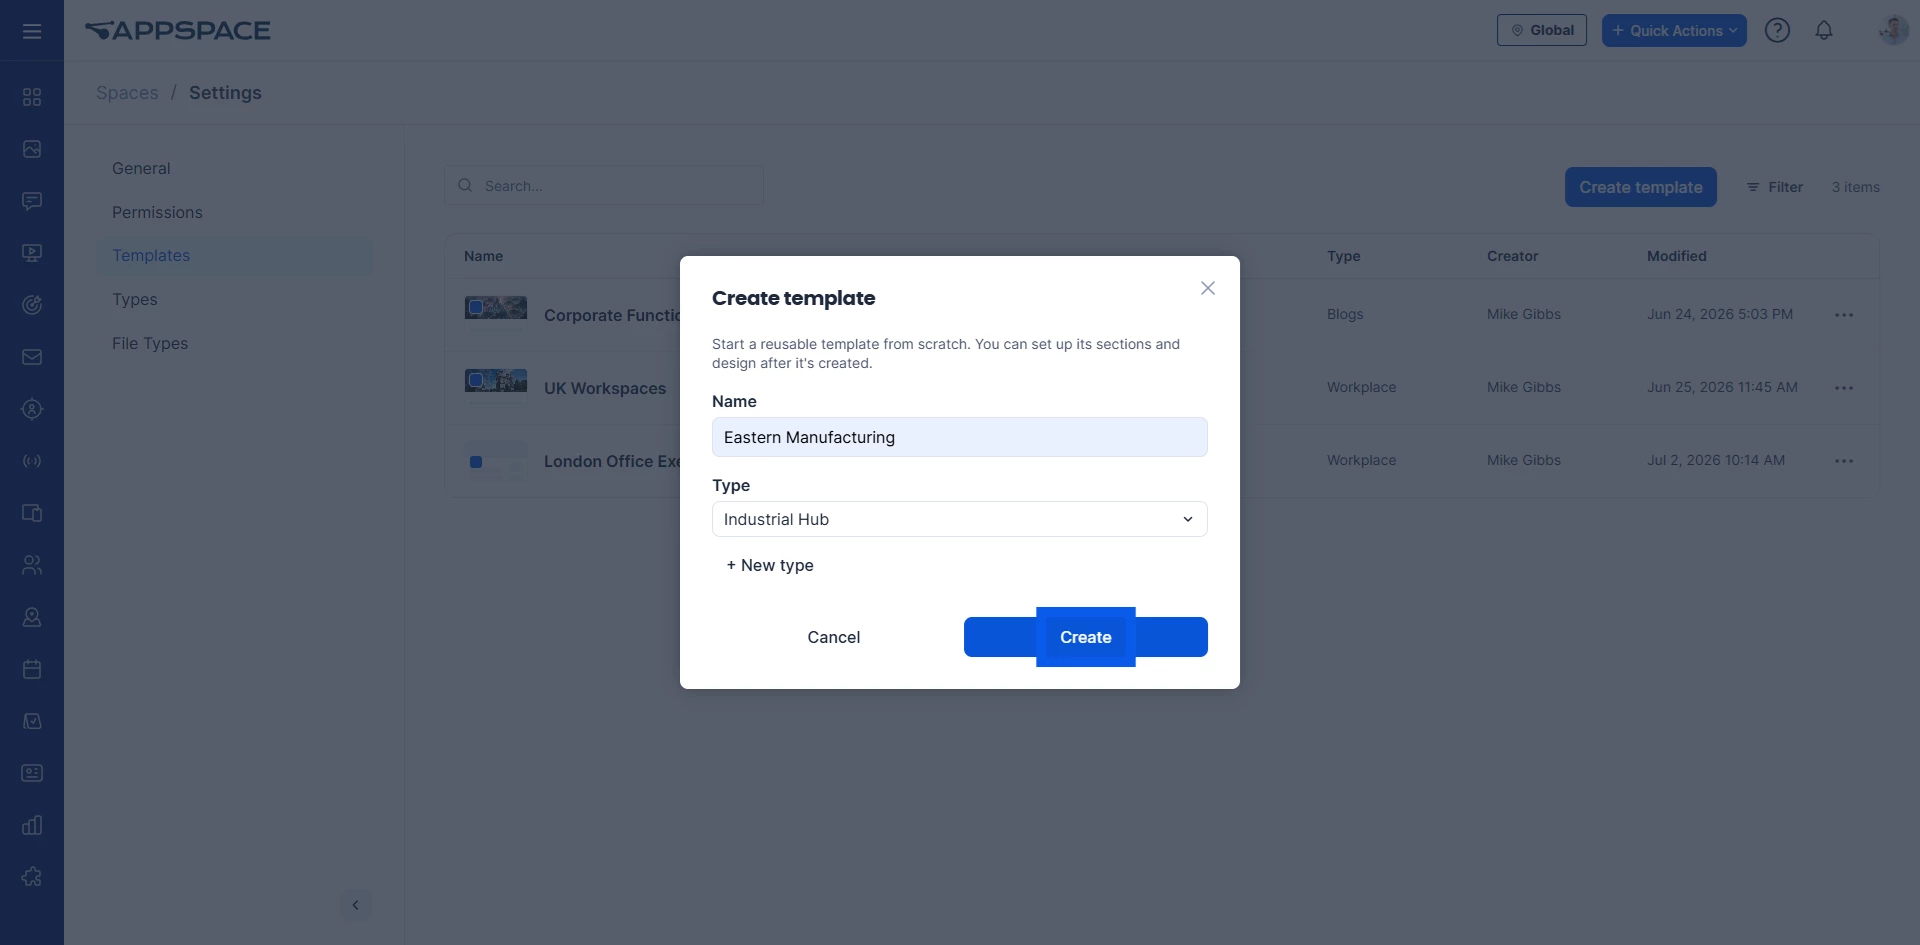
- Click Create Template.
Step Two: Name the Template
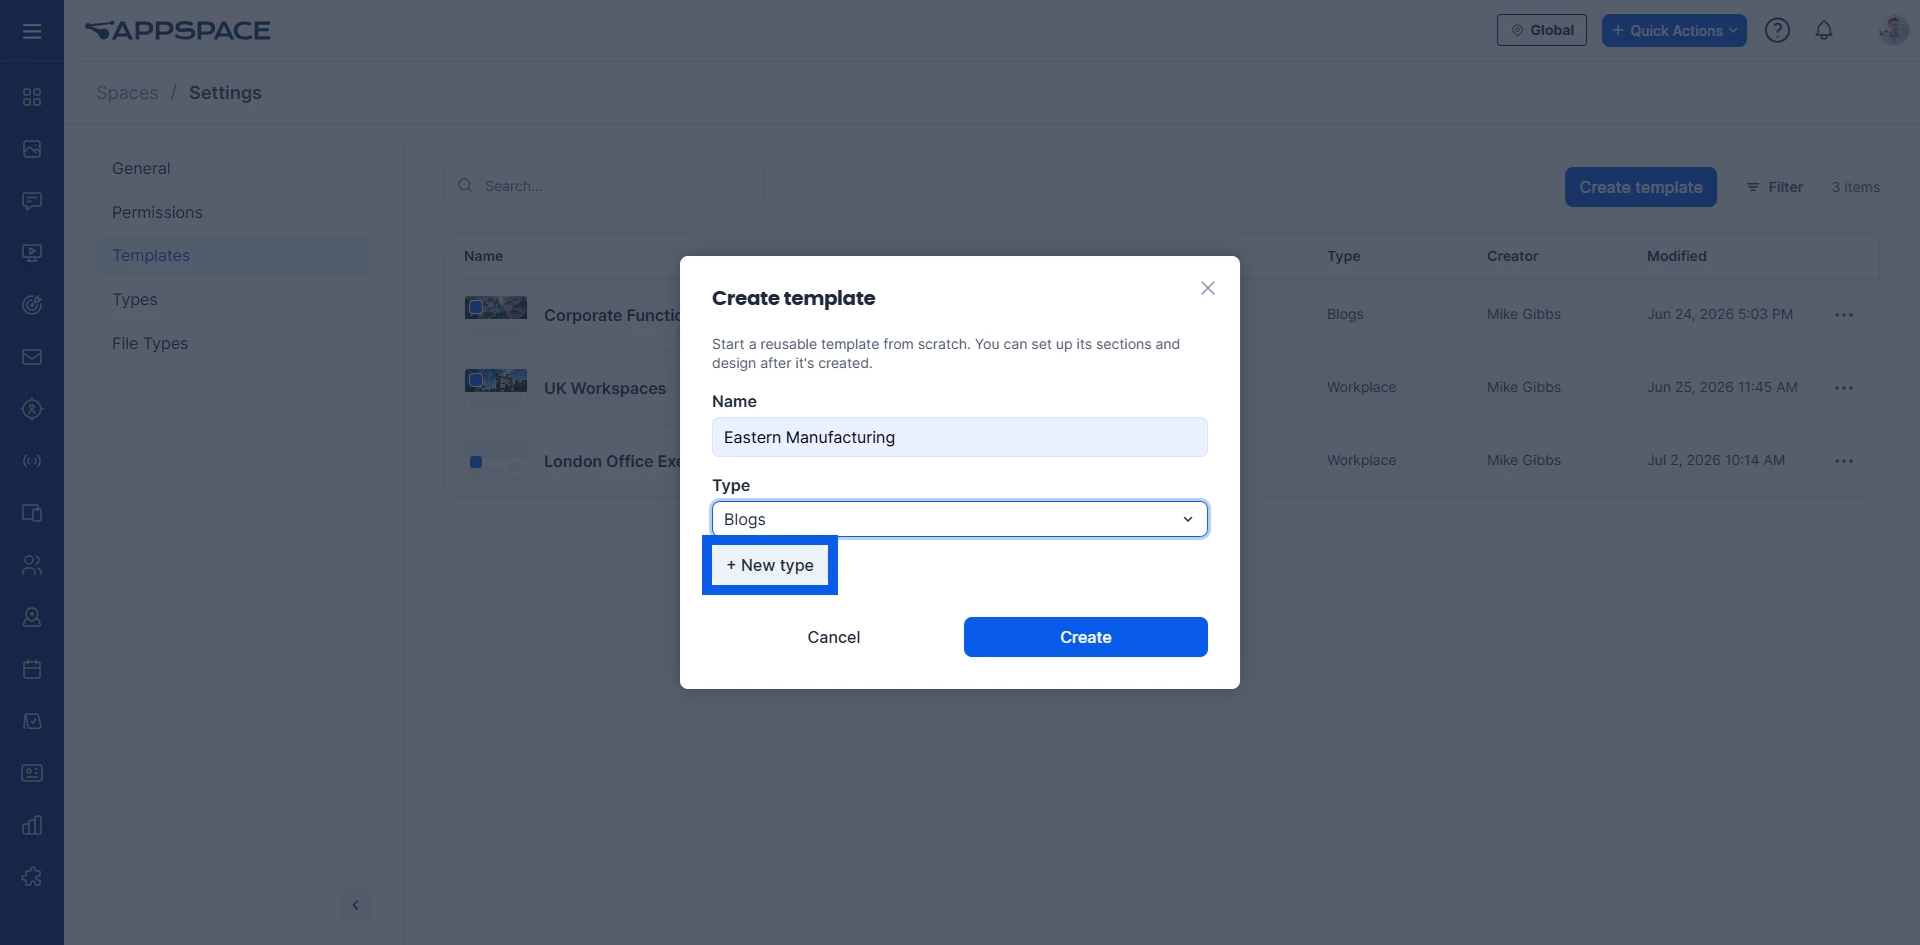
Enter a meaningful template name that describes its intended purpose.
Examples include:
- Corporate Communications
- Employee Onboarding
- Manufacturing Hub
- Regional Workspace
Use names that describe the template itself rather than an individual space.
Step Three: Select or Create a Space Type
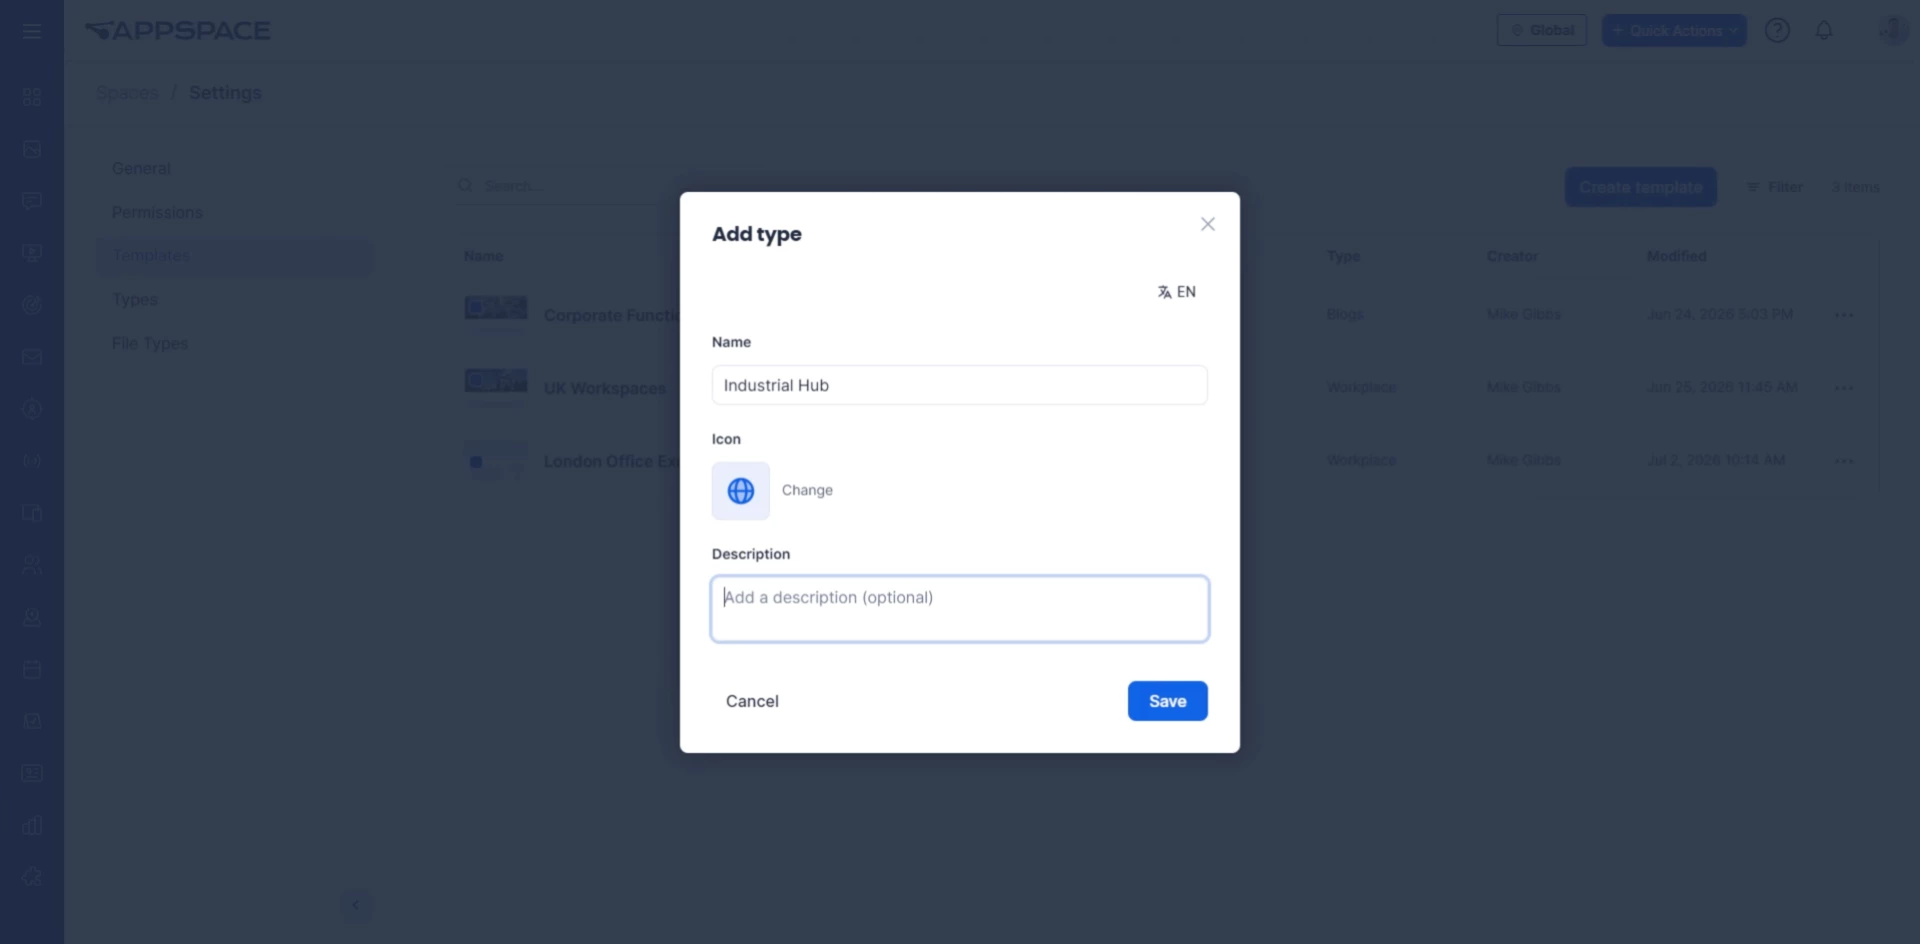
Select either a previously created Space Type or create a new one by specifying:
- Name: The unique identifier for the space type.
- Icon: The visual badge representing the space type.
- Description: Summary explanation of the layout purpose.
Custom Space Types could include the following:
- Blog
- Library
- Hub
Once saved, the new Space Type becomes available for future templates.
Configuring General Settings
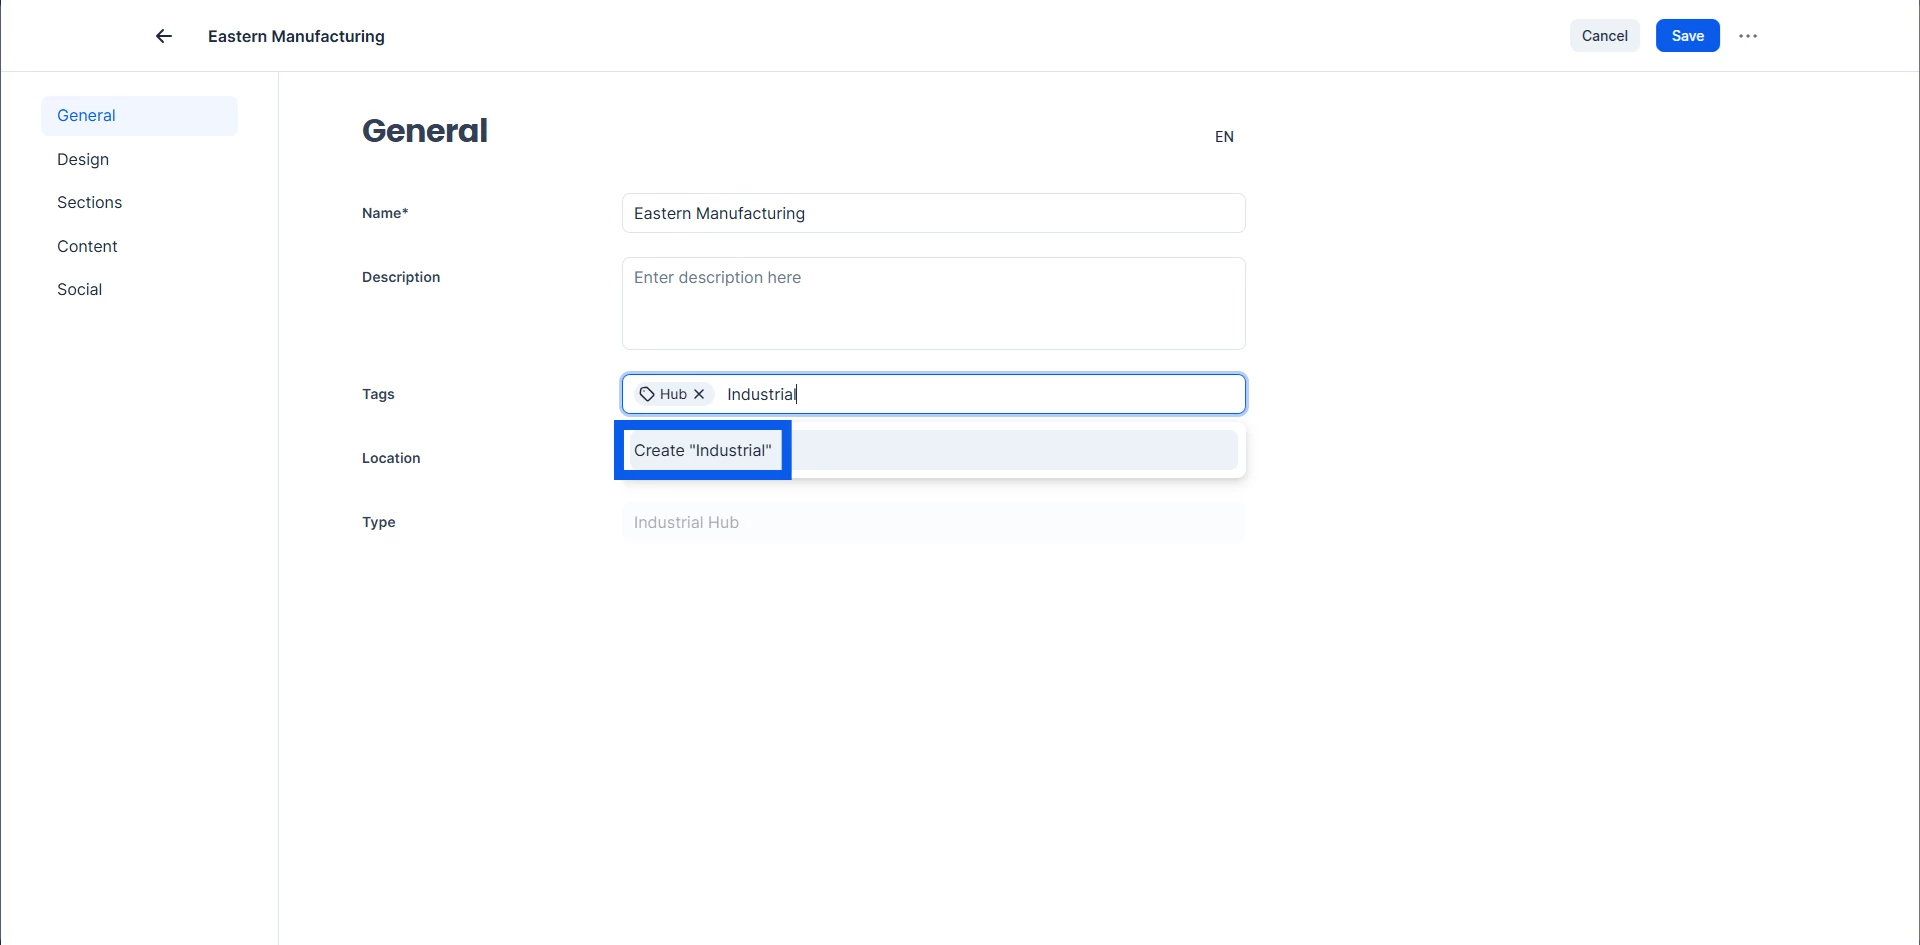
After the template is created, configure its General settings.
These include:
- Name
- Description
- Tags
- Location
- Space Type
Descriptions and tags help administrators organize templates and make them easier to locate later.
Best Practice: Use consistent naming conventions and tags that align with departments or business functions.
Customizing the Design
The Design page controls the visual appearance of every space created from the template.
Administrators can customize:
- Icon
- Accent colors
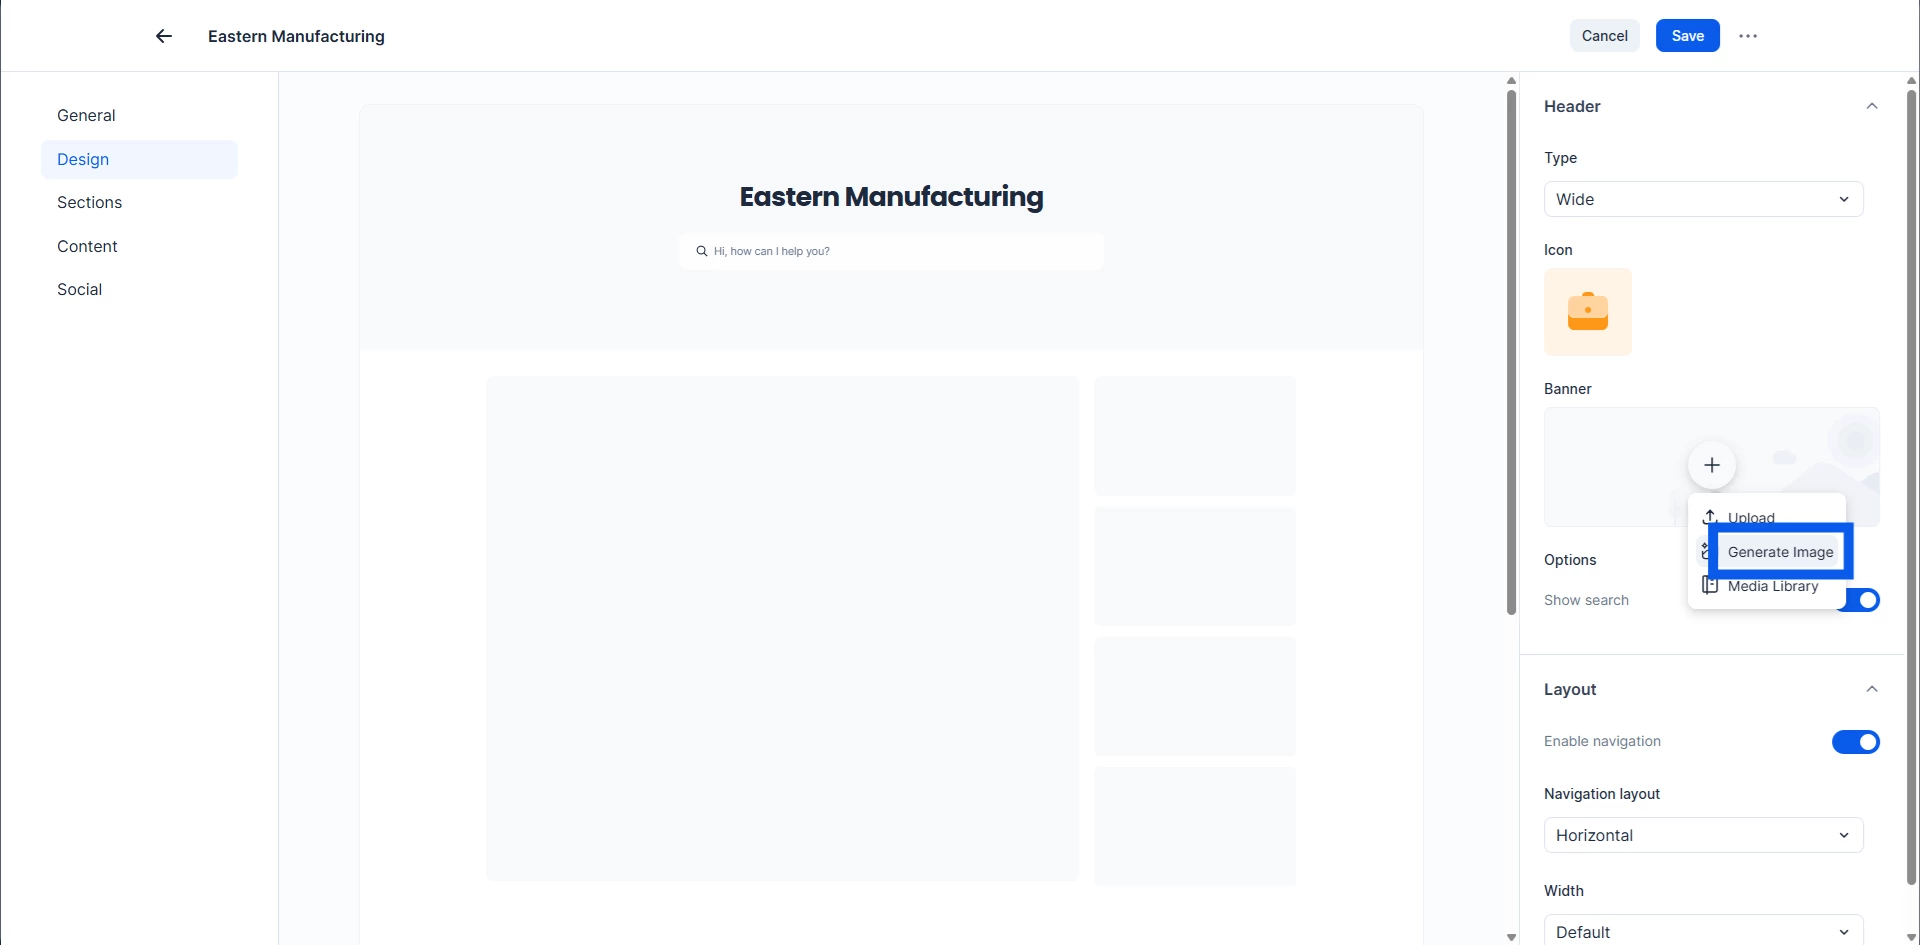
- Banner image
- Search visibility
- Navigation visibility
Banner Images
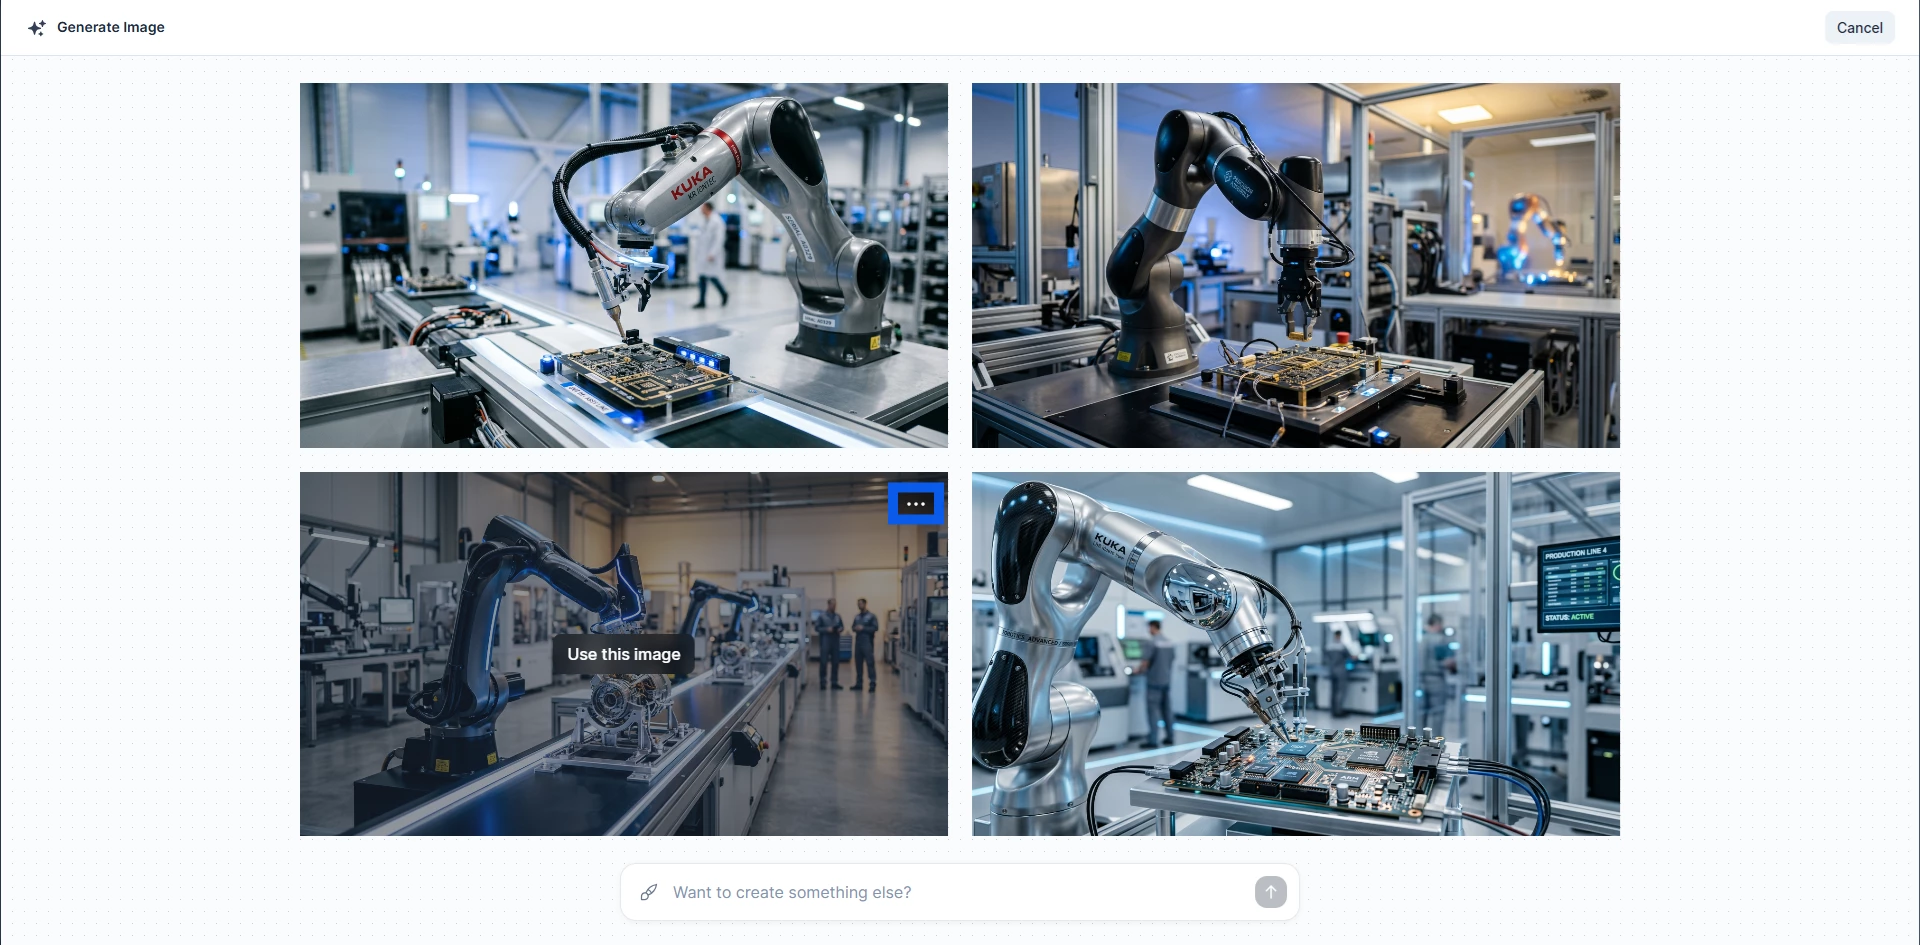
Banner images can either be uploaded manually or generated using Appspace AI.
AI-generated banners can be regenerated or edited before being applied.
Best Practice: Choose banners that reinforce the purpose of the space and align with your organization's branding standards.
Adding Sections
Sections organize content into logical areas. The Sections page allows you to manage the various areas of the Space.
To add a section:
- Open Sections.
- Select Add Section.
- Choose from the Section Types:
- Content View
- Canvas
- URL
- Click Next.
Each Section creates another tab within the Space that can be selected and viewed.
Content View Sections
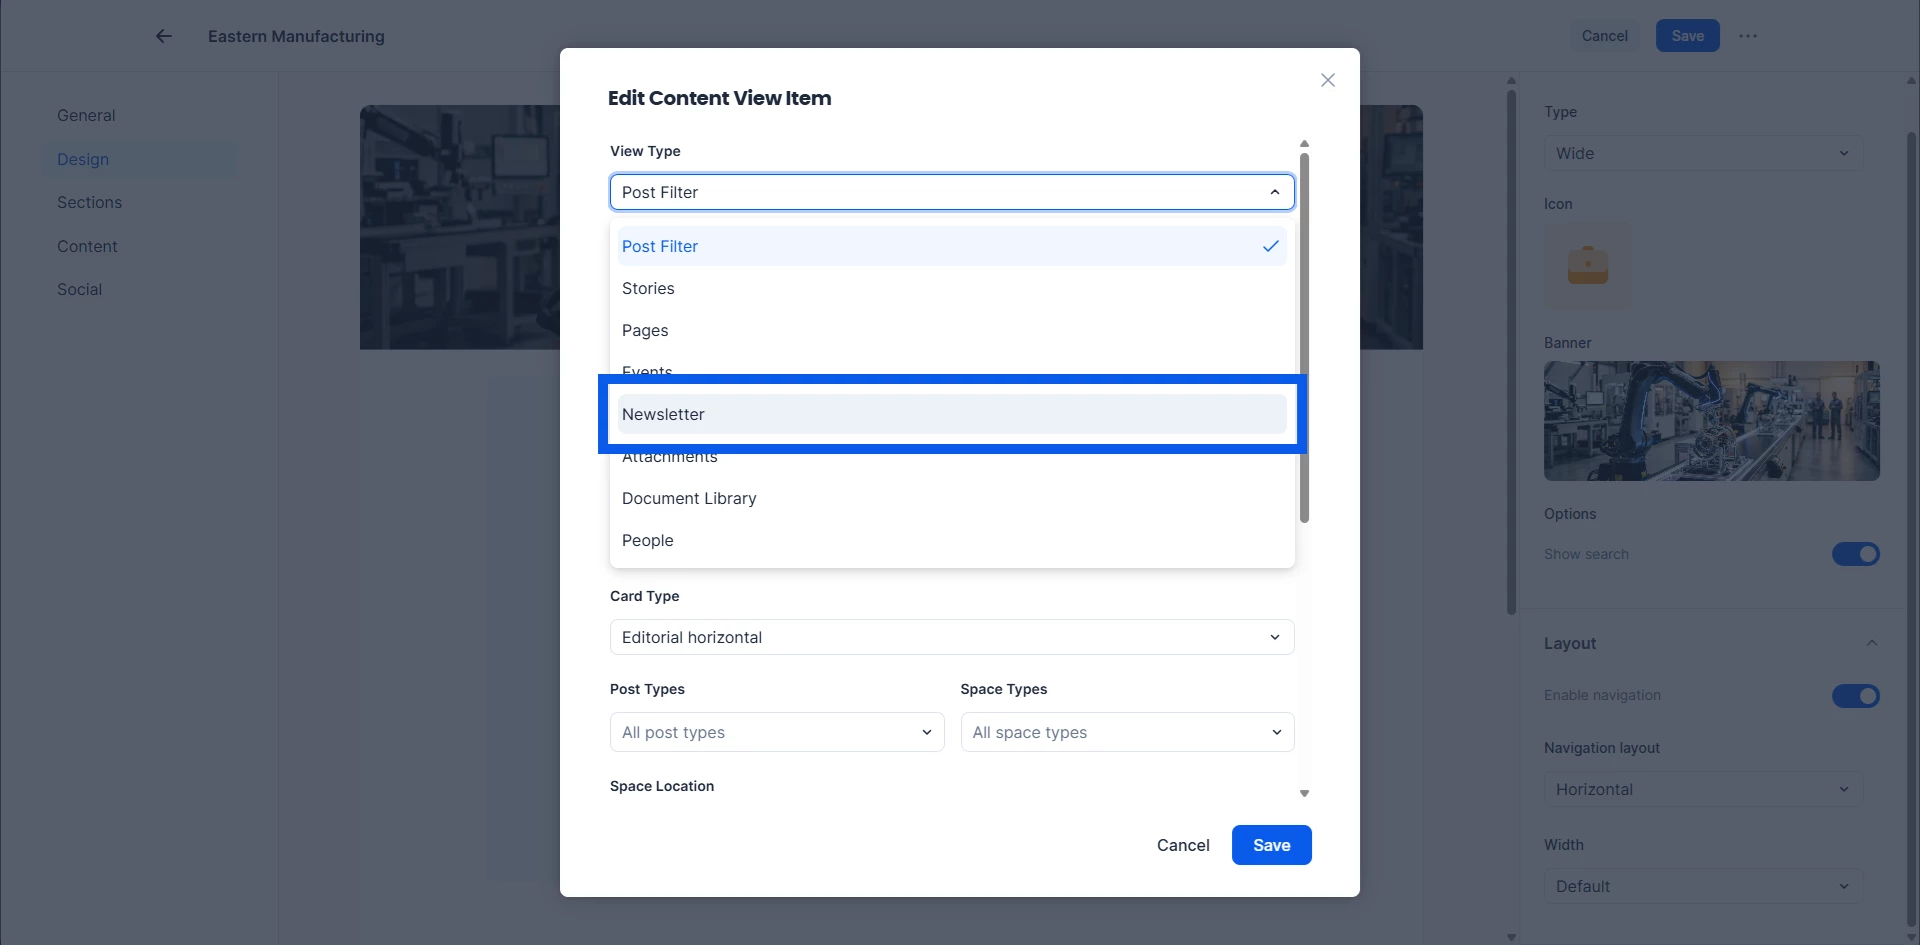
Content Views enable particular types of communications and information to be displayed within the Space. View Types include:
- Post Filter — Enables you to publish posts curated based on source, type, date, and more filters.
- Stories — Displays stories from the Space.
- Pages — Display pages from the Space.
- Events — Displays events posted in the Space.
- Newsletter — Displays the Space's newsletter.
- Attachments — Displays any file attachments.
- Document Library — Displays content from the Space's document library.
- People — Displays the Space's membership.
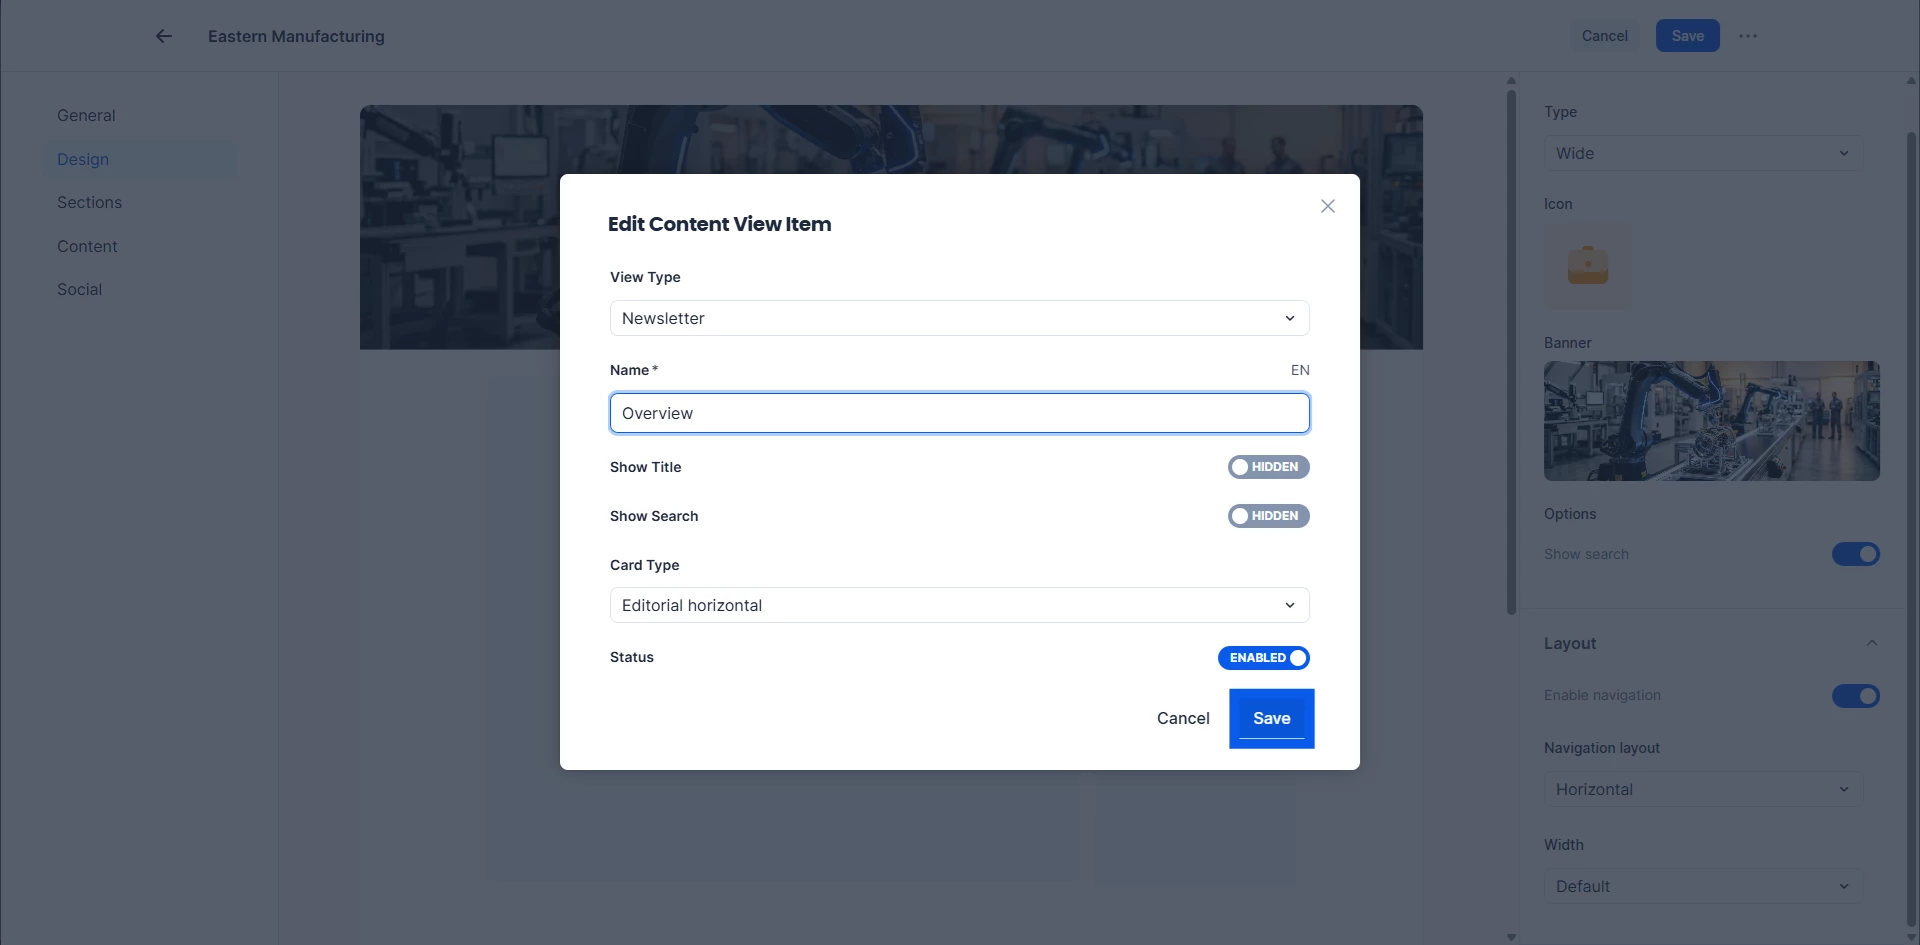
Once you select your View Type:
- Configure the settings for that View Type.
- Click Save.
Canvas Sections
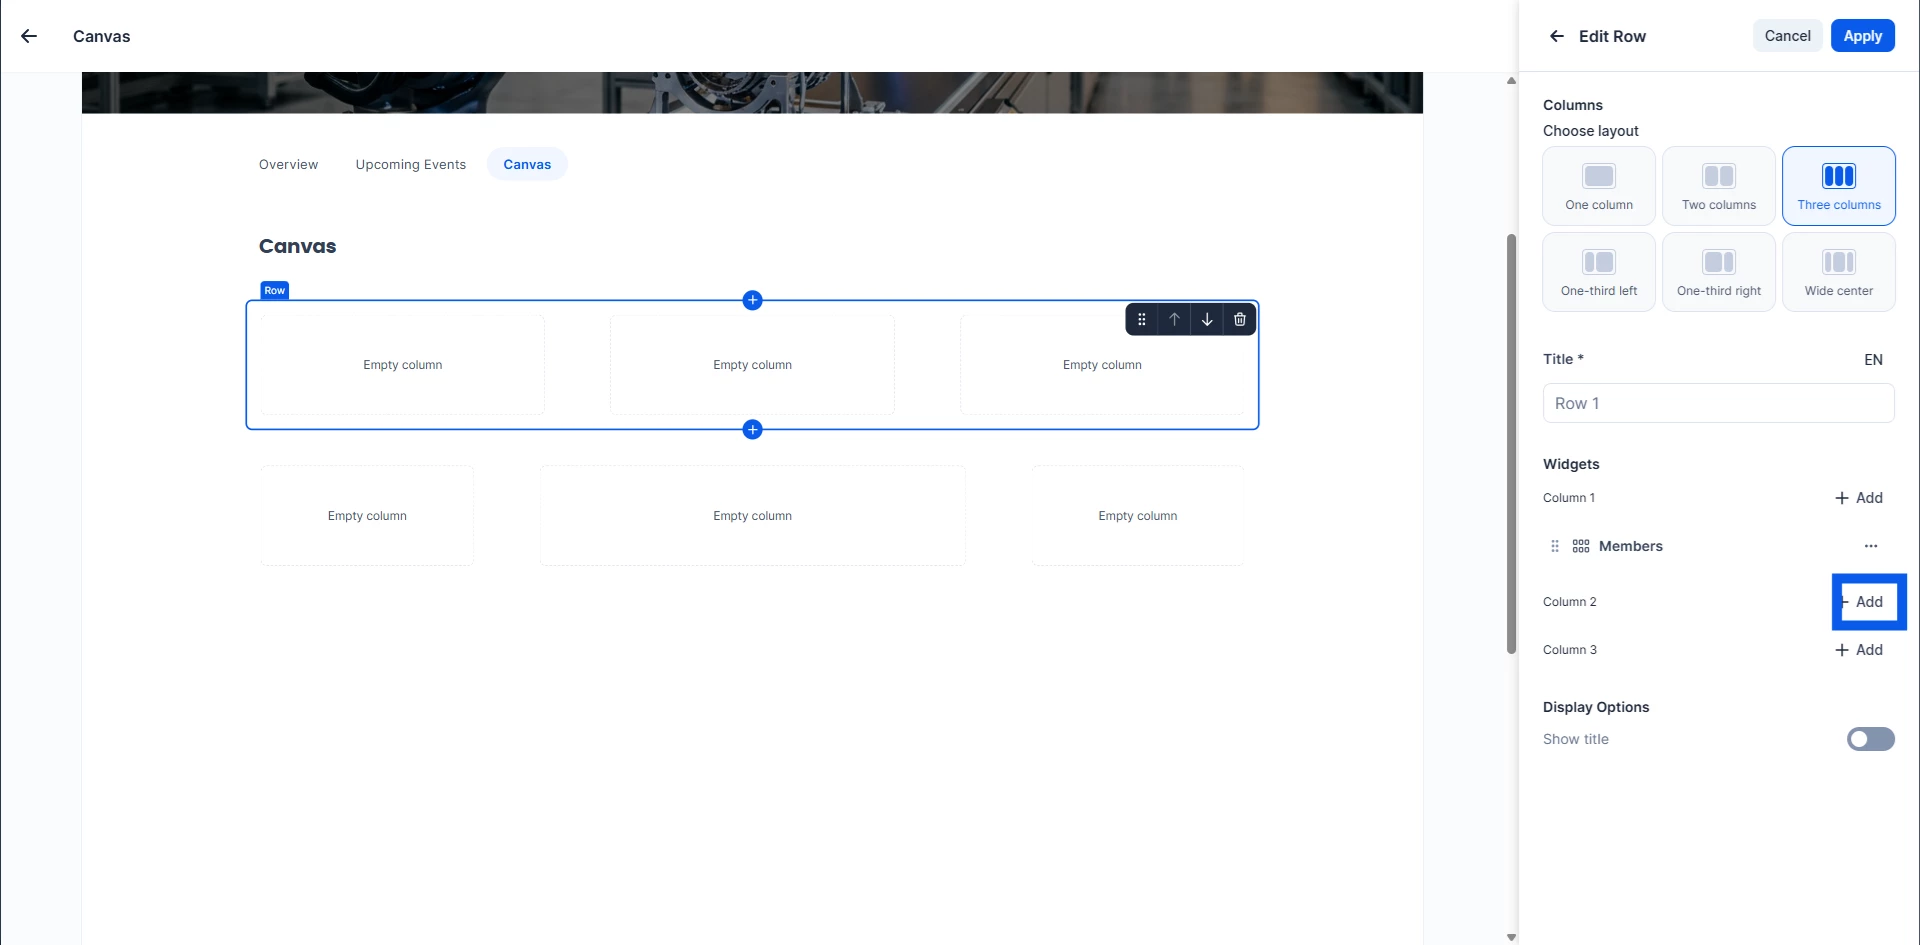
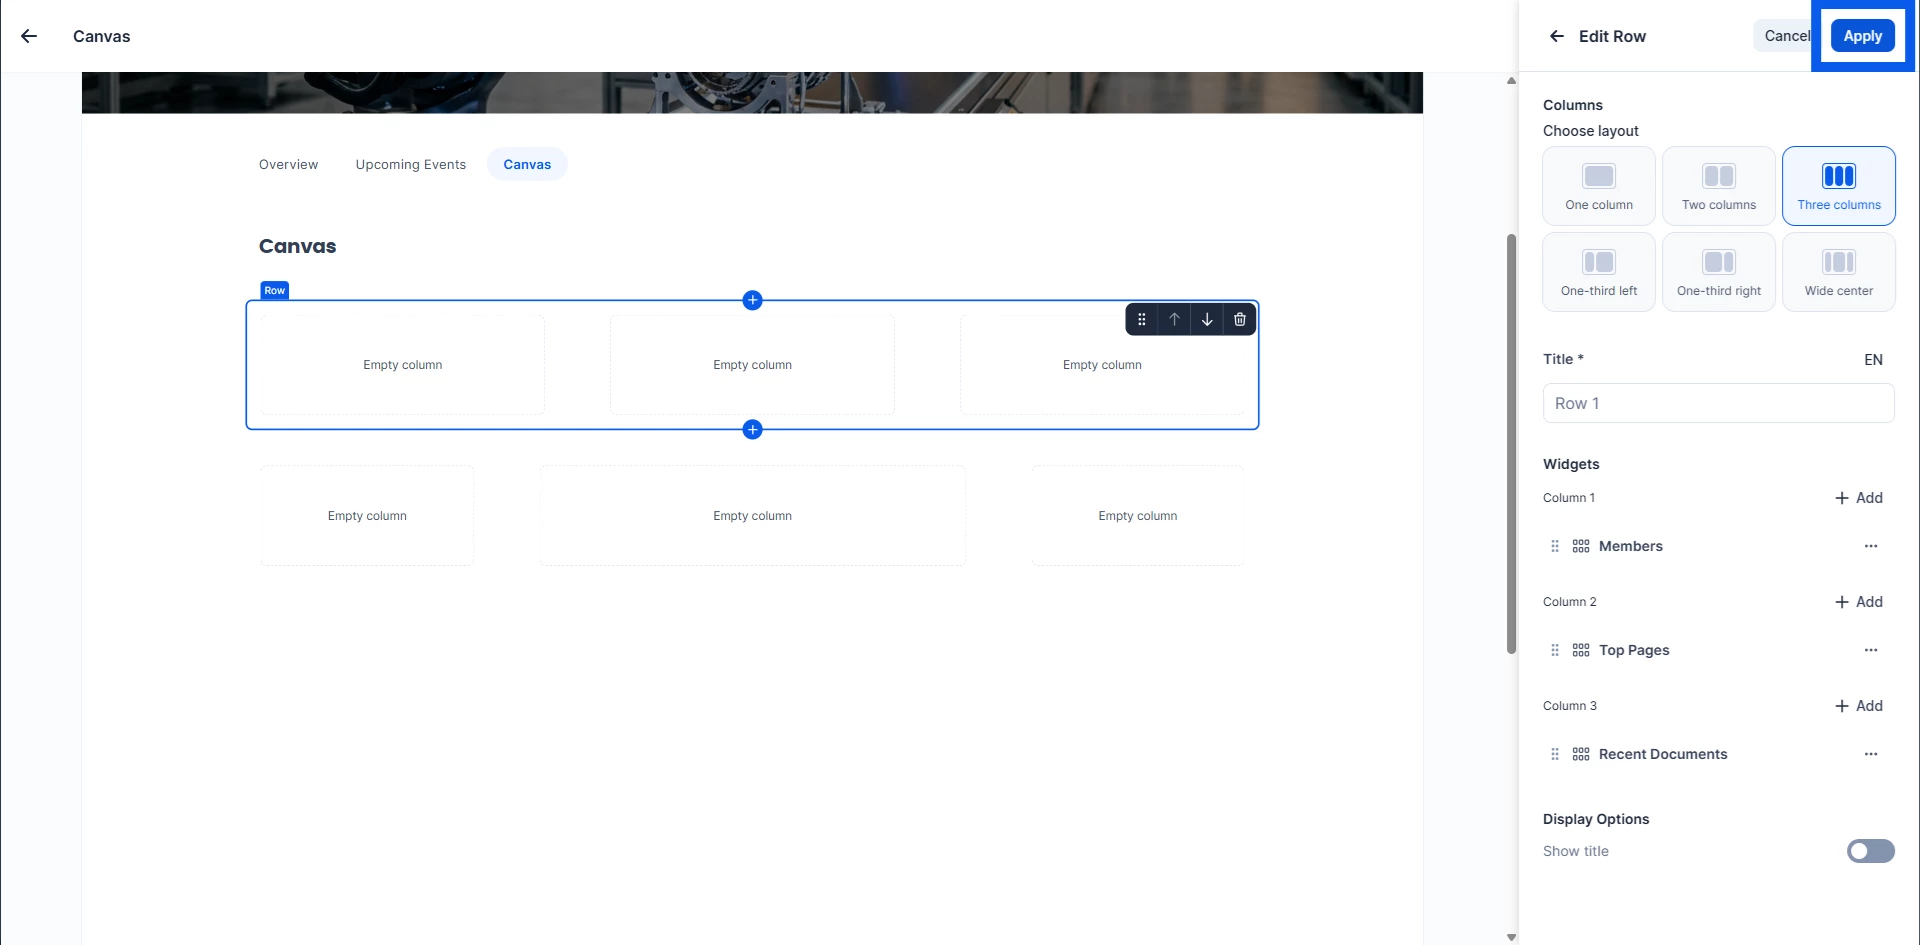
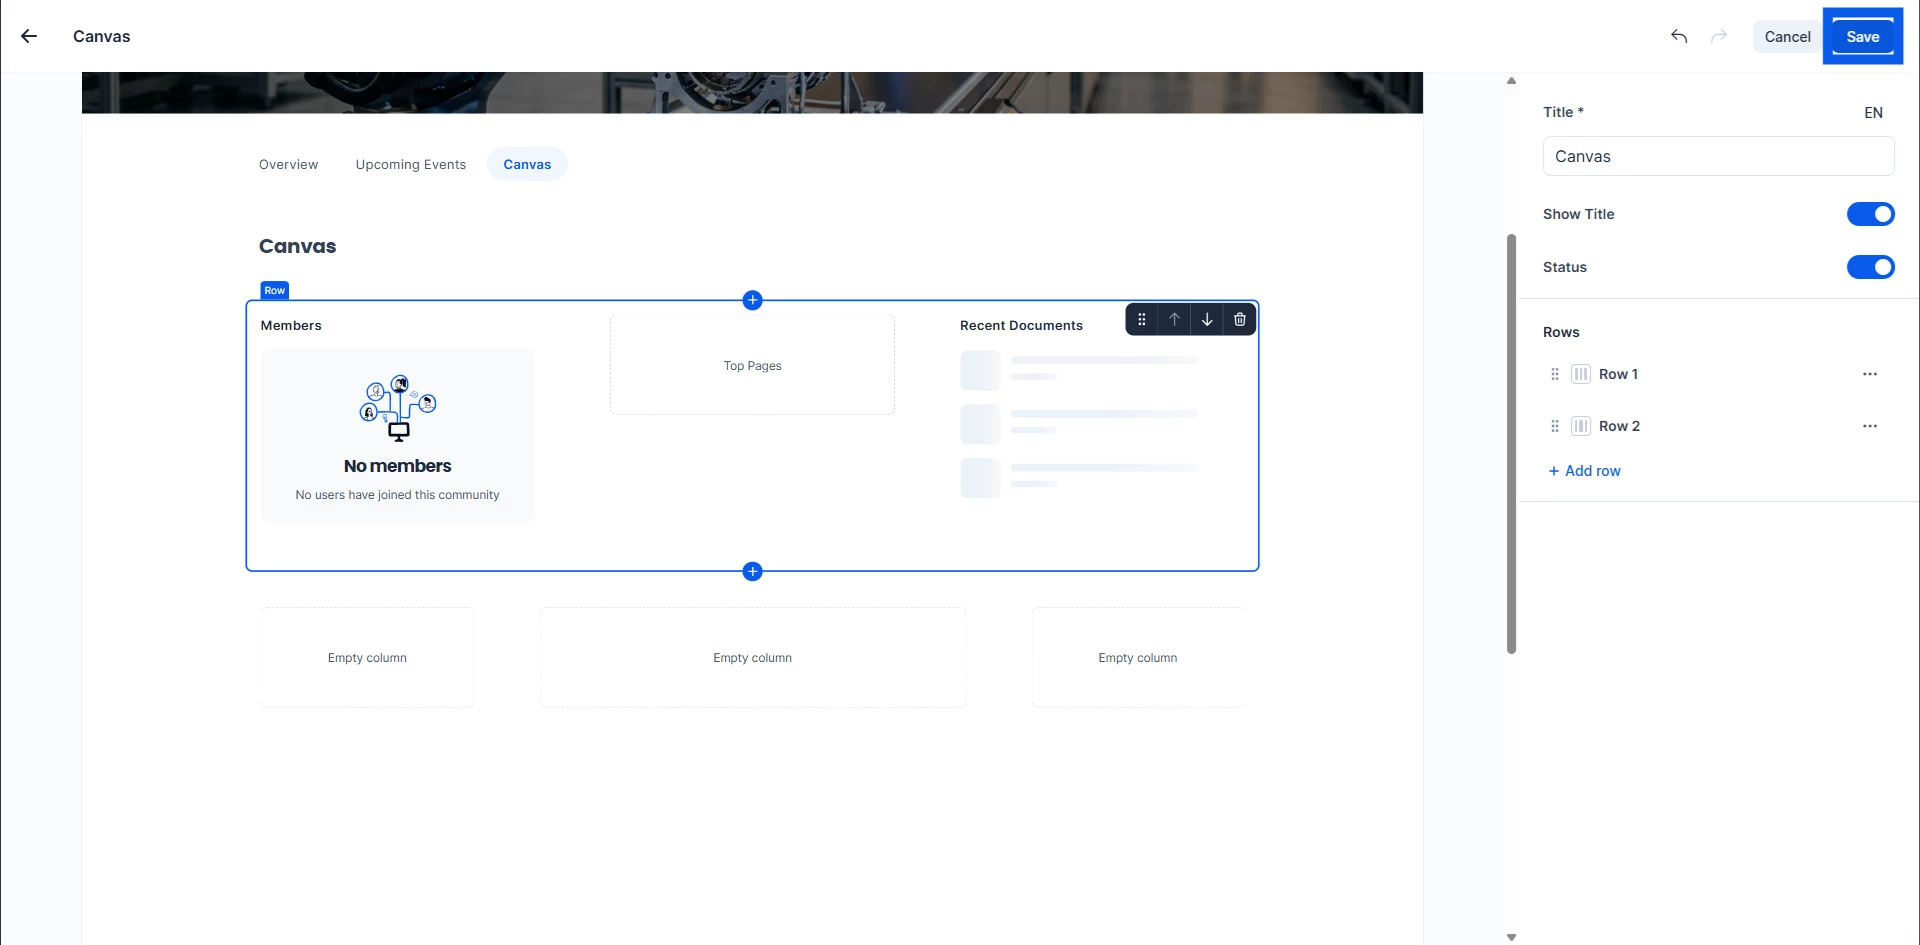
The Canvas type supports configurable landing pages using layouts, columns, and widgets.
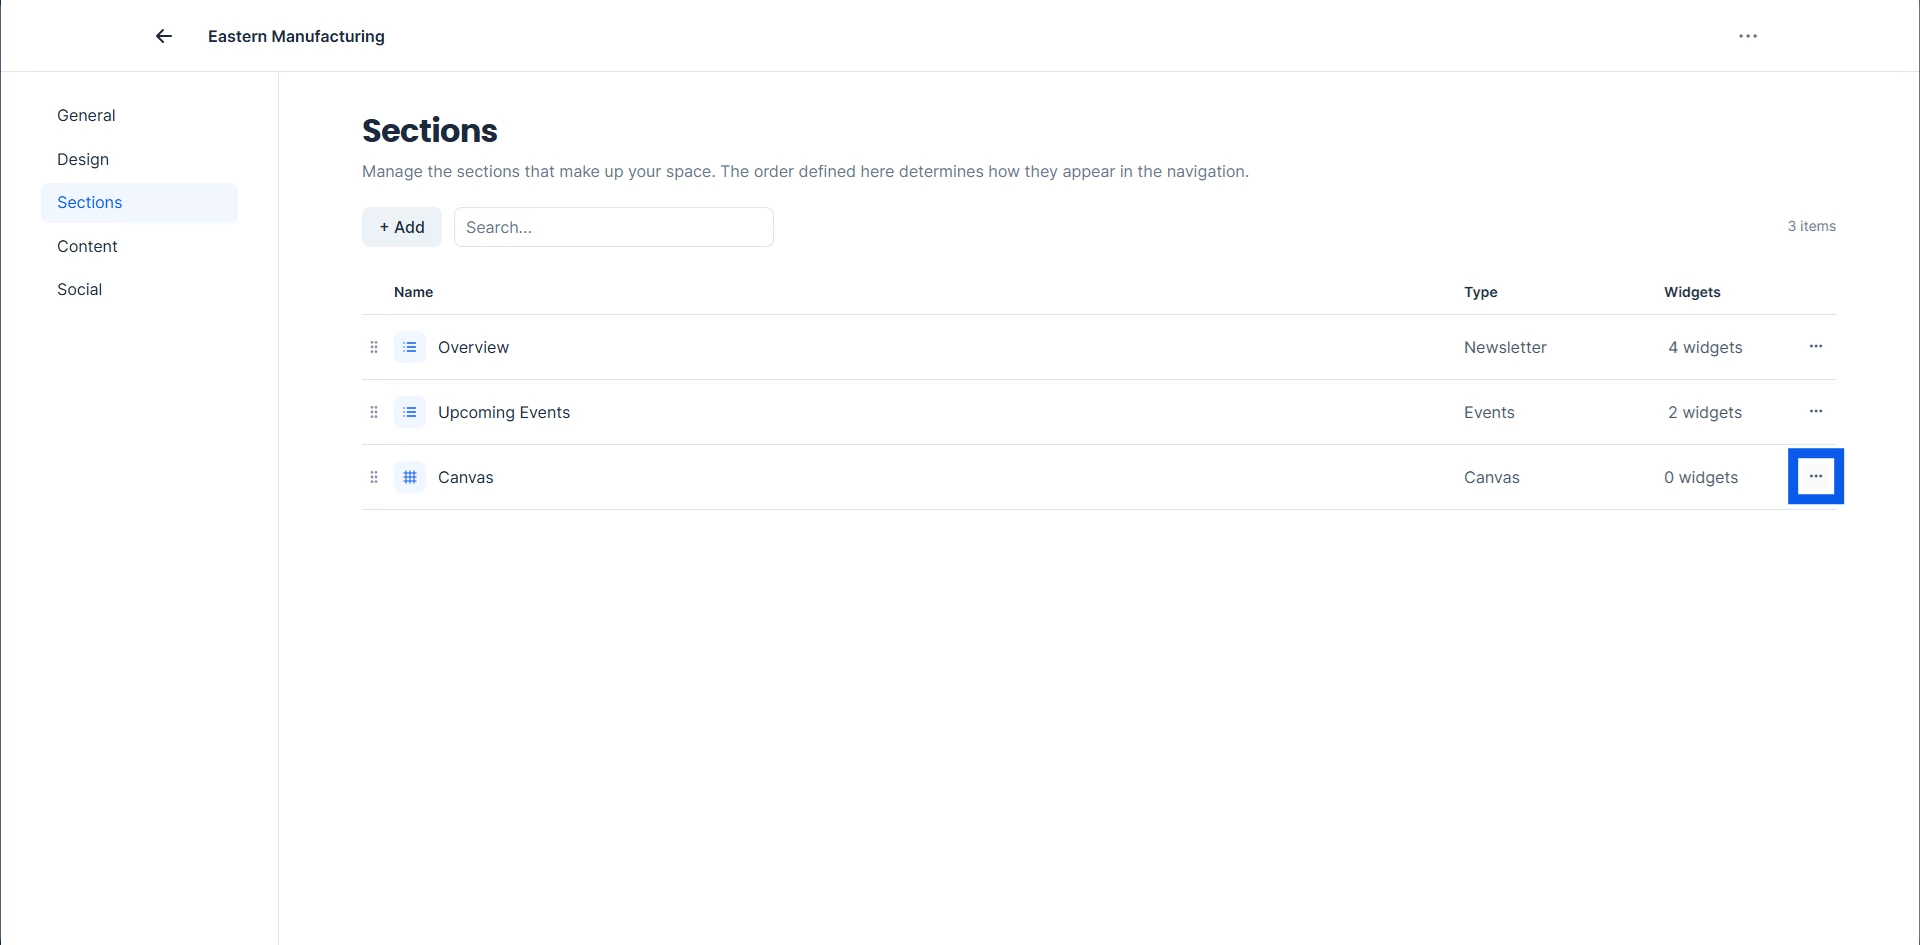
After you select the Canvas option, it will appear in the Sections list. To edit it, click the three dots to the right and select Edit.
Administrators can:
- Add columns
- Select layout types
- Rearrange widgets
- Create custom landing pages
Widgets include:
- Featured Content
- Top Pages
- Events
- Recent Articles
- Popular Resources
These layouts allow each template to provide a tailored experience for its intended audience.
URL Sections
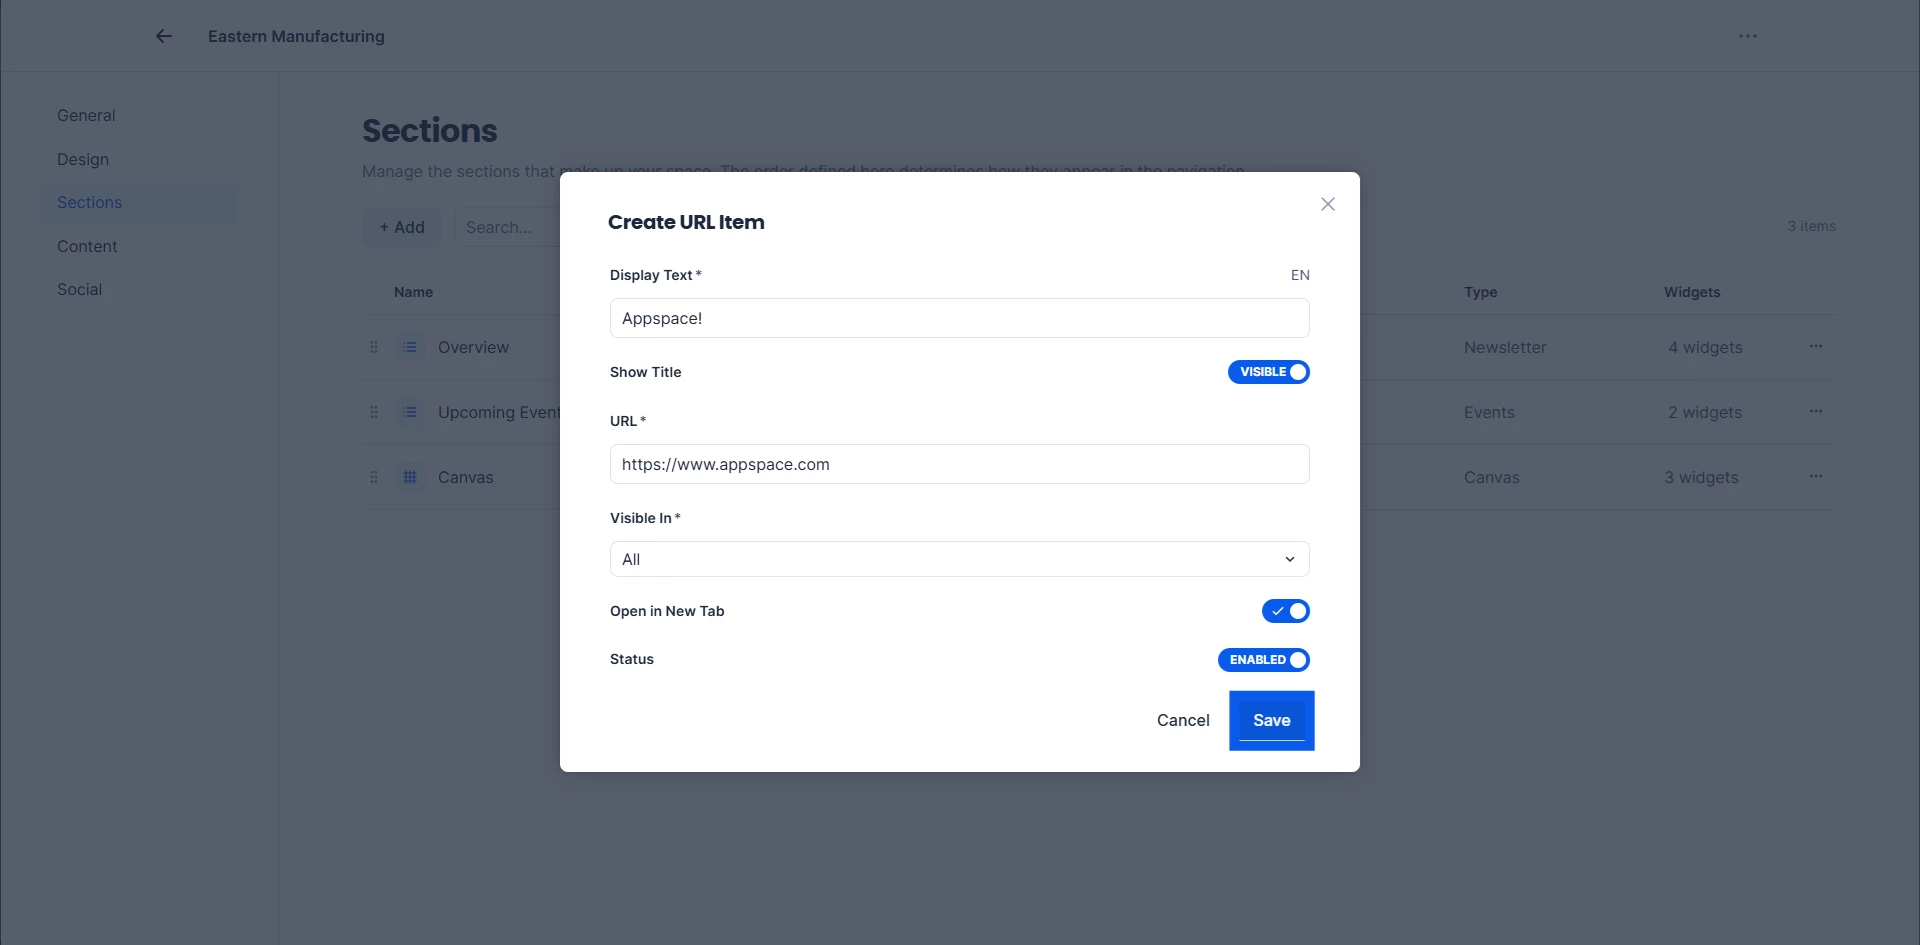
Templates can also include links to external websites.
Configure:
- Display text
- Destination URL
- Open in new tab option
Useful destinations include:
- SharePoint
- Learning portals
- External documentation
Configuring Content Permissions
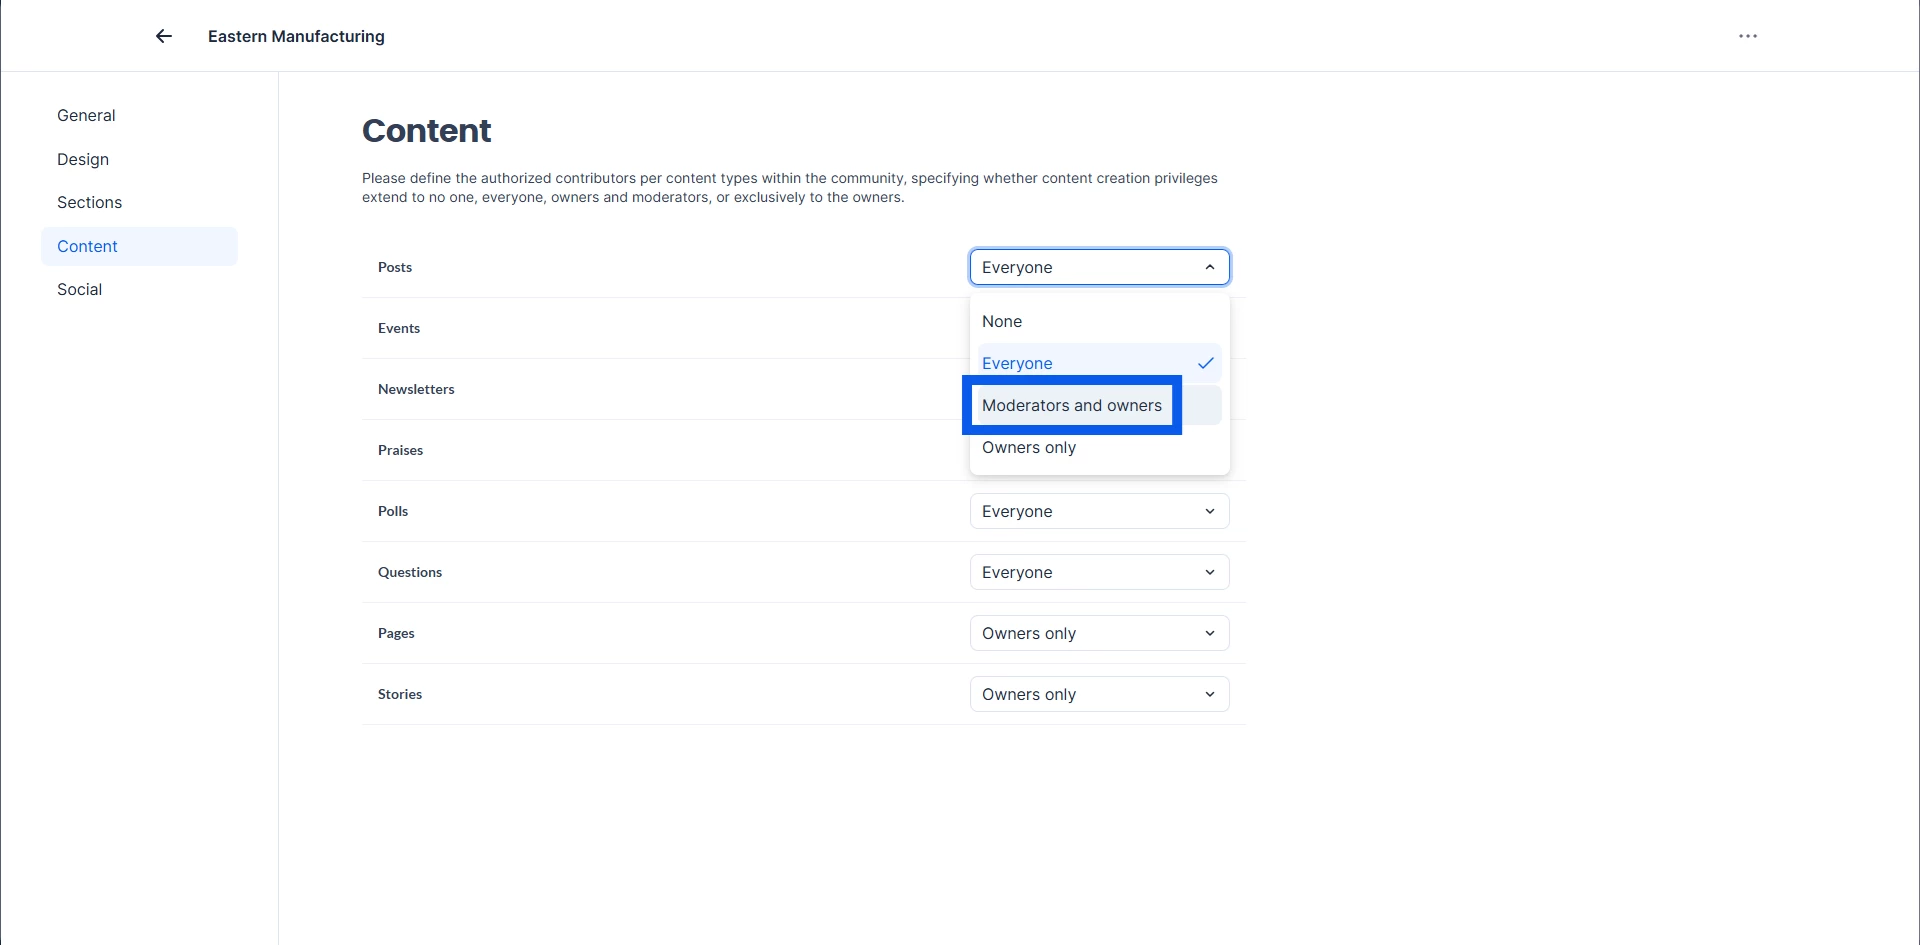
Content settings determine who can contribute after the space is created.
Depending on organizational requirements, permissions can allow:
- Everyone
- Moderators and Owners
- Other designated groups
These defaults help maintain governance across newly created spaces.
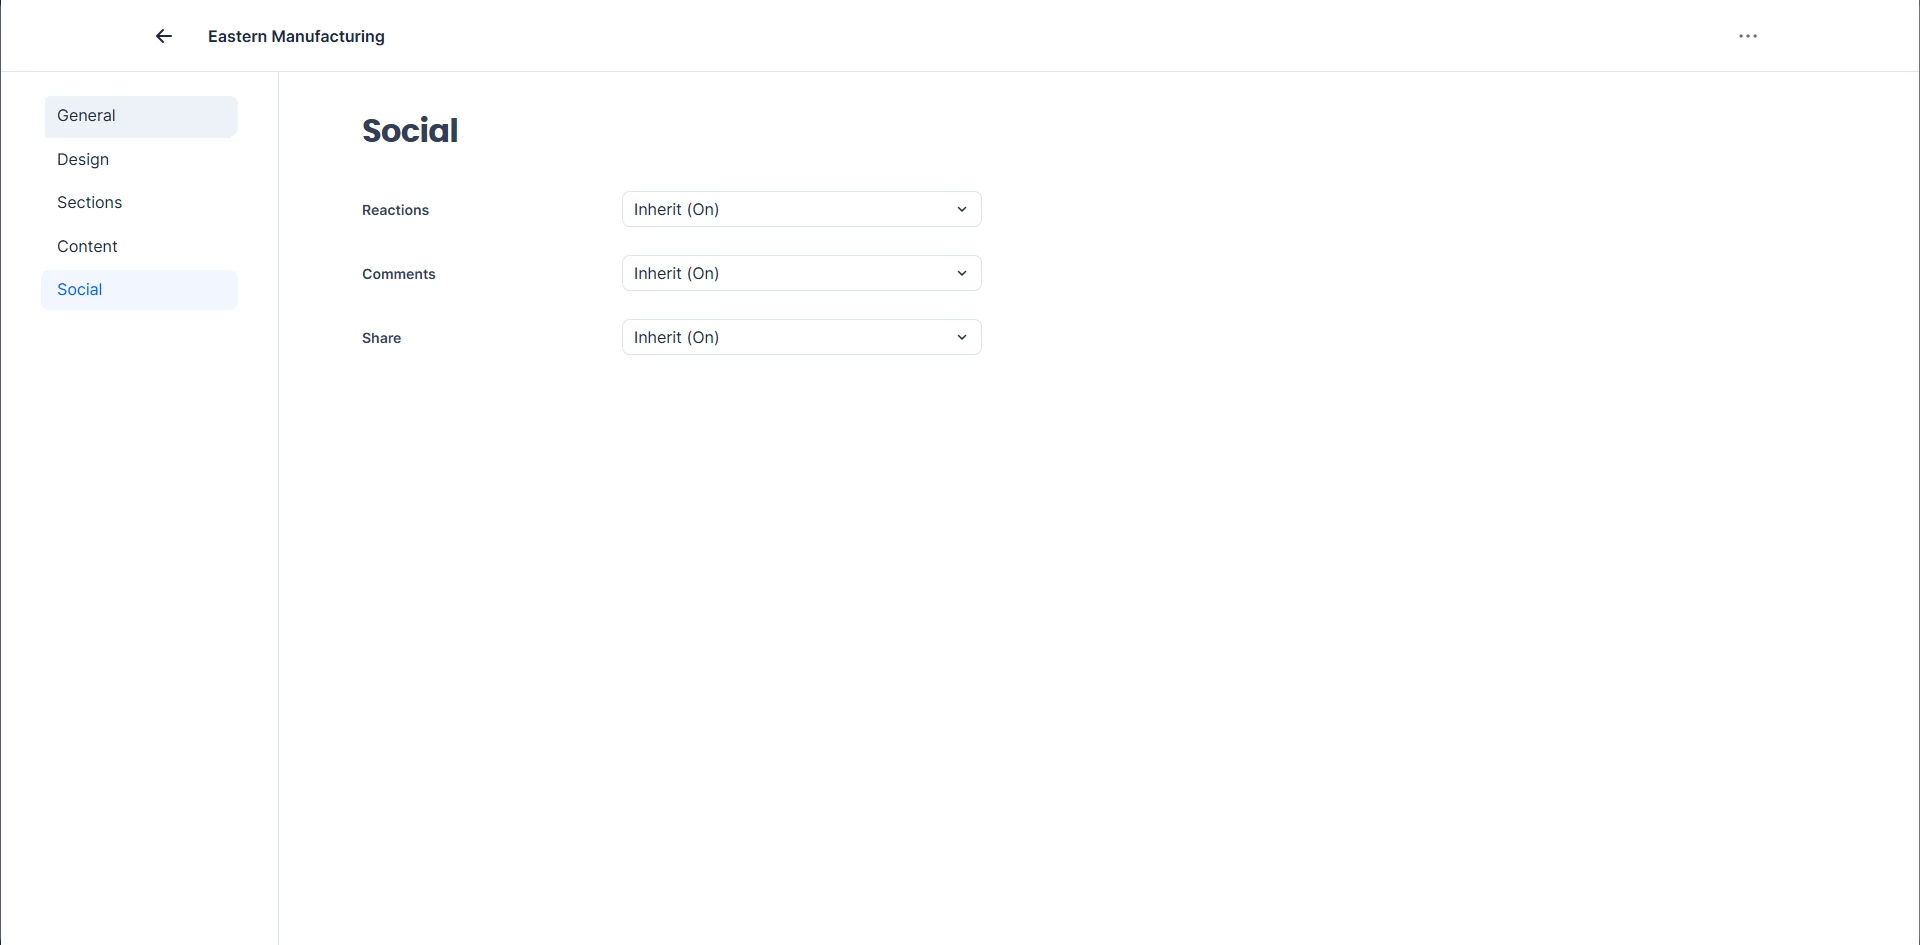
Configuring Social Settings
Templates also define default engagement settings.
Administrators can configure:
- Social reactions
- User engagement features
- Other collaboration options
These settings automatically apply to spaces created from the template.
Creating a Space from a Template
Once configuration is complete, templates can be used to quickly create new spaces.
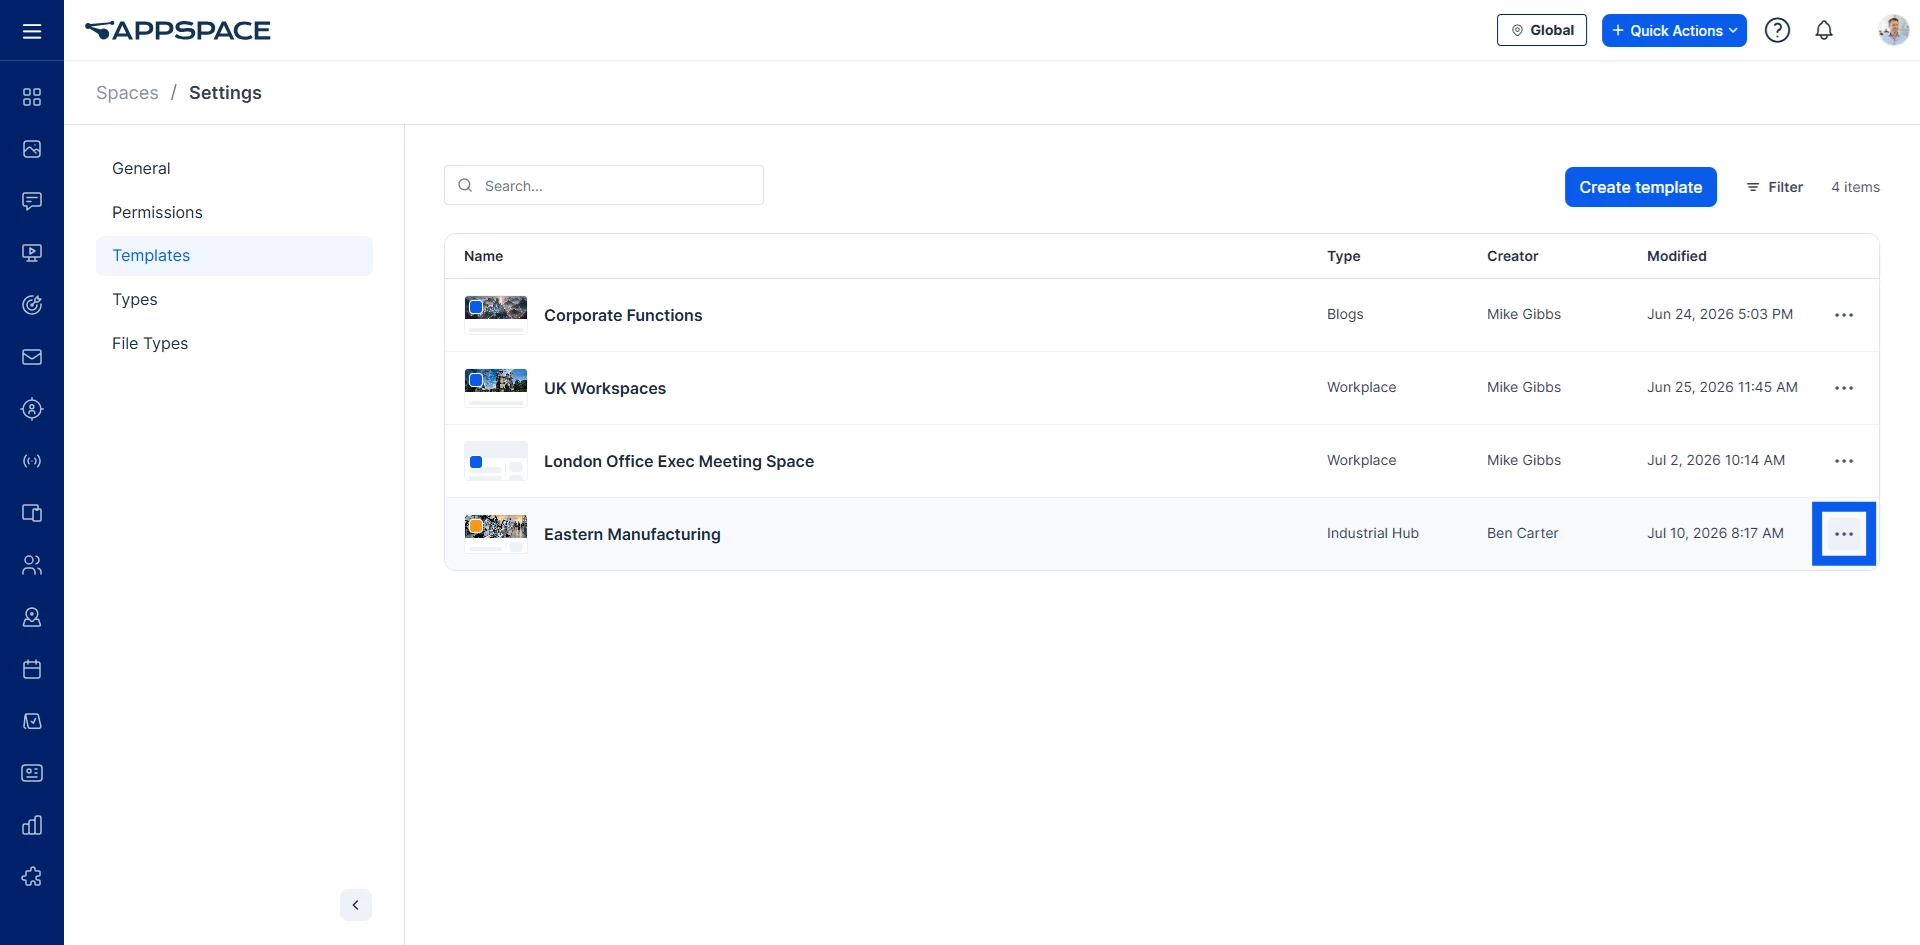
To create a space from a template:
- Click the three dots to the right of the Template's listing.
- Select Create Space.
- Choose the desired template.
- Enter the space name.
- Add a description.
- Click Create.
The new space automatically inherits the template's:
- Design
- Sections
- Navigation
- Widgets
- Content Views
- Permissions
- Social settings
Configuring Audience Membership
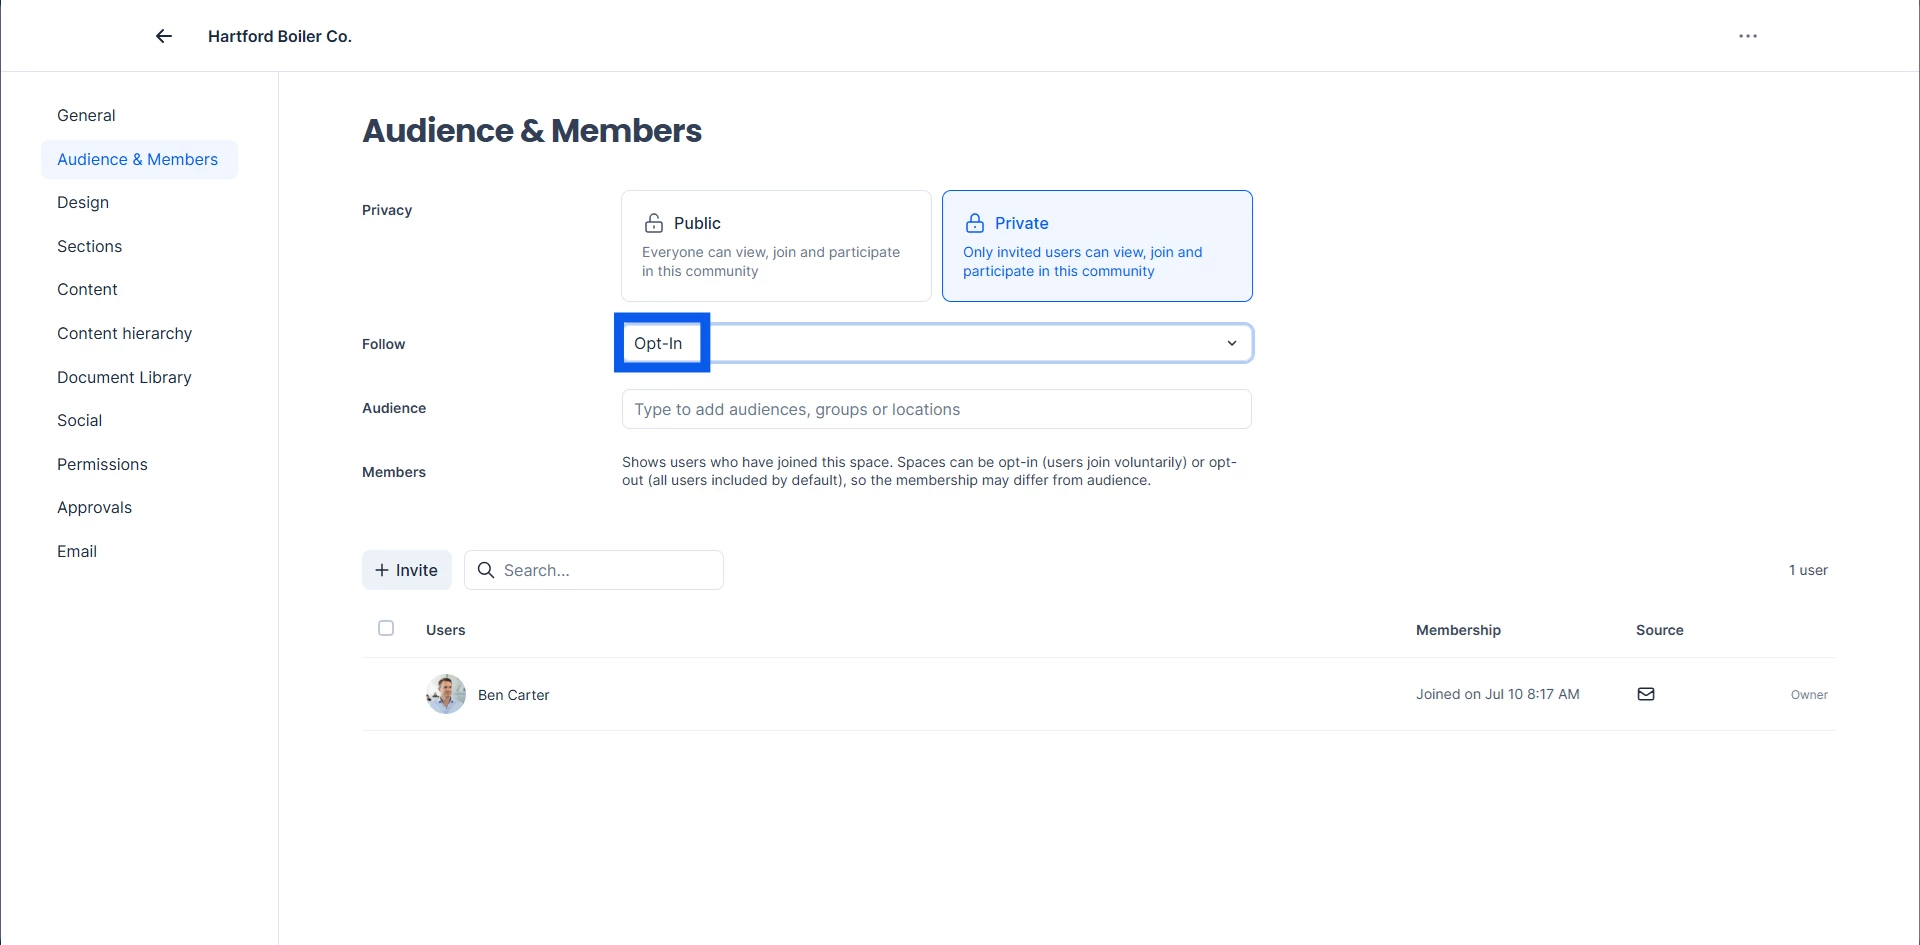
After creating the space, configure membership.
Administrators can:
- Enable automatic membership
- Allow opt-in membership
- Assign audiences
- Configure default members
This ensures the appropriate users receive immediate access.
Managing Template-Based Spaces
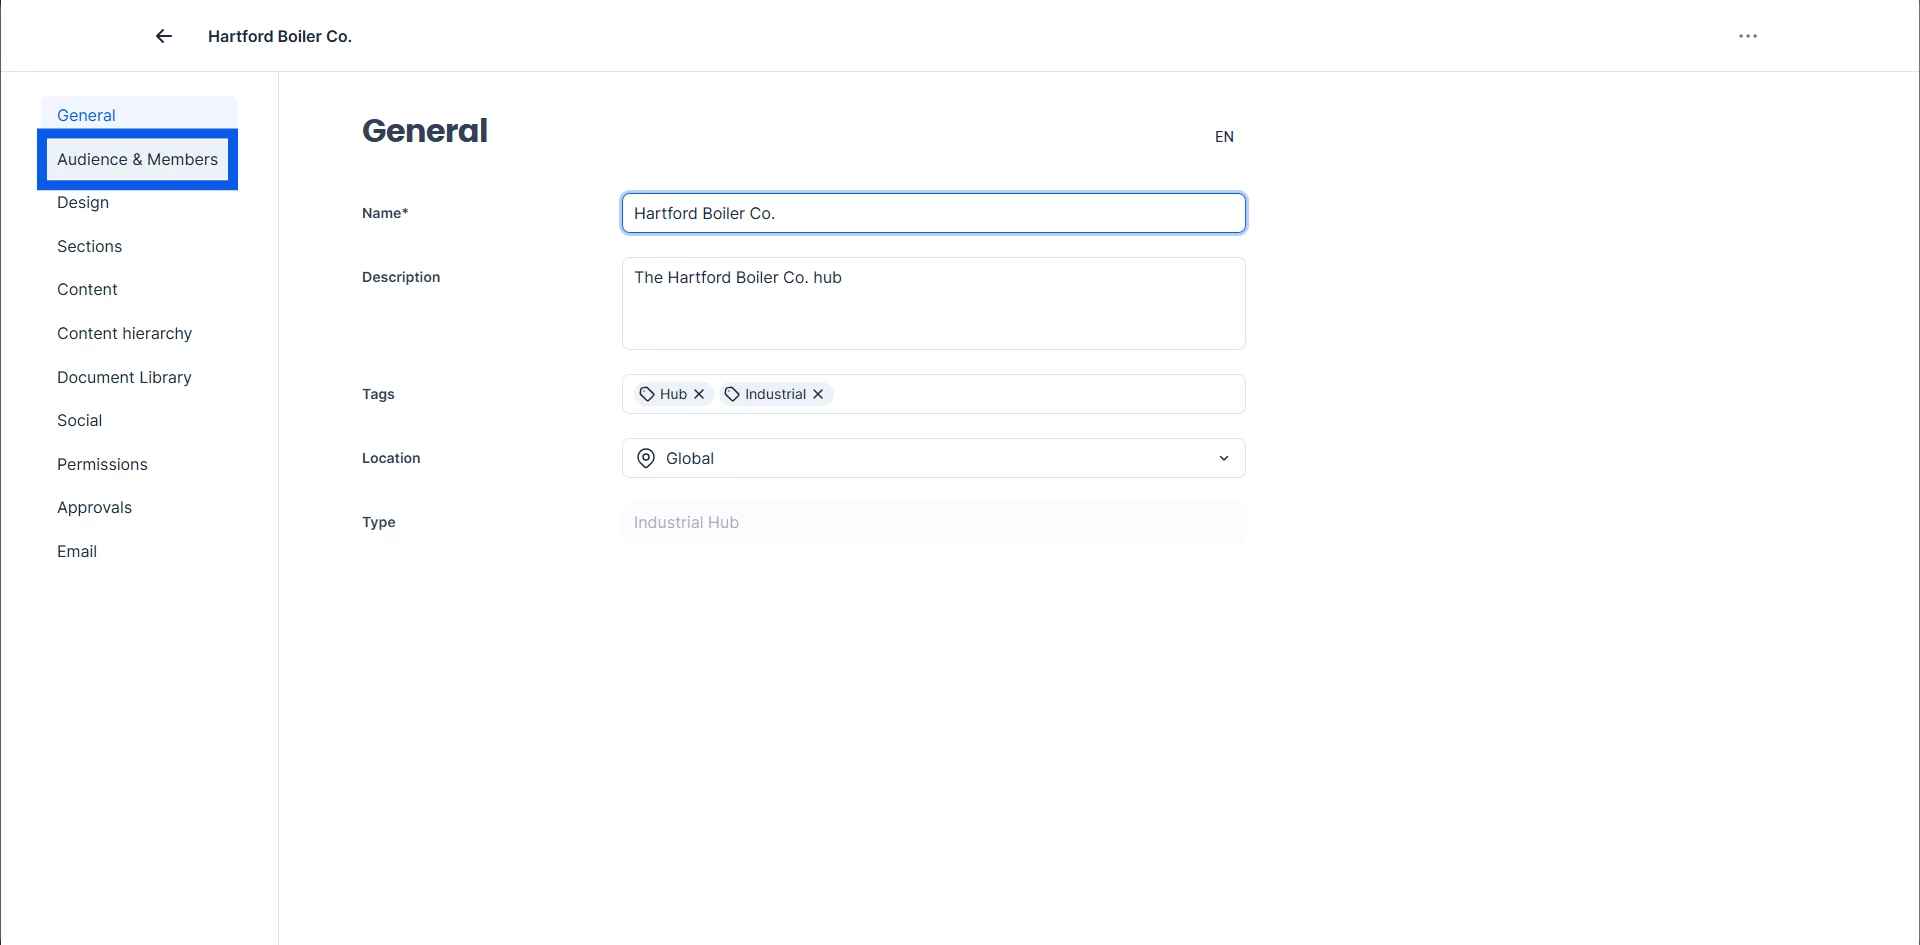
Spaces created from templates remain fully customizable.
Administrators can continue modifying:
- Design
- Sections
- Content
- Document Libraries
- Permissions
- Approval Settings
- Email Notifications
- Social Settings
Templates provide a consistent starting point while allowing individual spaces to evolve as needed.
Best Practices
To maximize the value of Space Templates:
- Build templates for recurring business scenarios.
- Use consistent naming and tagging conventions.
- Standardize branding across related spaces.
- Design layouts that surface the most important content first.
- Periodically review templates to ensure they reflect current organizational standards.
- Create custom Space Types only when existing types cannot meet your requirements.