

Create and Send Newsletters in Appspace: Your Guide to Building, Scheduling, and Tracking Email Communications
With the newsletters feature, Administrators can easily create email newsletters by selecting content, curating their layout using a template, and scheduling them for automated delivery to a selected audience.
Newsletters work as an email-based communication tool that can be used independently or alongside your Appspace intranet. When an intranet is configured, you can pull existing Posts, Stories, and Pages directly into your newsletter layout.
This guide is designed to help you understand how newsletters work in Appspace and how to use them effectively. You will learn how to build a newsletter from scratch, format and structure your content, control who sees what with block-level permissions, drive action with CTA buttons, target the right audiences, and measure results with Insights. By the end, you will have everything you need to plan, build, and deliver newsletters that keep your workforce informed and engaged. For a technical reference on newsletter configuration, see Create and Manage Newsletters.
Key Benefits
- Boost Engagement — Automatically send newsletters to drive employee engagement with Appspace
- Streamline Communications — Create and schedule newsletters directly from the Appspace admin console
- Save Time — Reduce manual effort and save time by automating content promotion and employee communication
What This Guide Covers
This guide walks through the following:
- Starting a Newsletter
- Adding and formatting content
- Assigning block-level permissions
- Using a Call to Action
- Managing Newsletter settings
- Previewing and sending
- Tracking Newsletter Insights
- Configuring Newsletter templates
- Use case examples
Prerequisites
Before creating a Newsletter, ensure you meet the following requirements:
- Platform license
- Account Owner or Publisher user role
- Active Appspace public/private cloud user account
Step One: Starting a Newsletter
The Newsletter module allows administrators to deliver curated content directly to employee email addresses.
To access the module, click the ☰ Appspace menu and select Newsletter. Then, select a specific location from the dropdown menu to view or create Newsletters for a specific site.
Within the module, use the following tools to organize and track your email communications:
- Status Views: Toggle between Scheduled, Sent, and Archived items to manage the content lifecycle.
- Calendar View: Select the Calendar tab for a visual overview of the delivery schedule.
- Filtering: Refine the list by Author, Audience, Date, or Campaign to quickly locate specific Newsletters.
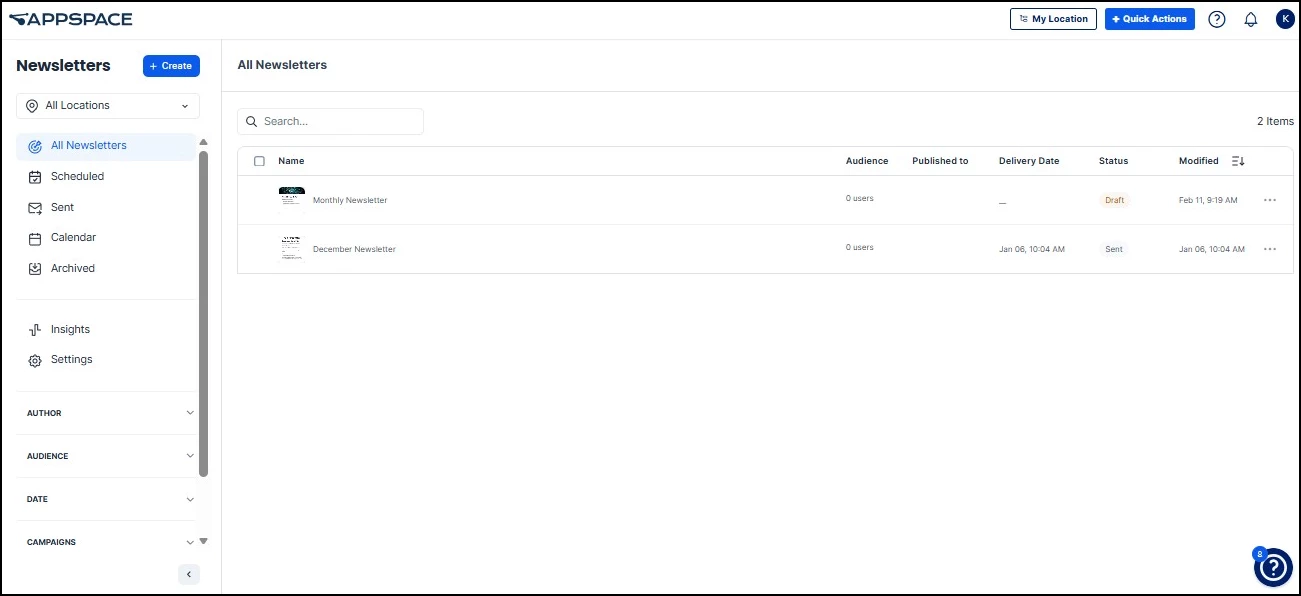
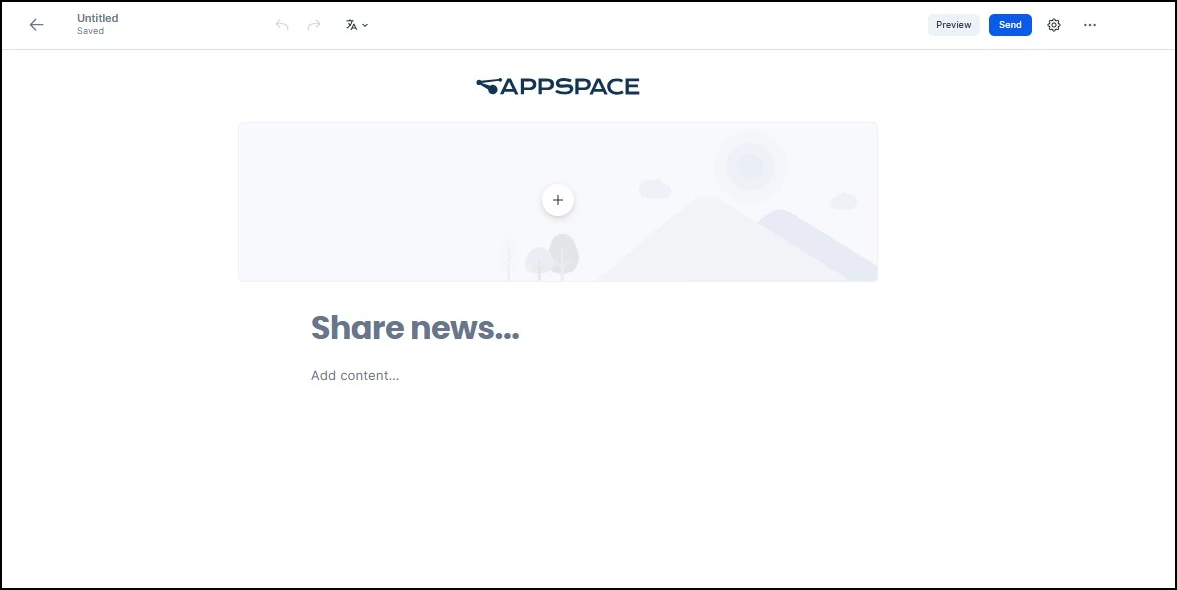
Click the +Create button and select Start from scratch to start a new draft. Configure the following visual elements to establish your newsletter's branding and structure:
- Logo: The default instance logo appears at the top; you may delete or replace it with a custom image.
- Article Title: Enter a title in the designated field; font style and size are configured by default.
- Banner Image: Click the image area to upload a file, select an asset from the Library, or use AI to generate a new image or video (if enabled by your organization).
Step Two: Adding Content to the Newsletter
Add content to your newsletter by entering text directly into the Add content field or by selecting existing content in the Appspace Console.
For new text, you can write content manually or use AI assistance to generate drafts (if enabled by your organization), which is a recommended approach for drafting introductions or concise blurbs.
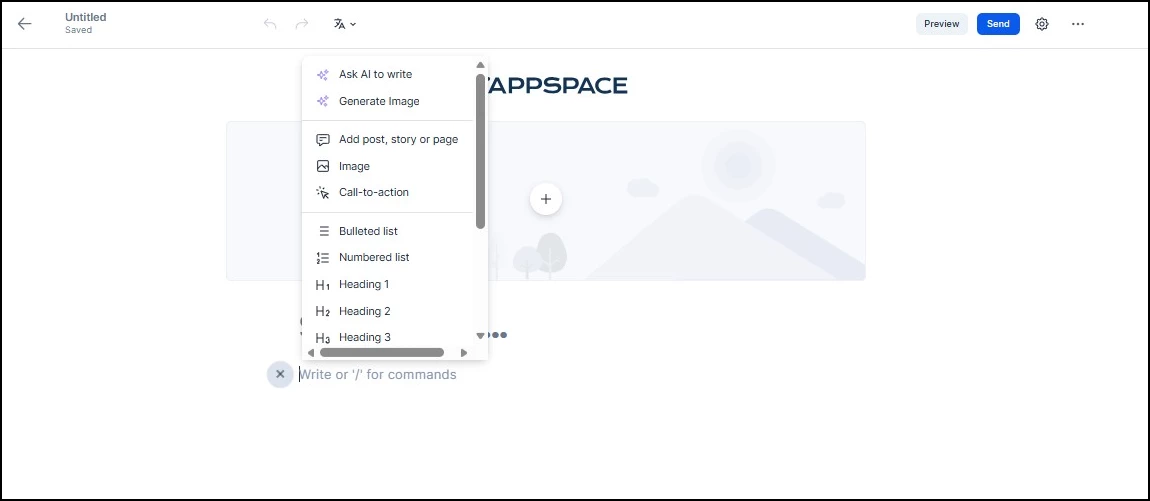
Incorporate existing content — such as Posts, Stories, and Pages — by clicking the + button adjacent to the Add content field. Select the option to add a post, story, or page to search for and insert specific items into the newsletter layout.
To further enhance the visual presentation, upload images directly from a local device or select existing assets from the Library.
Step Three: Assigning Block-Level Permissions
To restrict specific content to a targeted set of recipients, you can apply block-level permissions within the newsletter. This ensures that only authorized users see sensitive or role-specific content, even when the newsletter is distributed to a broad audience.
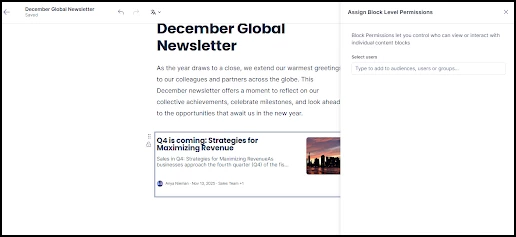
To assign block-level permissions:
- Hover over the content block you want to restrict and select it.
- Click the lock icon that appears on the selected block.
- In the Assign Block Level Permissions panel, type to search for and select the specific audiences, users, or groups authorized to view that content.
- Close the panel to save. Recipients outside of the assigned permissions will not see that block when the newsletter is delivered.
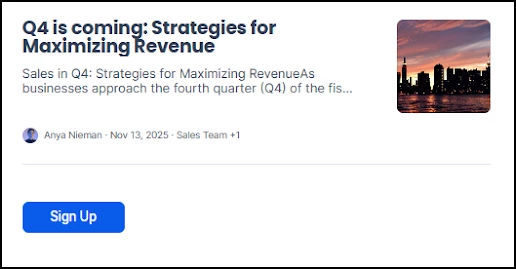
Example: A company-wide quarterly newsletter includes a section on revenue performance with specific financial figures. By applying block-level permissions to that content block, the author can ensure only the Leadership Team audience sees the financial details, while all other employees receive the same newsletter without that section.
Step Four: Using a Call to Action
Insert Call-to-Action (CTA) buttons to facilitate direct interaction with external links within the newsletter email. This feature allows you to embed functional buttons — such as a "Sign Up" link directing users to a registration sheet — to drive employee engagement with specific resources or tasks.
To add a CTA button to your newsletter:
- Click the + button in the content area where you want the CTA to appear.
- Select Call-to-action from the menu.
- Enter the button text that will be displayed to recipients (e.g., "Sign Up", "Learn More", "Register Now").
- Enter the destination URL that the button will link to when clicked.
CTA buttons are rendered as clickable elements in the delivered email, making them an effective way to direct employees to external resources, surveys, registration forms, or documentation.
Step Five: Formatting the Newsletter
To format newsletter body text, highlight the desired content and select an option from the pop-up formatting toolbar. The following tools are available:
- Bold and Italic: Emphasize key terms, deadlines, or action items so readers can scan for important details quickly.
- Links: Direct readers to related resources, such as a registration form, a policy document, or an external webpage.
- Headers (H1, H2, H3): Break the newsletter into clearly defined sections, making it easier for recipients to navigate longer communications.
- Quotes: Highlight a leadership message, a key statistic, or a callout that should stand apart from the surrounding text.
- Bullets and Numbers: Organize lists of updates, action items, or step-by-step instructions into a scannable format.
- Color: Apply brand colors or draw attention to specific text, such as a deadline or a category label.

Step Six: Managing Newsletter Settings
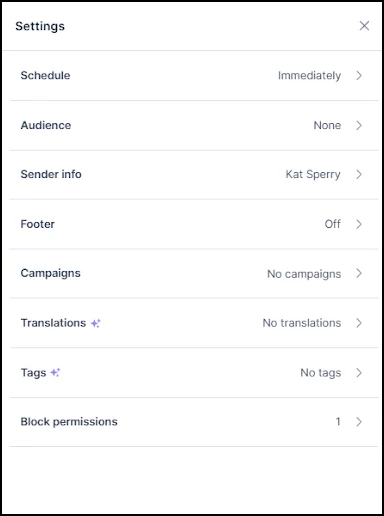
In the Newsletter settings, you can manage and customize various details to optimize your communication. Click the Settings gear icon to configure the following options:
- Schedule: Set the newsletter to be sent immediately upon publication or schedule it for a specific date and time.
- at will receive the newsletter. You can create targeted audiences to reach specific teams — for example, a group of content creators or a department at a particular site. For instructions on creating and managing audiences, see Add and Manage Audiences.
- Sender info: Configure the sender's name and the email subject line.
- Footer: Enable a footer to include additional information at the end of the newsletter.
- Campaigns: Organize the newsletter under a specific campaign to align content with organizational goals and access performance reporting.
- Translations: Use AI to automatically translate content into a selected language (if enabled by your organization) or create translations manually.
- Tags: Add relevant tags to categorize the newsletter; suggestions will appear as you type.
- Block permissions: Review and modify access permissions at the individual content block level.
Note: Newsletters can also be published to Spaces (Communities and Channels), allowing you to reach members and followers through their existing feeds in addition to email delivery.
Step Seven: Previewing and Sending the Newsletter
Before distribution, select the Preview button to view the newsletter directly within the console. To verify the final layout and formatting, use the Send test email option to send a sample email to yourself or other designated recipients to ensure the content renders correctly in an email client.
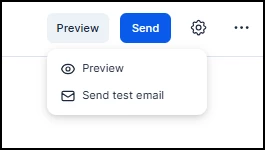
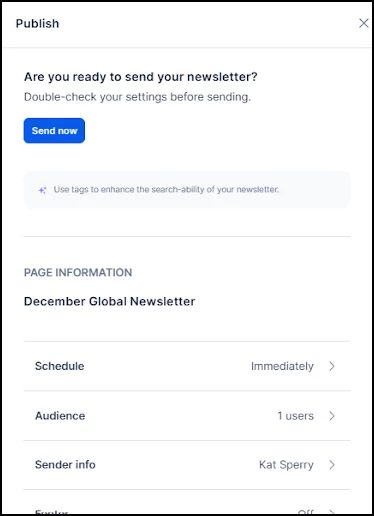
After finalizing the newsletter, click Send to perform a final review of the configuration settings. Once the settings are verified, click Send now to distribute the email to the designated recipients.
Step Eight: Tracking Newsletter Insights
Track key performance metrics and engagement data to measure the effectiveness of your newsletter communications.
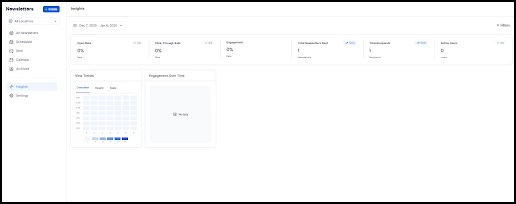
Global Insights
To view performance data across all newsletters, navigate to Newsletters > Insights. The following data points are available for analysis:
- Open Rate: Percentage of recipients who opened the newsletter.
- Click-Through Rate (CTR): Percentage of recipients who clicked at least one link within the newsletter.
- Engagement: Total user interactions with newsletter content.
- Total Newsletters Sent: Total volume of newsletters dispatched.
- Total Recipients: Number of unique users to whom the newsletter was delivered.
- Active Users: Number of unique users engaging with the content.
- View Trends: Readership patterns over time.
- Engagement Over Time: Chronological breakdown of interaction spikes.
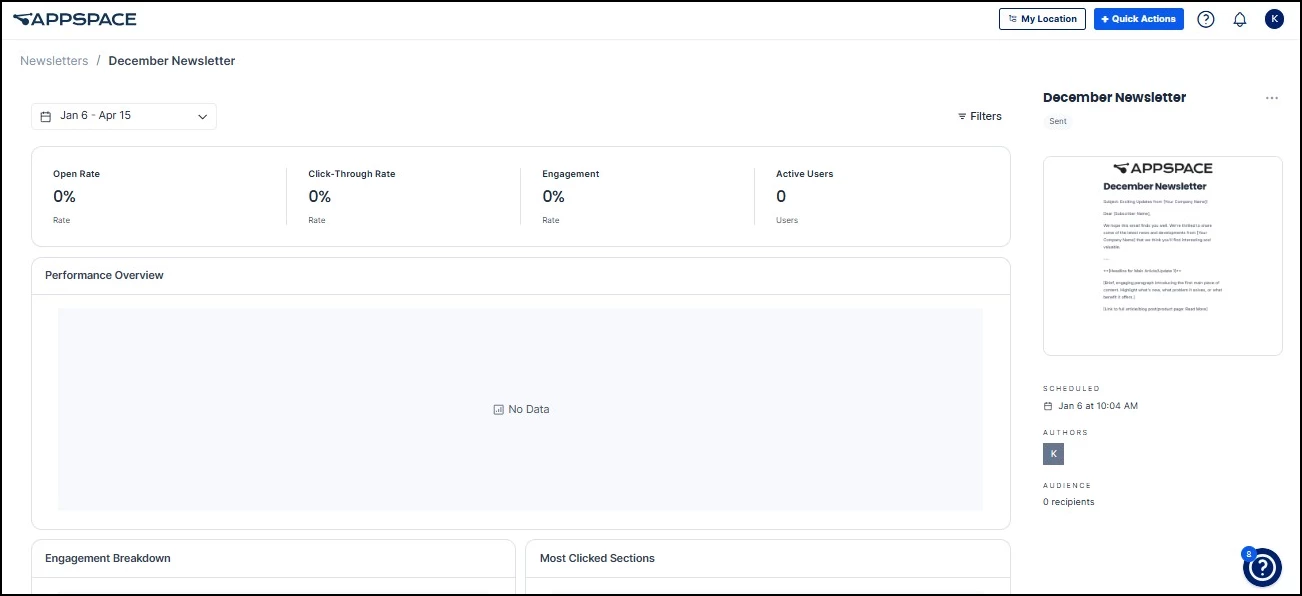
Individual Newsletter Insights
Analyzing individual newsletter performance allows for granular assessment of content resonance and specific campaign effectiveness. To access these metrics, navigate to Newsletters and select a specific publication. The following data points are available:
- Open Rate: Percentage of recipients who opened the newsletter.
- Click-Through Rate (CTR): Percentage of recipients who clicked at least one link.
- Engagement: Total user interactions with newsletter content.
- Active Users: Number of unique users engaging with the content.
- Performance Overview: Summary of delivery and interaction data.
- Engagement Breakdown: Detailed categorization of user interaction types.
- Most Clicked Sections: Specific content areas that drove the highest traffic.
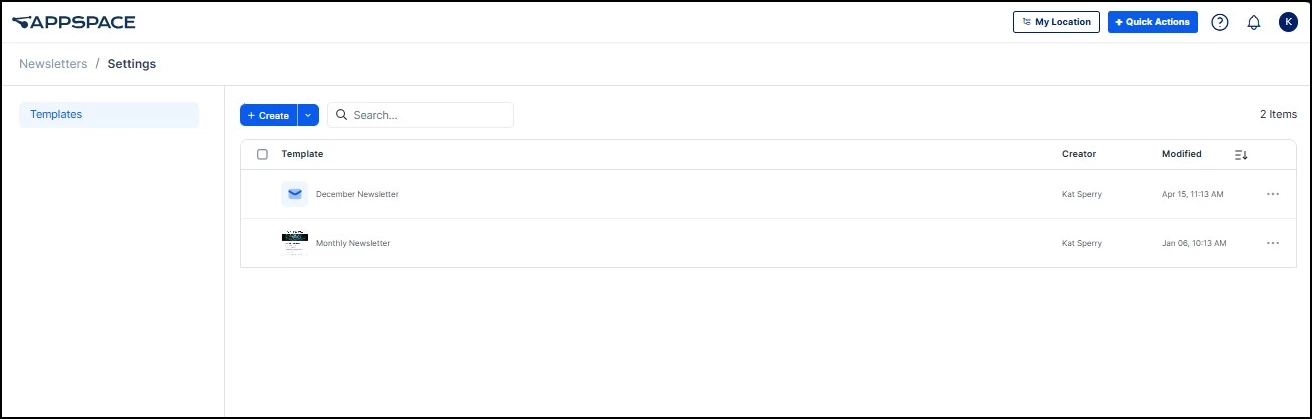
Step Nine: Configuring Newsletter Templates
Newsletter templates provide a standardized framework for content creators, ensuring brand consistency across all corporate communications while reducing production time.
To establish a template, navigate to Newsletters > Settings > Create Template. Use +Create for additional designs or Import to bring in templates from another Appspace instance. o save a template externally, select Export from the (⋮) menu.
These saved templates automatically populate as selection options for users when initiating a new newsletter.
You can also establish previously published Newsletters as templates by clicking the (⋮) next to them on the main Newsletter page and selecting Save as Template.
Example: A "Monthly Company Update" template could include your company logo, a standard banner image, a pre-formatted introduction section, placeholder blocks for department highlights and upcoming events, and a footer with contact information. Content creators would then only need to update the text and images each month rather than building the newsletter layout from scratch.
Use Case Examples
Newsletters serve as a centralized tool for distributing targeted information across an organization. Below are primary use cases for maximizing engagement:
Corporate Announcements and Executive Updates
Deliver high-level messaging directly from leadership to the entire workforce. Use templates to maintain a consistent executive voice for quarterly results, strategic pivots, or town hall recaps.
Weekly or Monthly Internal Digest
Curate a recurring roundup of recent Posts, Stories, and Pages published across the platform. This keeps employees informed about content they may have missed and drives traffic back to the intranet. Use scheduling to automate delivery and Insights to monitor which topics resonate most.
New Hire Onboarding Series
Create a sequence of newsletters targeted to new employees during their first 30, 60, or 90 days. Each edition can highlight key resources, introduce team leads, and link directly to training materials or community pages. Block-level permissions let you tailor content by department or location.
Regional or Departmental Spotlights
Highlight achievements, milestones, or news from specific teams or offices. Use audience targeting to send a company-wide version while using block-level permissions to include sensitive metrics visible only to leadership.