




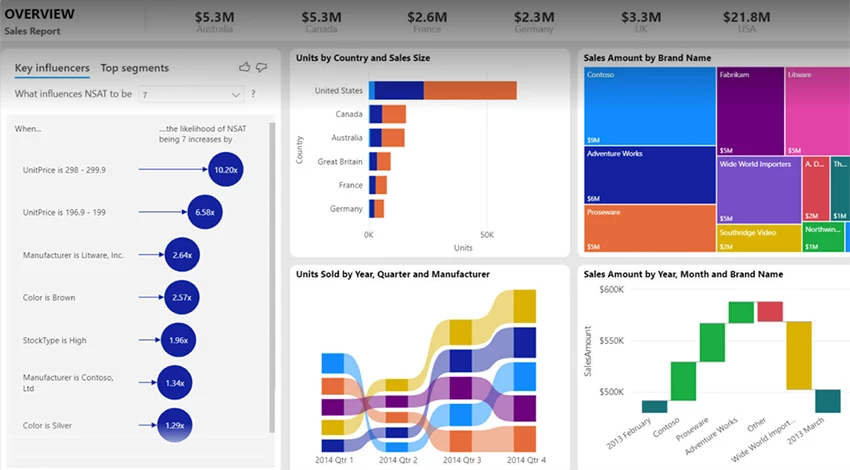
The Power BI Card allows organizations to display Microsoft Power BI dashboards and reports in Appspace.
While most devices are able to support displaying a live Power BI dashboard via our card, some devices for various reasons do not have the needed power to display live dashboards. To empower our customers, Appspace has also released a ‘screenshot service‘ that allows low-powered devices to display a screenshot of the Power BI dashboard. Whilst the dashboard display is not live on these devices, screenshots are updated every 15 minutes, and the screenshots are only available in landscape 16:9 (1920 x 1080 resolutions) and portrait 9:16 (1080 x 1920 resolutions) aspect ratios. If a card is assigned to a different aspect ratio zone, it will uniform fill.
The card is built using the new Appspace integration with third-party systems that leverages standard technologies to create long-lived, authenticated, and secure connections. An initial connection must be established between Appspace and a Microsoft Power BI service account, which is then stored in a virtual passport in Appspace, and can be used until the service account revokes or cancels the integration. The passport will allow the card to establish a connection with the third-party system at runtime.
Note
Read more about the integration architecture and how it all connects here in the Introduction to Appspace Integrations.
This article provides instructions to create, configure, and edit the Appspace Power BI Card for displaying Power BI dashboards and reports.
Prerequisites
- Appspace App 2.29 and later.
- Appspace 8.0 and later.
- A Microsoft Power BI account.
Important:
For Power BI Passports configured with Delegated Permissions, ensure the following permission scopes are configured in Microsoft Entra ID:
- General Microsoft-based passport scopes
- offline_access
- opened
- profile
- User.ReadBasic.All
- MicrosoftPower BI specific scopes
- https://analysis.windows.net/powerbi/api/Dashboard.Read.All
- https://analysis.windows.net/powerbi/api/Workspace.Read.All
- https://analysis.windows.net/powerbi/api/Dataset.Read.All
- https://analysis.windows.net/powerbi/api/Report.Read.All
Note:
For detailed setup instructions and screenshots for Power BI Application Permissions, refer to the attached Power BI Application Permissions - Customer Checklist.
- General Microsoft-based passport scopes
- Account Owner or Publisher role to configure account authentication in Integrations > Passport.
- Account Owner, Publisher, or Content Producer (Author) role to create or edit card in the Library.
- Ensure your device is compatible. Refer to the Content Feeds table in the Supported Appspace Cards article for caveats.
- BrightSign 1
- Chrome OS 2
- Cisco Collaboration Endpoints (CE) – Signage Mode
- Crestron 3
- iOS 5
- Linux Ubuntu
- MediaVue 4
- Mersive 5
- Universal Windows Platform (UWP) 5
- Windows
Note
- 1 – BrightSign devices running firmware version 8.5 and above support displaying the live dashboard, while BrightSign devices running firmware version 8.4 and below support the screenshot service.
- 2 – Unable to display Advanced Channels in Channel Browsing mode.
- 3 – Channel Browsing mode is not supported on Crestron AirMedia and Mercury devices.
- 4 – Only supported on MediaVue SureVue D2 devices. Unable to display Advanced Channels in Channel Browsing mode.
- 5 – Unable to display playback for 24 hours.
- Devices supported with screenshot service.
- Android
- BrightSign devices running firmware version 8.4 and below
- LG WebOS
- Samsung SSP 6.0 / Tizen 4
Important
- For Power BI Passports configured with Application Permissions, ensure the following requirements are met:
-
A Microsoft Entra Global Administrator, or equivalent, is available to grant tenant-wide admin consent.
-
A Power BI or Fabric Administrator is available to enable the required tenant developer setting.
-
A Power BI Workspace Administrator is available to configure workspace capacity and access.
-
The Power BI workspace uses a supported Power BI Premium, Power BI Embedded, or Microsoft Fabric capacity. A Power BI Pro license alone is not sufficient.
-
Use a custom Power BI workspace. My workspace is not supported.
-
Keep the dashboard or report and its semantic model in the same custom workspace.
-
- The Power BI dashboards are not very responsive so they should be created with the display canvas in mind.
- There are no styling options available for the dashboard on the card, as this is an embedded link. All styling should be done in the Power BI system.
Note:
For detailed setup instructions and screenshots for Power BI Application Permissions, refer to the attached Power BI Application Permissions - Customer Checklist.
Authenticate Power BI Account
Follow the instructions below to authenticate a Microsoft Power BI service account with Appspace:
Note
Appspace Account Owner or Publisher permissions are required. If you do not have the required permissions, you may still create the Power BI passport by clicking the Set up a new passport link when configuring the Power BI card.
- Log in to your Appspace console.
- Click the ☰ Appspace menu, and click Integrations.
- Click the Passports tab, and click the +ADD button.
-
Select the Power BI passport, then select the permission type required for your Power BI use case:
-
Delegated Permissions
-
Application Permissions
Important:
The Power BI Passport permission type cannot be changed after the Passport is created. To switch between Application Permissions and Delegated Permissions, remove the existing Passport and create a new one with the required permission type.
-
- Click CONNECT, then complete the authentication for the selected permission type.
- Delegated Permissions: Sign in with the Microsoft Power BI account that will be used by the passport.
- Application Permissions: Sign in with a company Global Administrator account, then click Accept to grant tenant-wide admin consent.
Note:
Personal Microsoft accounts are not supported for Application Permissions. The account used to grant consent does not become the Passport identity; Appspace stores only the tenant ID.
- Once authenticated, in the Account Settings tab, you may perform the following actions:
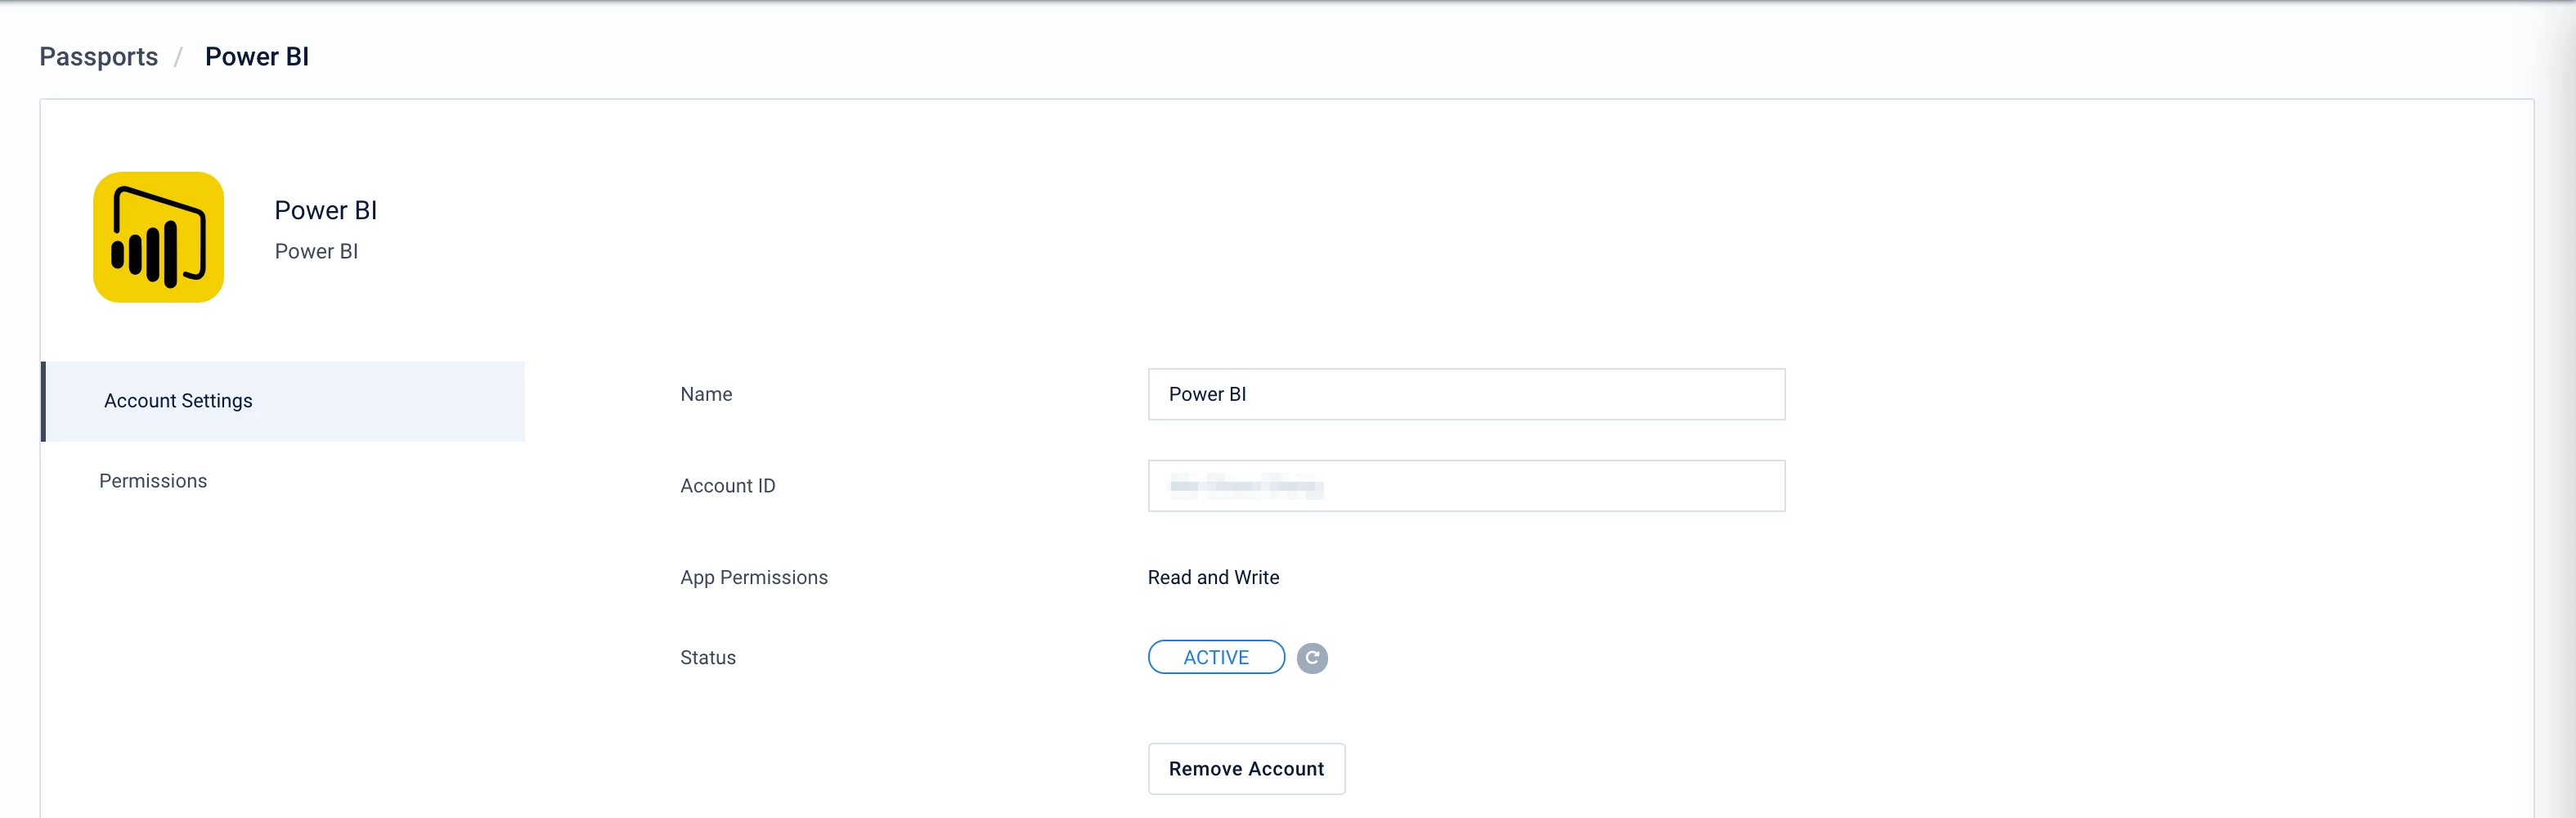
- Change the name of the passport, by entering a different name in the Name field.
- View the Account ID of the passport.
- View the App Permissions granted to the passport.
- View and refresh the Status of the passport.
- Remove the passport, by clicking the Remove Account button.
- In the Permissions tab, you may grant the following users or user groups permissions to view or edit this passport configuration at any time:
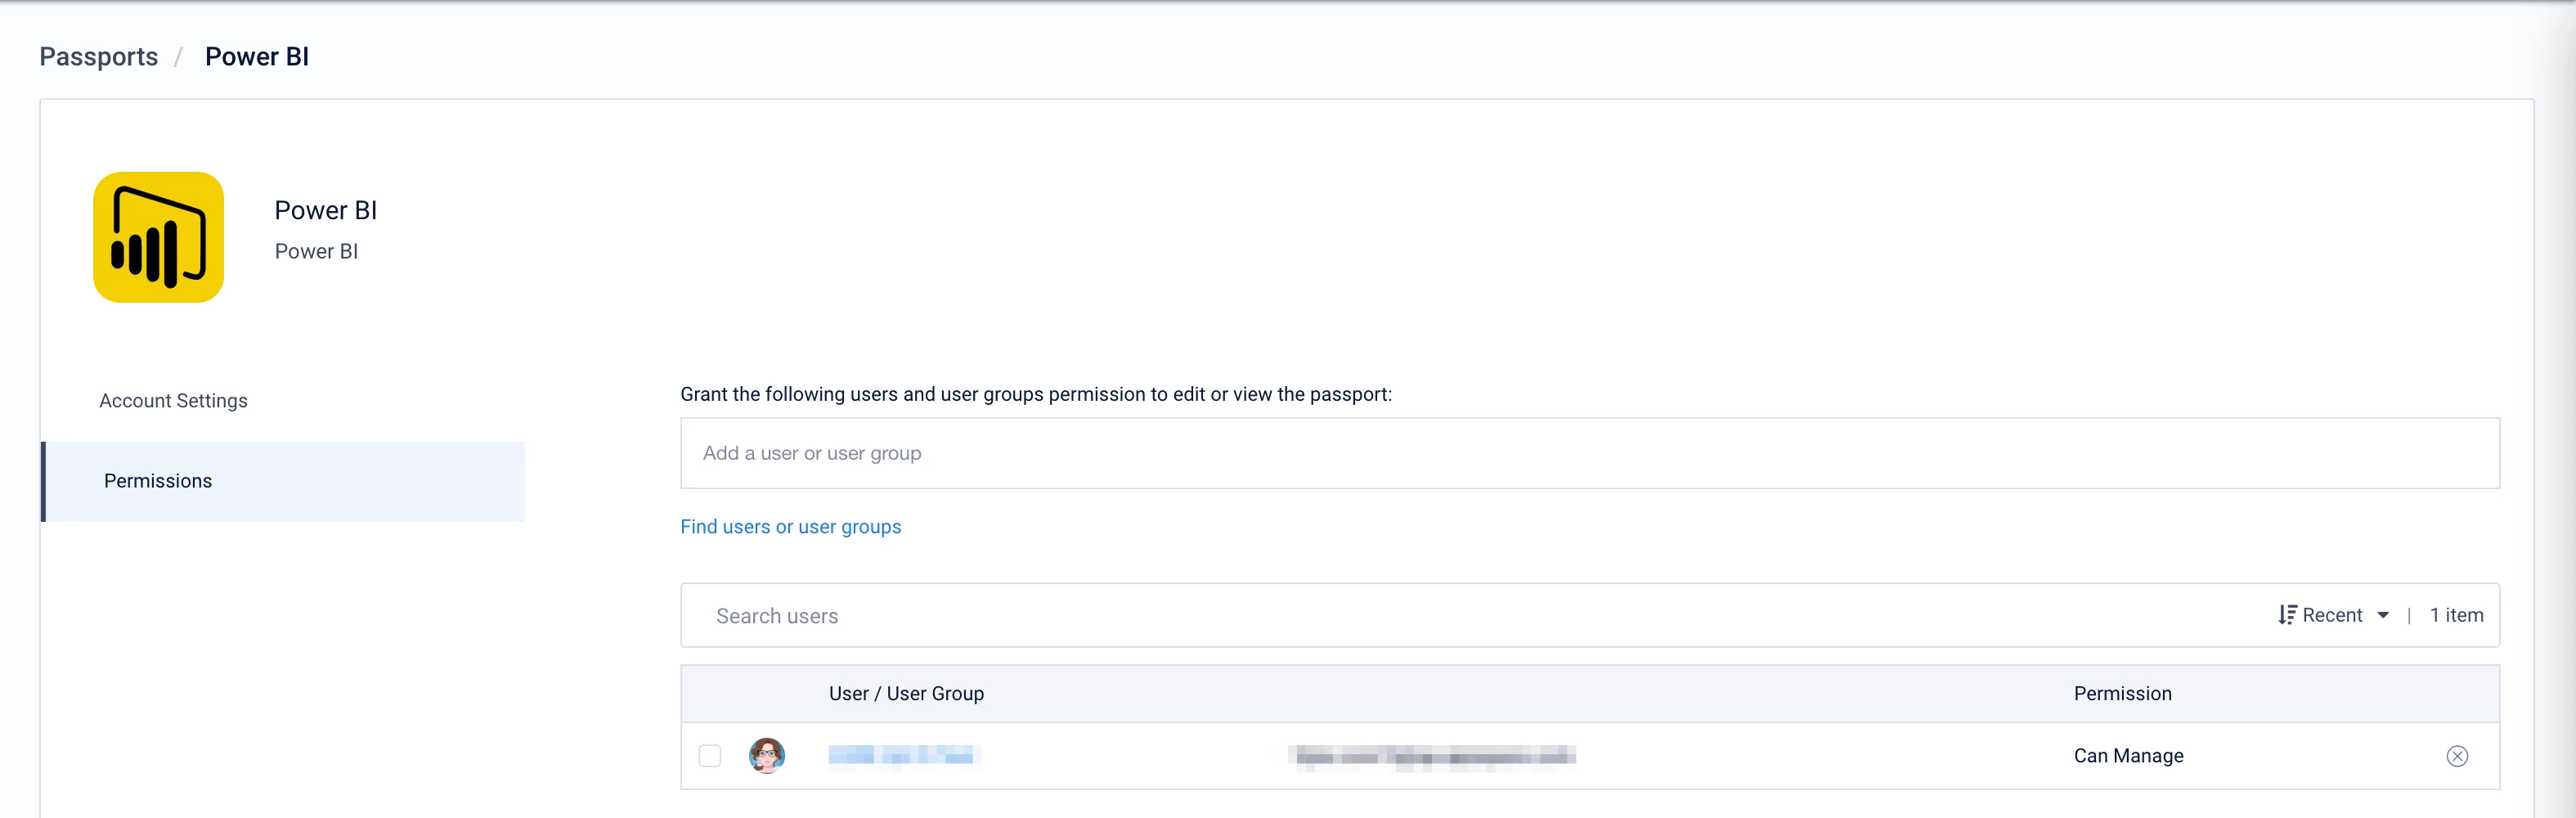
- Enter and select the user(s) or user group(s) from the drop-down list, or click the Find users or user groups link, and select the desired user(s) or user group(s). Proceed to grant either Can Manage or Can View permissions by clicking the Select permissions drop-down menu.
- You may also view or remove the user(s) or user group(s) that have already been granted permissions, by clicking the delete icon.
- You may proceed to the Create and Configure a Power BI Card section below.
Create and Configure a Power BI Card
Follow the instructions below to display a Power BI dashboard or report:
- Log in to your Appspace console.
- To create this card, select one of the following options:
- Click +Quick Action from the Appspace menu bar on the top right, and select Create Card.
- Click Library from the ☰ Appspace menu, and select a library or folder you wish to create the content in. Click +CREATE, and select Card.
- To create and add the card directly to an existing channel, refer to Add Content to Playlist Channels.
- Select the Feed tag, and select Power BI.

Important
If you are unable to locate the content, try using either the Search bar, the Order by, or Filter icon to narrow down the content that you are looking for.
- Enter the Title of the content as this will also act as the file name for the content. This is a mandatory field.
- In the Card section, select an existing Power BI passport, or click Set up a new Passport to create one. After the Passport is successfully configured, it becomes available for selection in the Power BI Card without restarting the card configuration workflow.
-
Dashboard – Displays a Power BI dashboard.
-
Report – Displays a Power BI report.
-
- Add the selected Power BI content using one of the following methods:
- If you selected Dashboard and already have the Power BI Dashboard URL:
- In the DASHBOARD field, enter the dashboard URL, and click Select Dashboard.
- If you selected Dashboard and would like to search for the Power BI dashboard:
- Select the Power BI workspace from the WORKSPACE dropdown menu, which is populated based on the passport account authenticated earlier.
- Search and select the Power BI dashboard from the DASHBOARD field, and click Select Dashboard.
-
If you selected Report:
- Select the Power BI workspace from the WORKSPACE dropdown menu.
- Search for and select the Power BI report from the REPORT field, or enter the report URL.
- Click Select Report.
Note:
If the report URL does not include a specific report page, the first page of the report is displayed by default.
- If you selected Dashboard, configure the following fields in the right-side panel:
- Mode Selection: Select the display mode for the card. The available options are:
-
Full Dashboard View: Embeds and displays the entire dashboard.
-
Report Mode: Displays reports individually.
-
Layout: This field appears when Report Mode is selected and allows you to choose a display layout for a single screen. The available options are:
-
Full Screen: Displays one report.
-
Grid of 2: Displays two reports.
-
Grid of 4: Displays four reports in a 2 × 2 grid.
-
-
- Mode Selection: Select the display mode for the card. The available options are:
- If you selected Dashboard and already have the Power BI Dashboard URL:
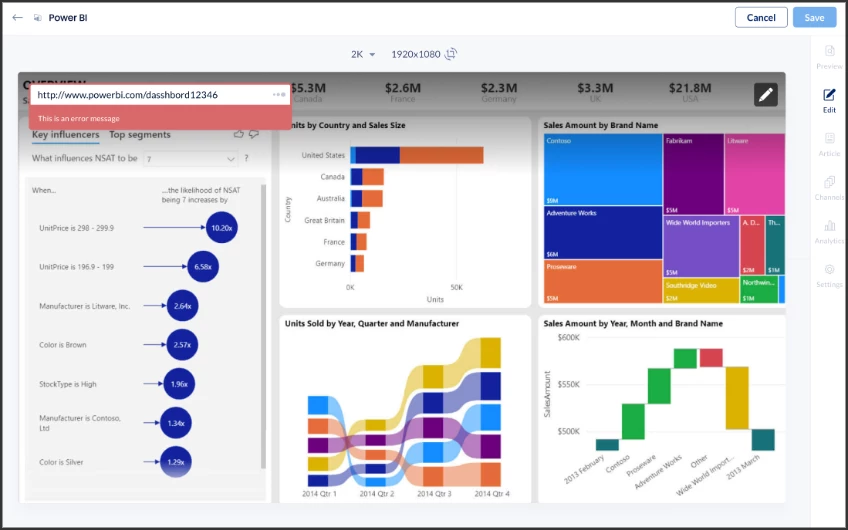
- Once a dashboard or report is selected, you can preview the selected content. You may also edit or change the dashboard or report URL in the preview window. The URL must be valid or an error will be displayed.
- In the Article tab:
- Include an Article or Caption to accompany the content item when being displayed on mobile apps, tablets, and other social collaboration apps.
- Enter a Referral Link to link more information to the content.
- In the Schedule tab:
- You may add the content to a channel by selecting the channel from the Add to channel drop-down menu, or leave it unassigned for later.
- When the content is assigned to a channel, the SCHEDULING and DISPLAY PROPERTIES options are displayed. Refer to the Configure Content Playback Properties: Dayparting, Frequency, Scheduling, in a Playlist Channel article for detailed configuration instructions.
- In the Settings tab:
- The Name field will be auto-populated to match the Title of the content which will also act as the filename for the content. This is a mandatory field.
- Select the Content Category from the drop-down menu to match the focus of the message, or leave it at the default content category.
- Enter any relevant Tags for the content. (Optional)
- Select a folder for the content in the Library Location drop-down menu to change the default folder location.
- Select an expiry date for the content from the Auto Delete Content from Library drop-down menu. (Optional)
- Upload an image to be used as the Thumbnail for the content.
- Click SAVE.
- Proceed to the edit section below to add the card to a channel, preview the card, or view analytics once available.
Edit a Power BI Card
When you edit a Power BI Card, the previously selected Passport, Workspace, and Dashboard or Report remain selected.
- Log in to your Appspace console.
- Click Library from the ☰ Appspace menu, and select a library or folder containing the content you wish to edit.
- Select and click the desired card to edit, and select one of the following tabs:
- In the Article, and Settings tabs:
- You may edit the content the same way as it was configured. For detailed instructions on how to do this, please refer to the Create and Configure section above.
- In the Preview tab:
- Preview how the content is displayed on your device.
- In the Channels tab:
- You may add this card to a channel by selecting the channel from the Add to channel drop-down menu or leave it unassigned for later.
- When the content is assigned to a channel, the SCHEDULING and DISPLAY PROPERTIES options are displayed. Refer to the Configure Content Playback Properties: Dayparting, Frequency, Scheduling, in a Playlist Channel article for detailed configuration instructions.
- In the Analytics tab:
- View the individual content analytics in this tab. For more information, please refer to the Individual Content Analytics section of the Analytics article.
- In the Article, and Settings tabs:
- Once done, click SAVE.
Technical Limitations
- The Power BI Free version currently restricts API calls and can hinder your ability to share dashboards and reports.